

Time equals taste. Fermentation equals flavor. That’s what bakers know and that’s one of many reason why naturally-leaved bread made with sourdough starter is so appealing. But most people don’t have the time or inclination to keep a yeast dough starter alive. In this recipe for Golden Raisin Walnut Crown Loaf, a sponge dough made with a touch of rye flour is the magic trick that boosts the flavor in one of our favorite loaves.
Making the Golden Raisin Walnut Crown Loaf dough
This rich tasting loaf gets extra flavor from a sponge, a small batter made as a first step. The sponge for this Golden Raisin Walnut Crown Loaf has wheat and rye flour to give it some added taste as well as yeast and water. You let the mixture bubble for an hour or two before adding the rest of the flour and the salt.

Because the final dough for this loaf is a little firm and dry, I like to mix it in a stand mixer fitted with the dough hook Of course you can knead it by hand. Just be prepared for a little bit of a work out. A drier dough will take longer to ferment that a wetter one.
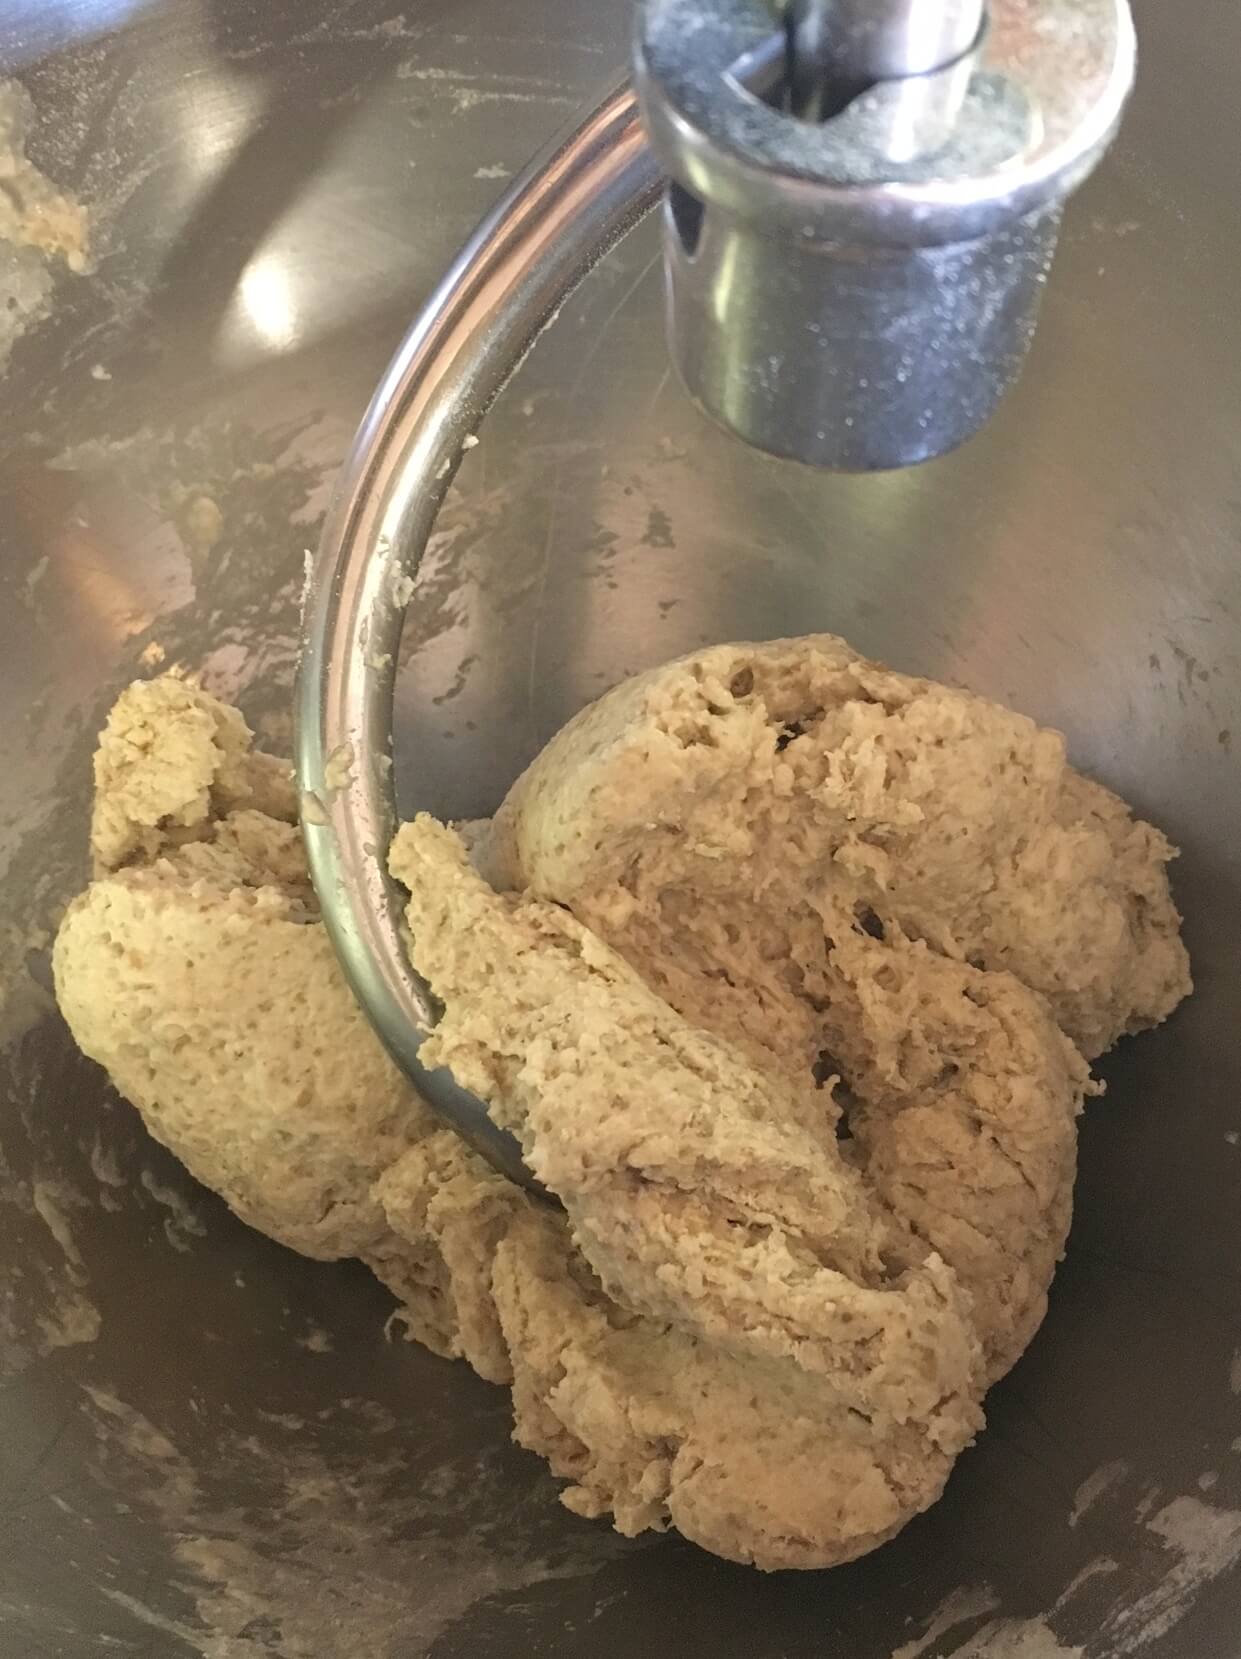
The spiral hook pictured here comes with a Kitchen Aid small professional stand mixer. The way the hook moves through the dough is gentle yet thorough. I prefer it to the usual dough hook you see on most stand mixers.
After kneading the dough just until it comes together, let it rest for 10 minutes. This relaxes the proteins in the dough and gives the dough time to absorb moisture and slacken. It’ll be easier to knead after this short rest.
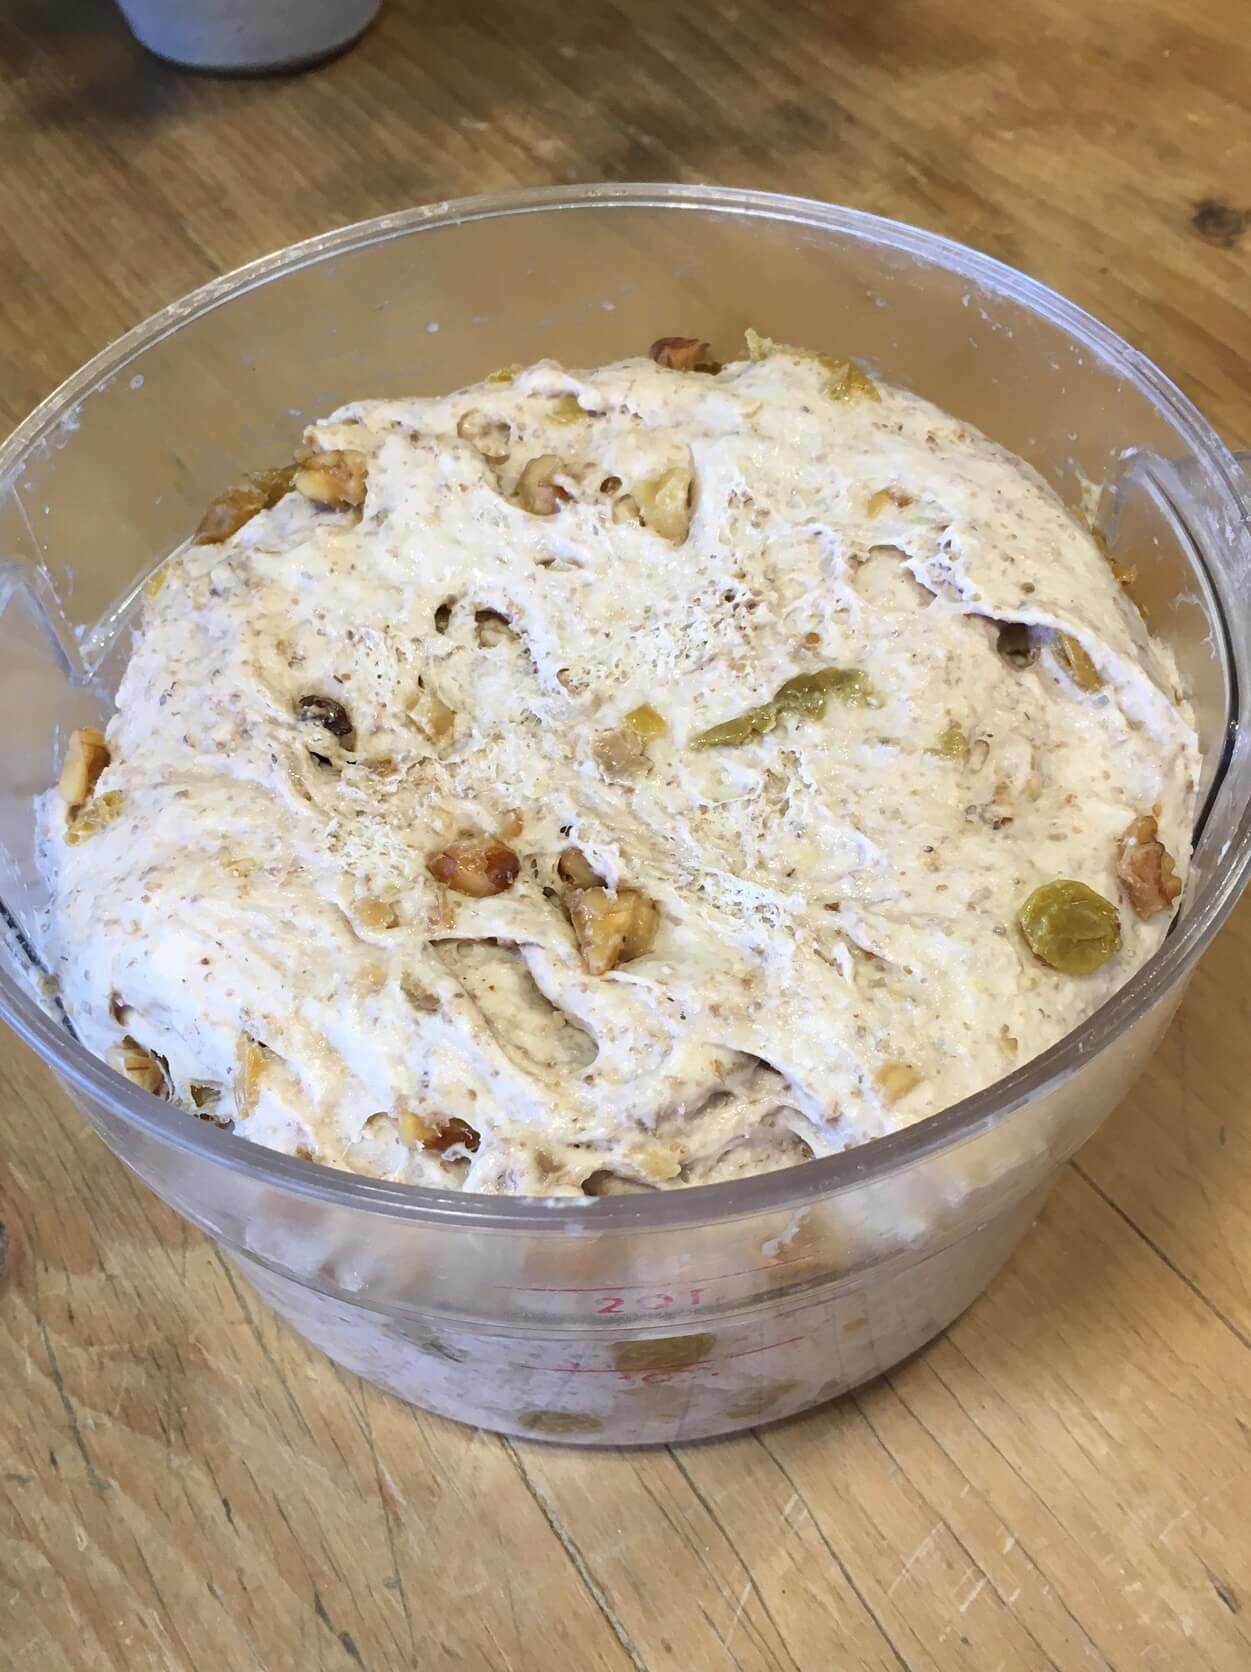
Add half of the walnuts and knead for several more minutes. While the dough kneads, the walnuts will break down adding some rosy color to the dough. Then knead in the rest of the walnuts and the raisins. Here is the dough ready to ferment.

Going back to the baker’s adage I opened with, this dough will ferment slowly which means it will have more time than the average loaf to develop flavor. Let it ferment and rise for a good 2 to 3 hours. Here is the risen mass crawling up the sides of its dough bucket.
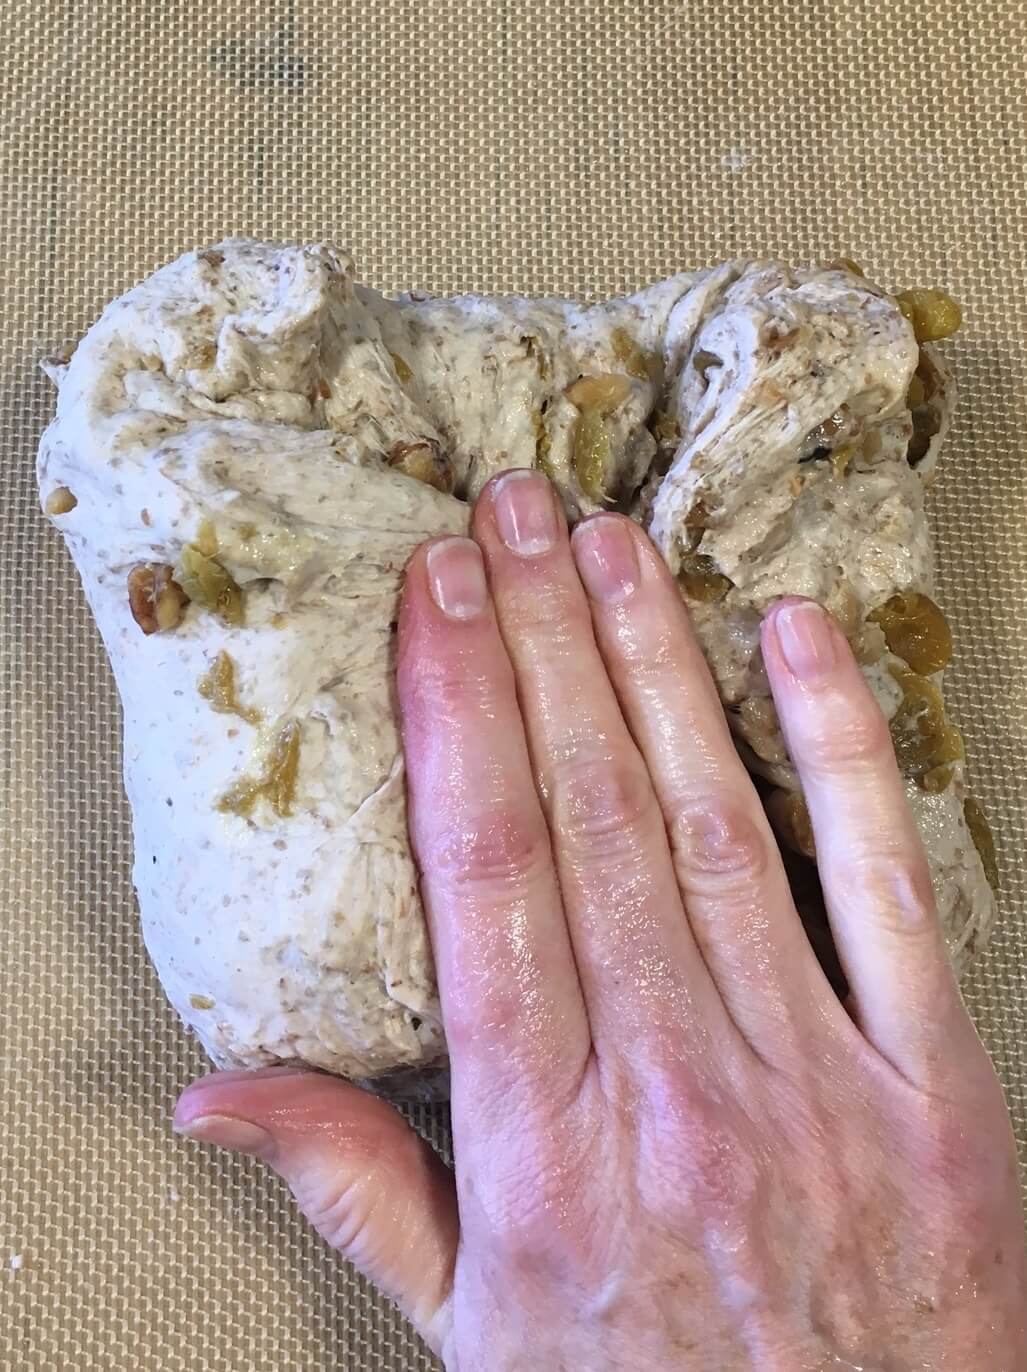
Push down on the edges of the dough and watch it gently deflate.

Forming the Golden Raisin Walnut Crown Loaf dough
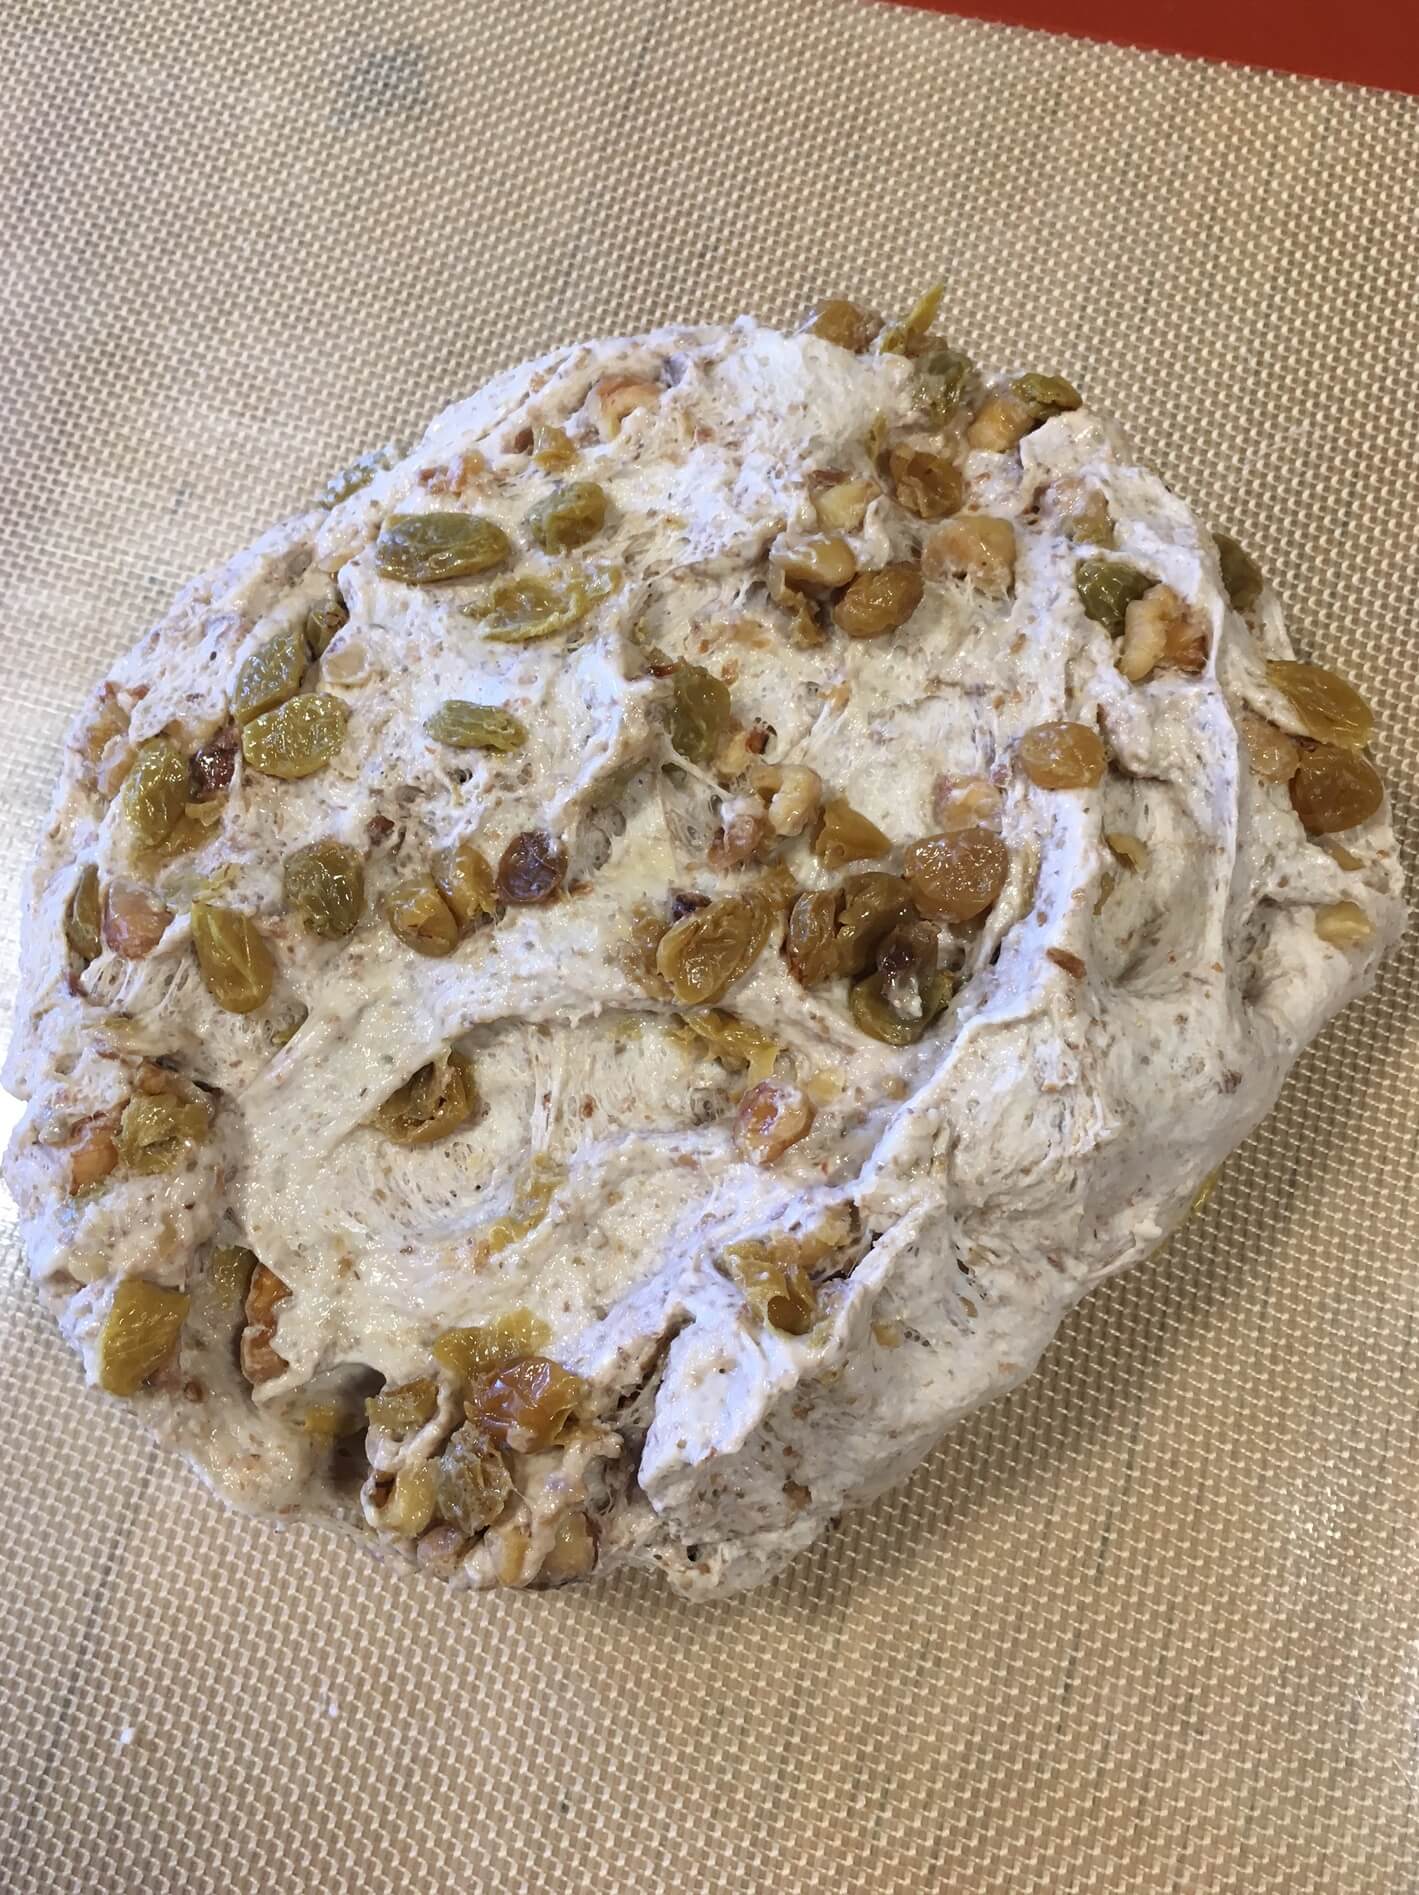
This firm dough is easy to handle and form. First, plop the dough out onto a lightly-floured table or a silicone baking mat. I like to use damp hands and a dry mat instead of flour because the dough is so firm and clay-like. But you may need a little bit of flour on your work surface if you are rolling on a wooden table like ours or a laminate counter top.
To get a nice tight ball, fold up the bottom edge of the dough.
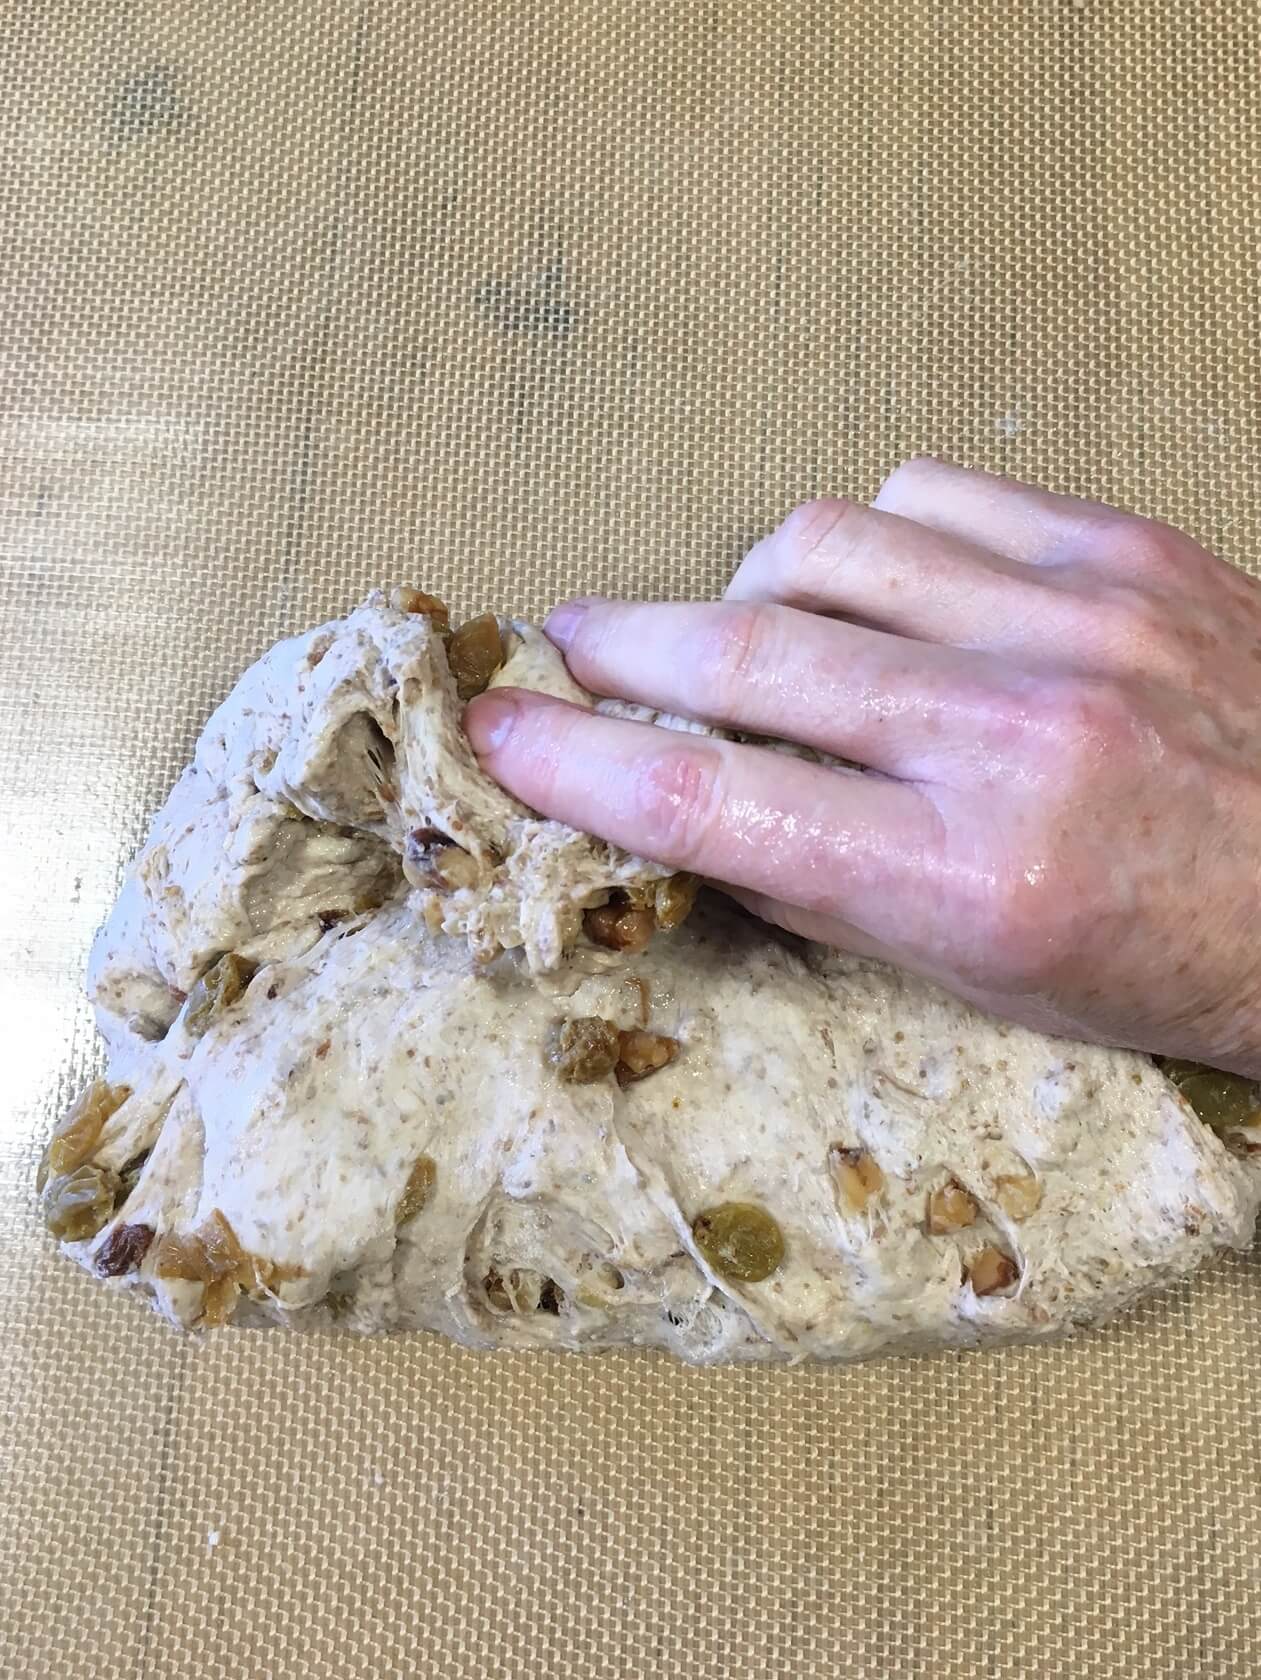
Then fold down the top edge. Think of this as if you are folding a letter.
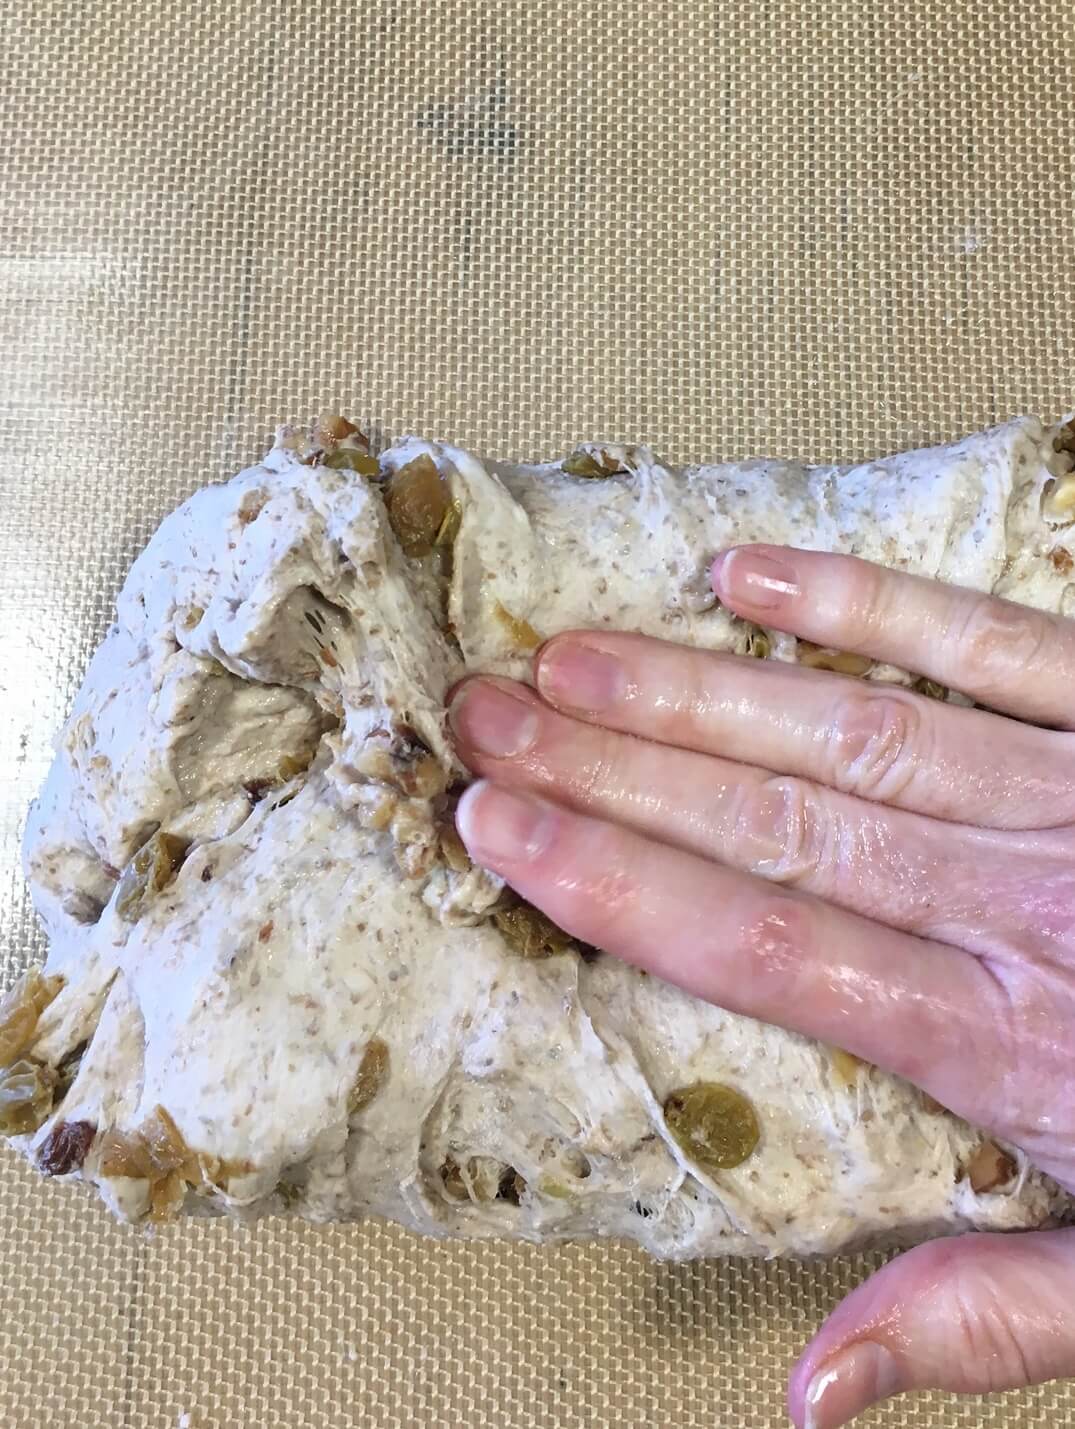
Then fold in each side. These steps give you a neat package of dough that will be easy to shape into a tight ball.
Flip the dough over and place one hand on the side. Push against the side of the ball of dough and let it drag a little on the mat or work surface. The top of the dough will stretch a little as you push. Think of this as your presentation side, the most attractive part of the loaf. Pushing will stretch out the top surface and give you a taught ball of dough.
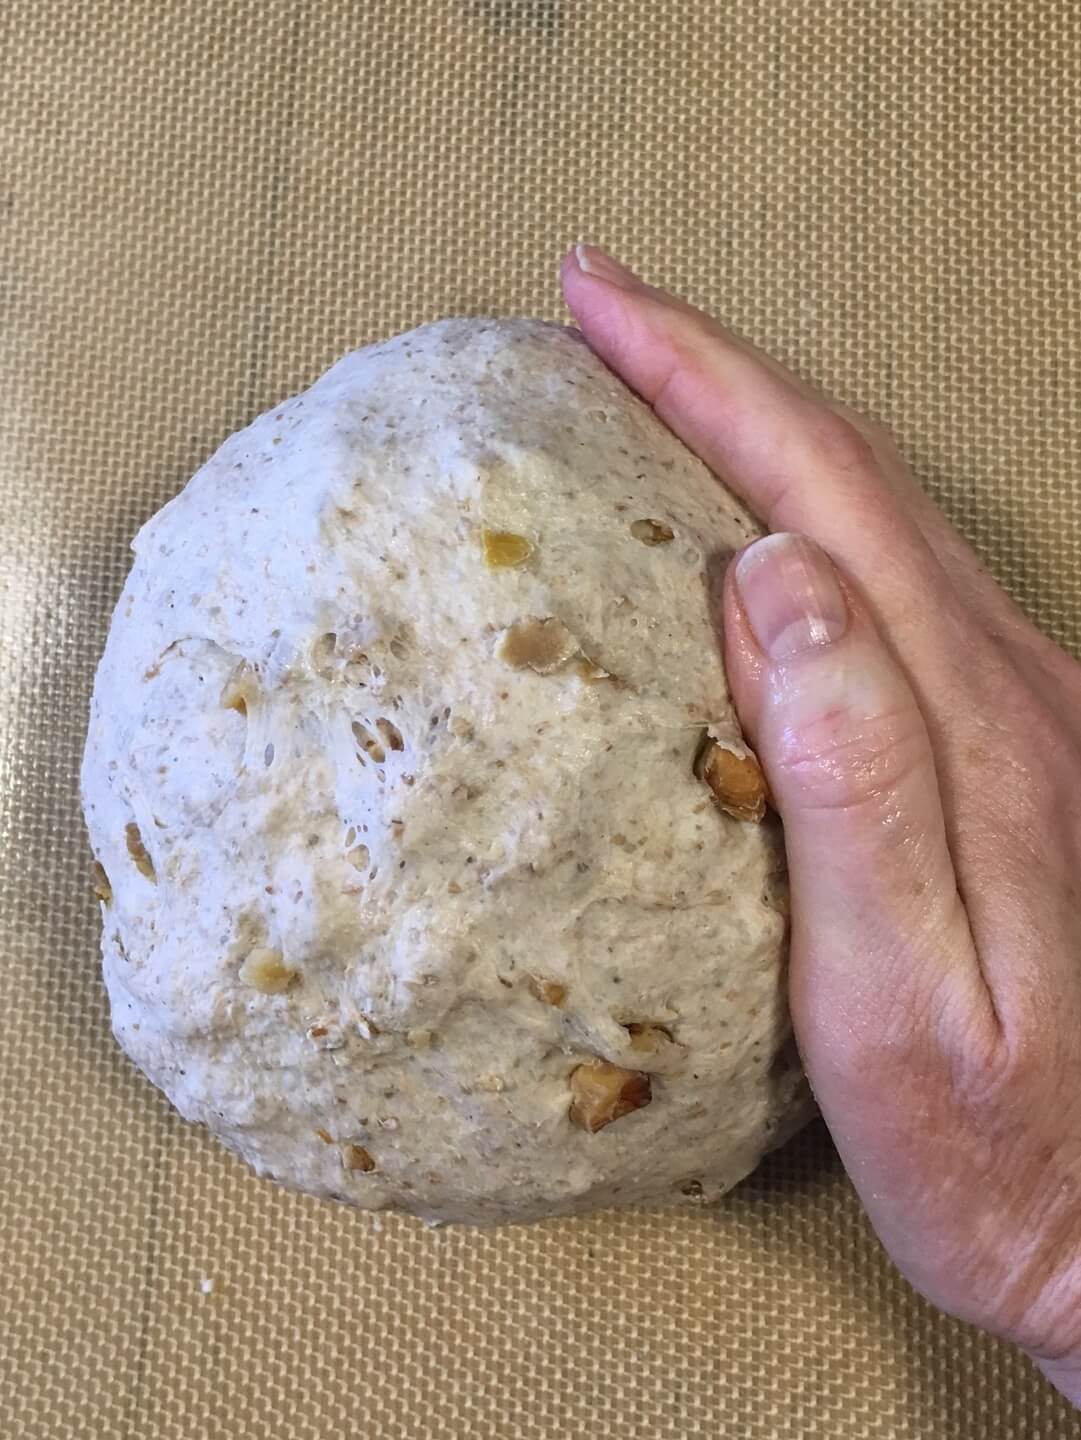
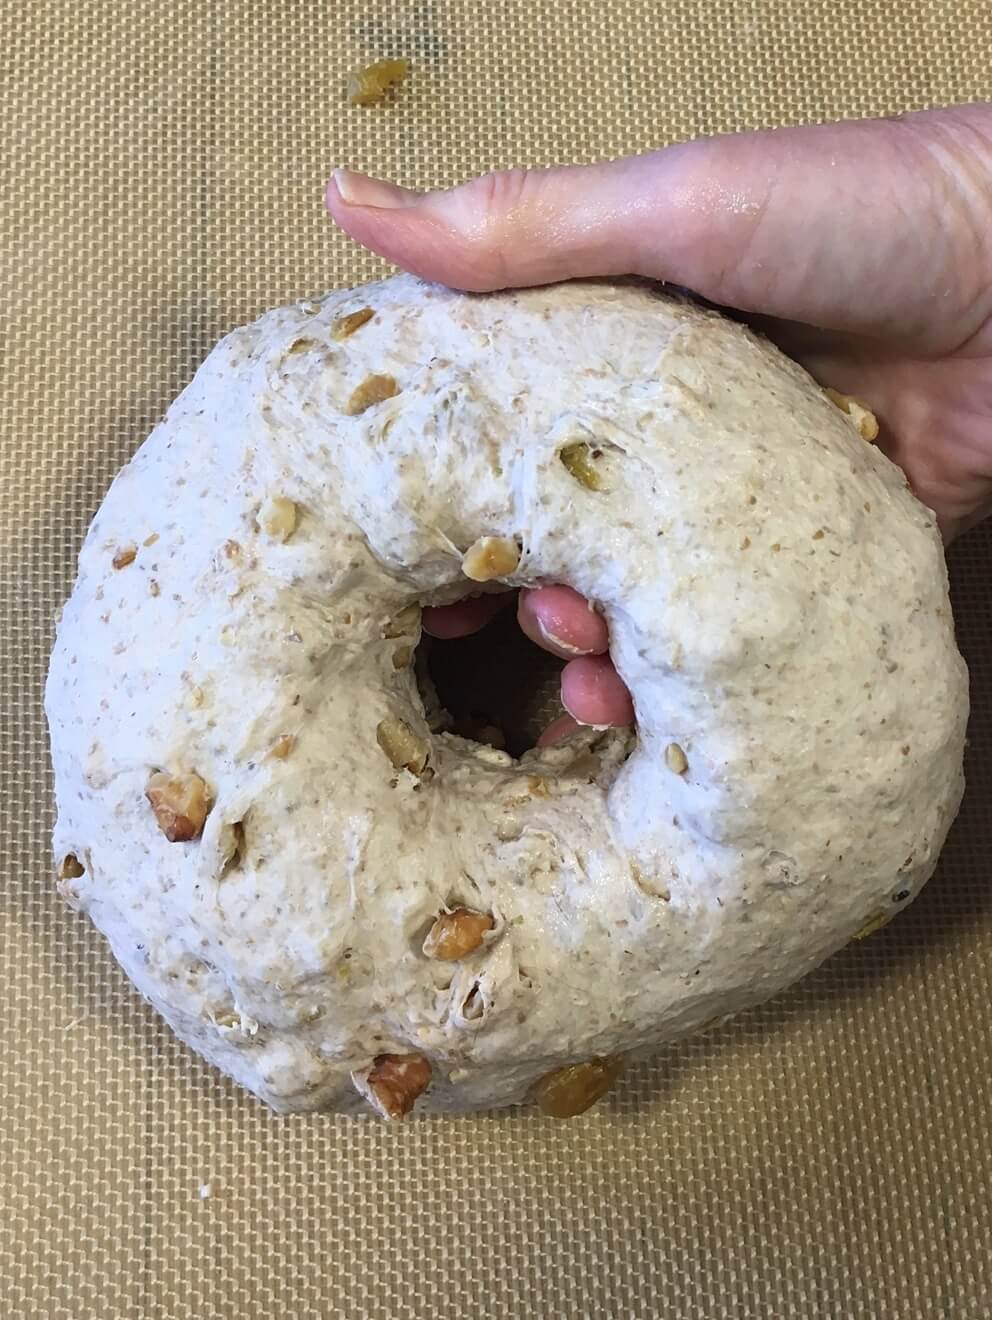
To make a crown loaf, poke two fingers into the center of the dough.
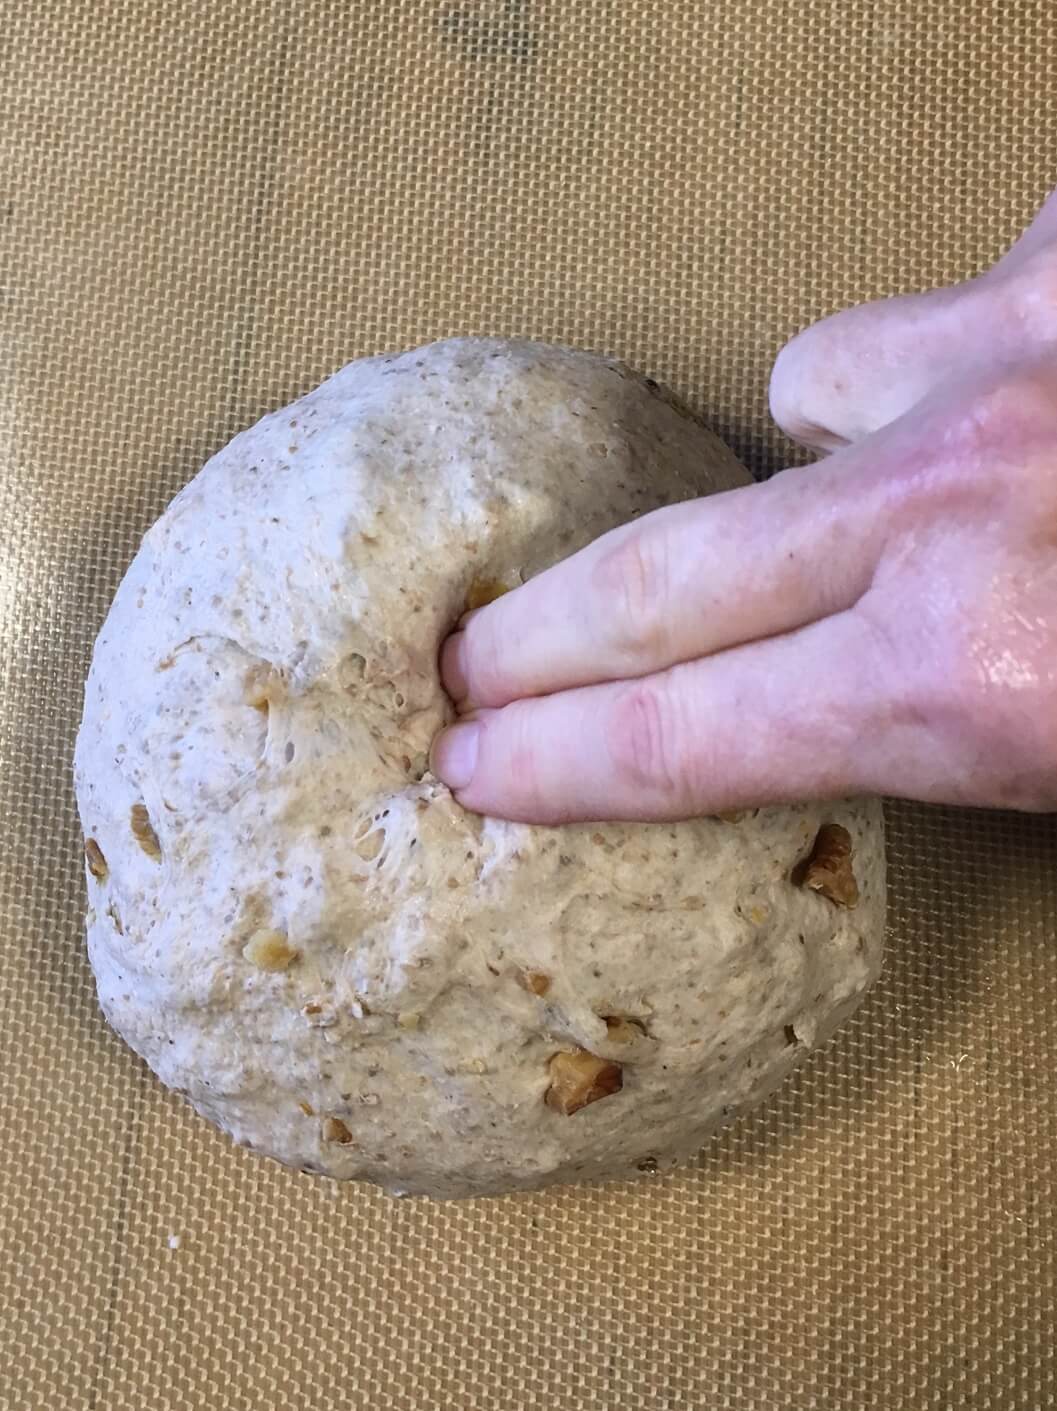
Wiggle your fingers and poke a hole right through the dough.
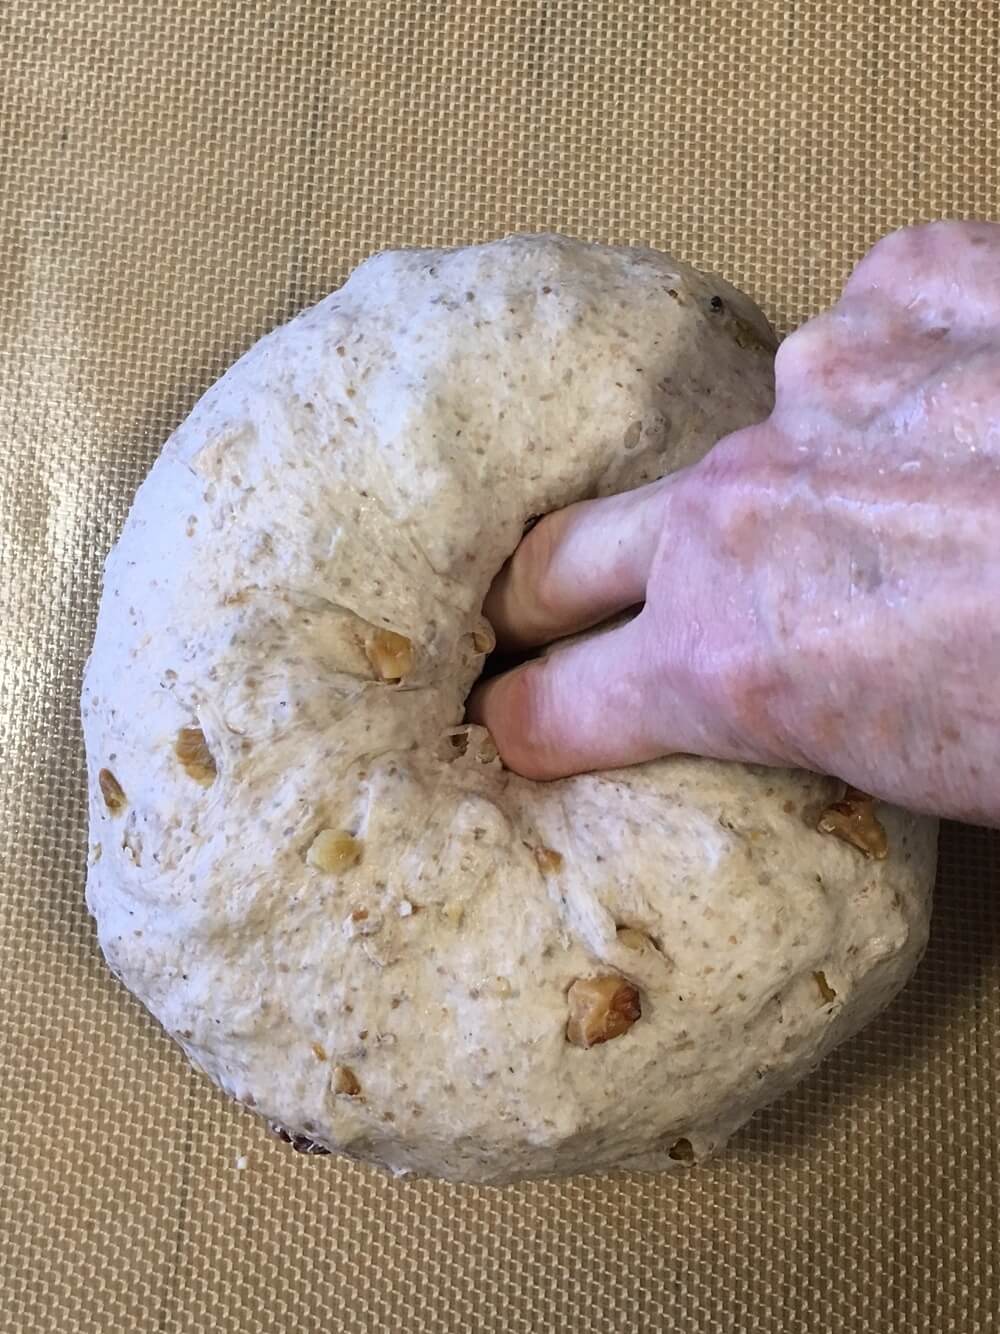
Grab the ring of dough in your two hands and pull gently until the hold widens. Work your hands around the ring pulling to gently stretch out the dough into an even ring.
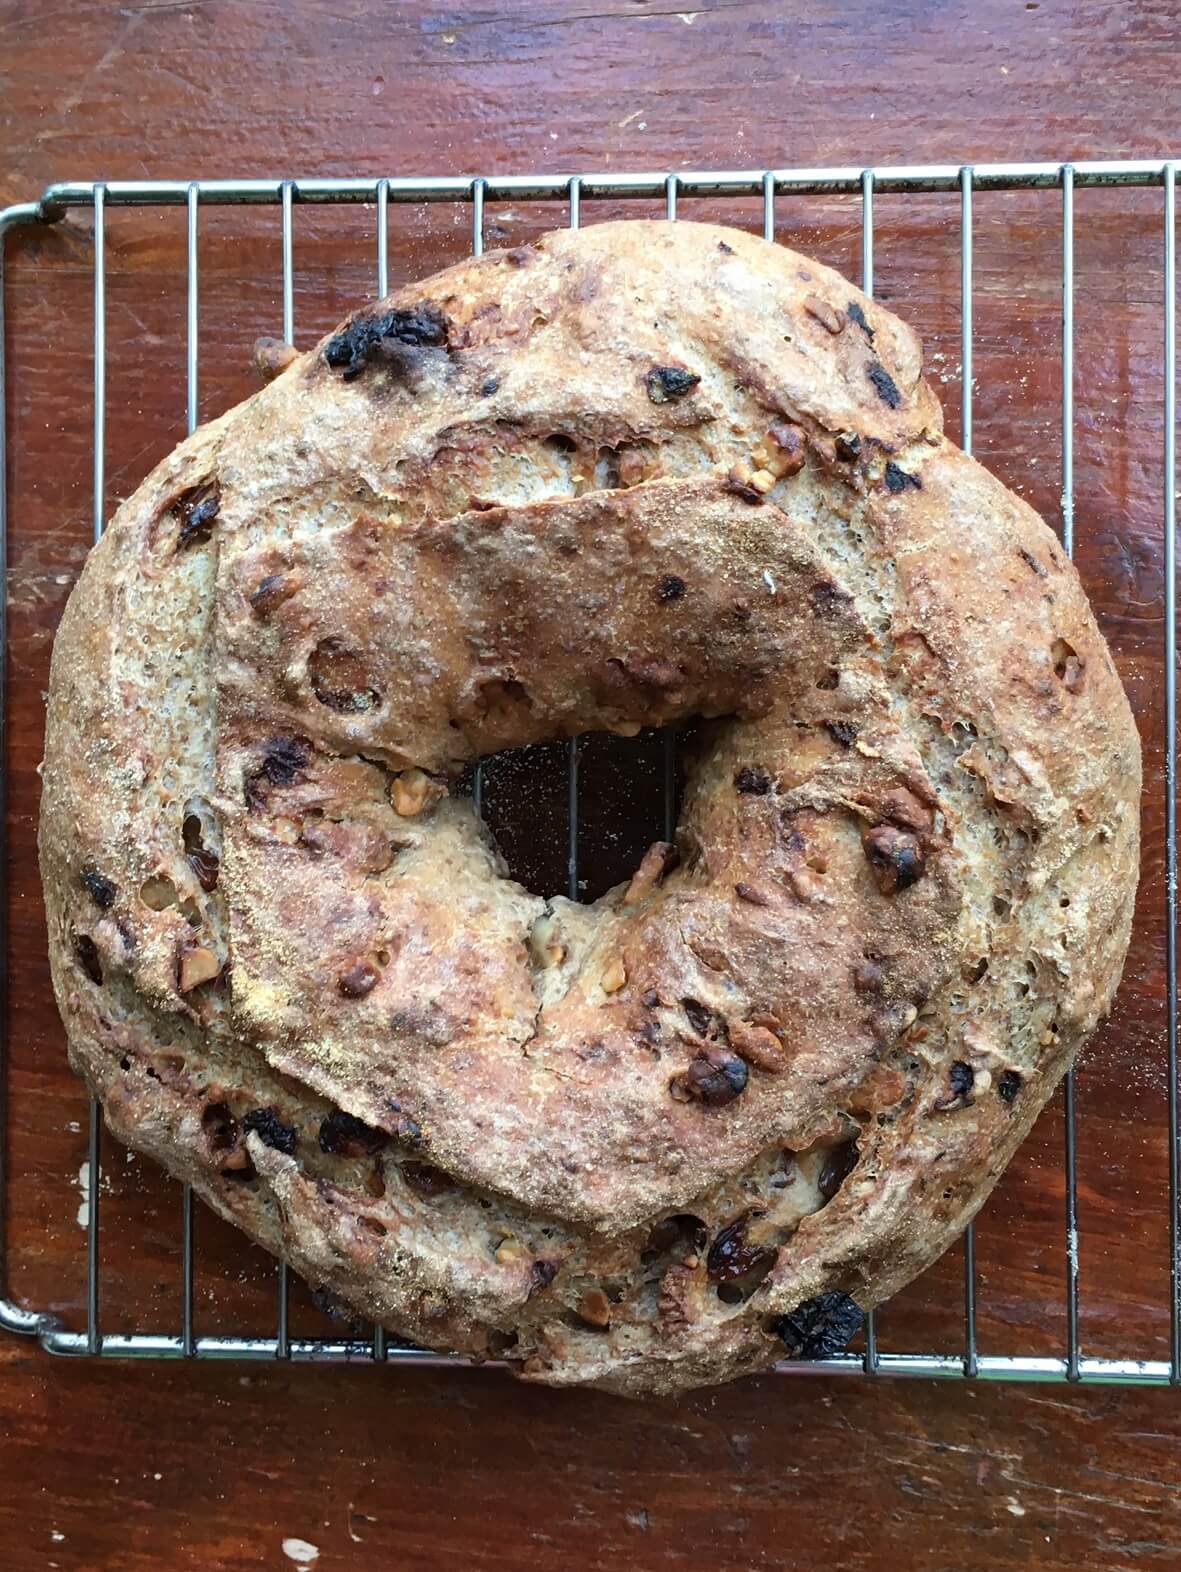
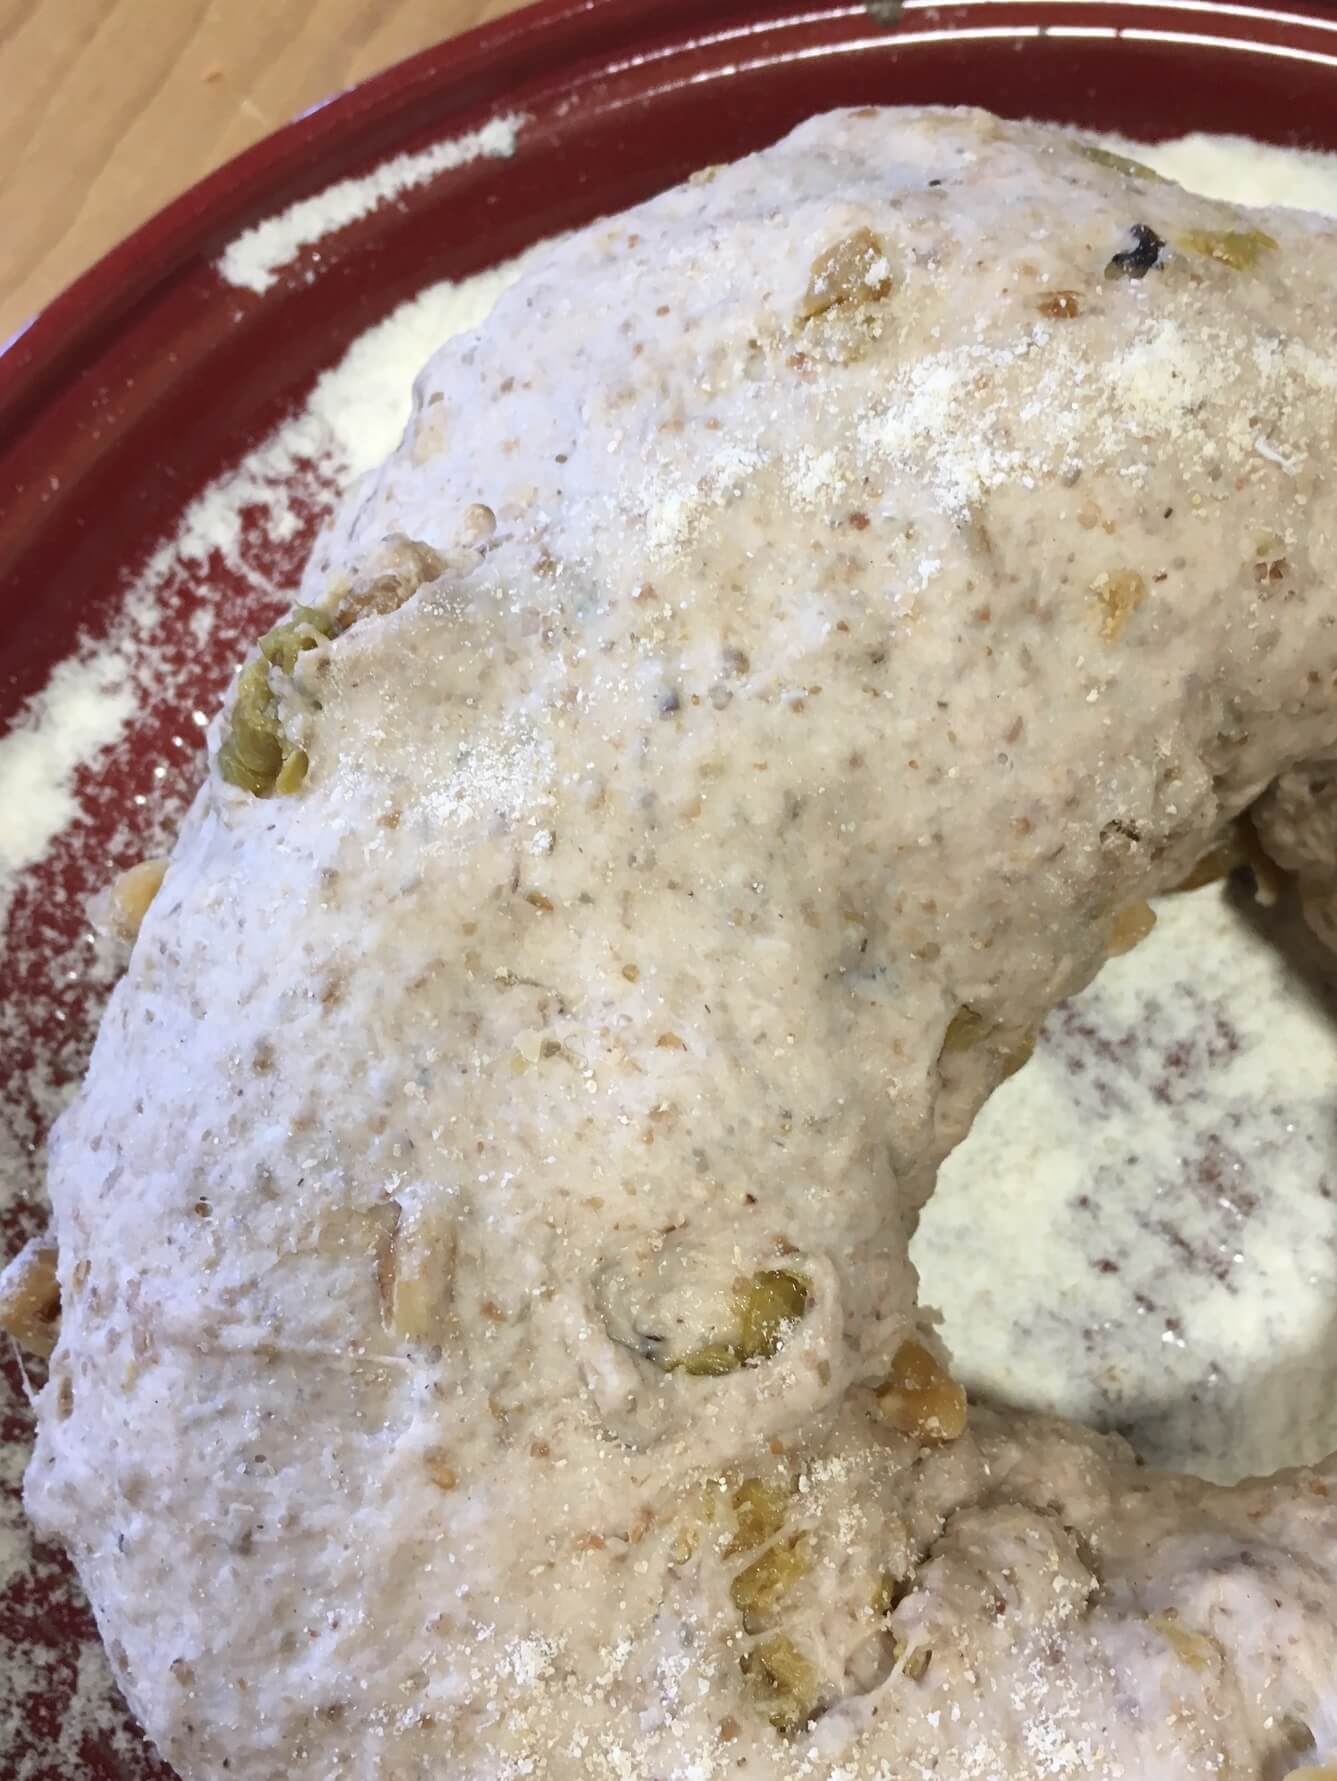
Working gently, you’ll end up with a ring of dough like this.

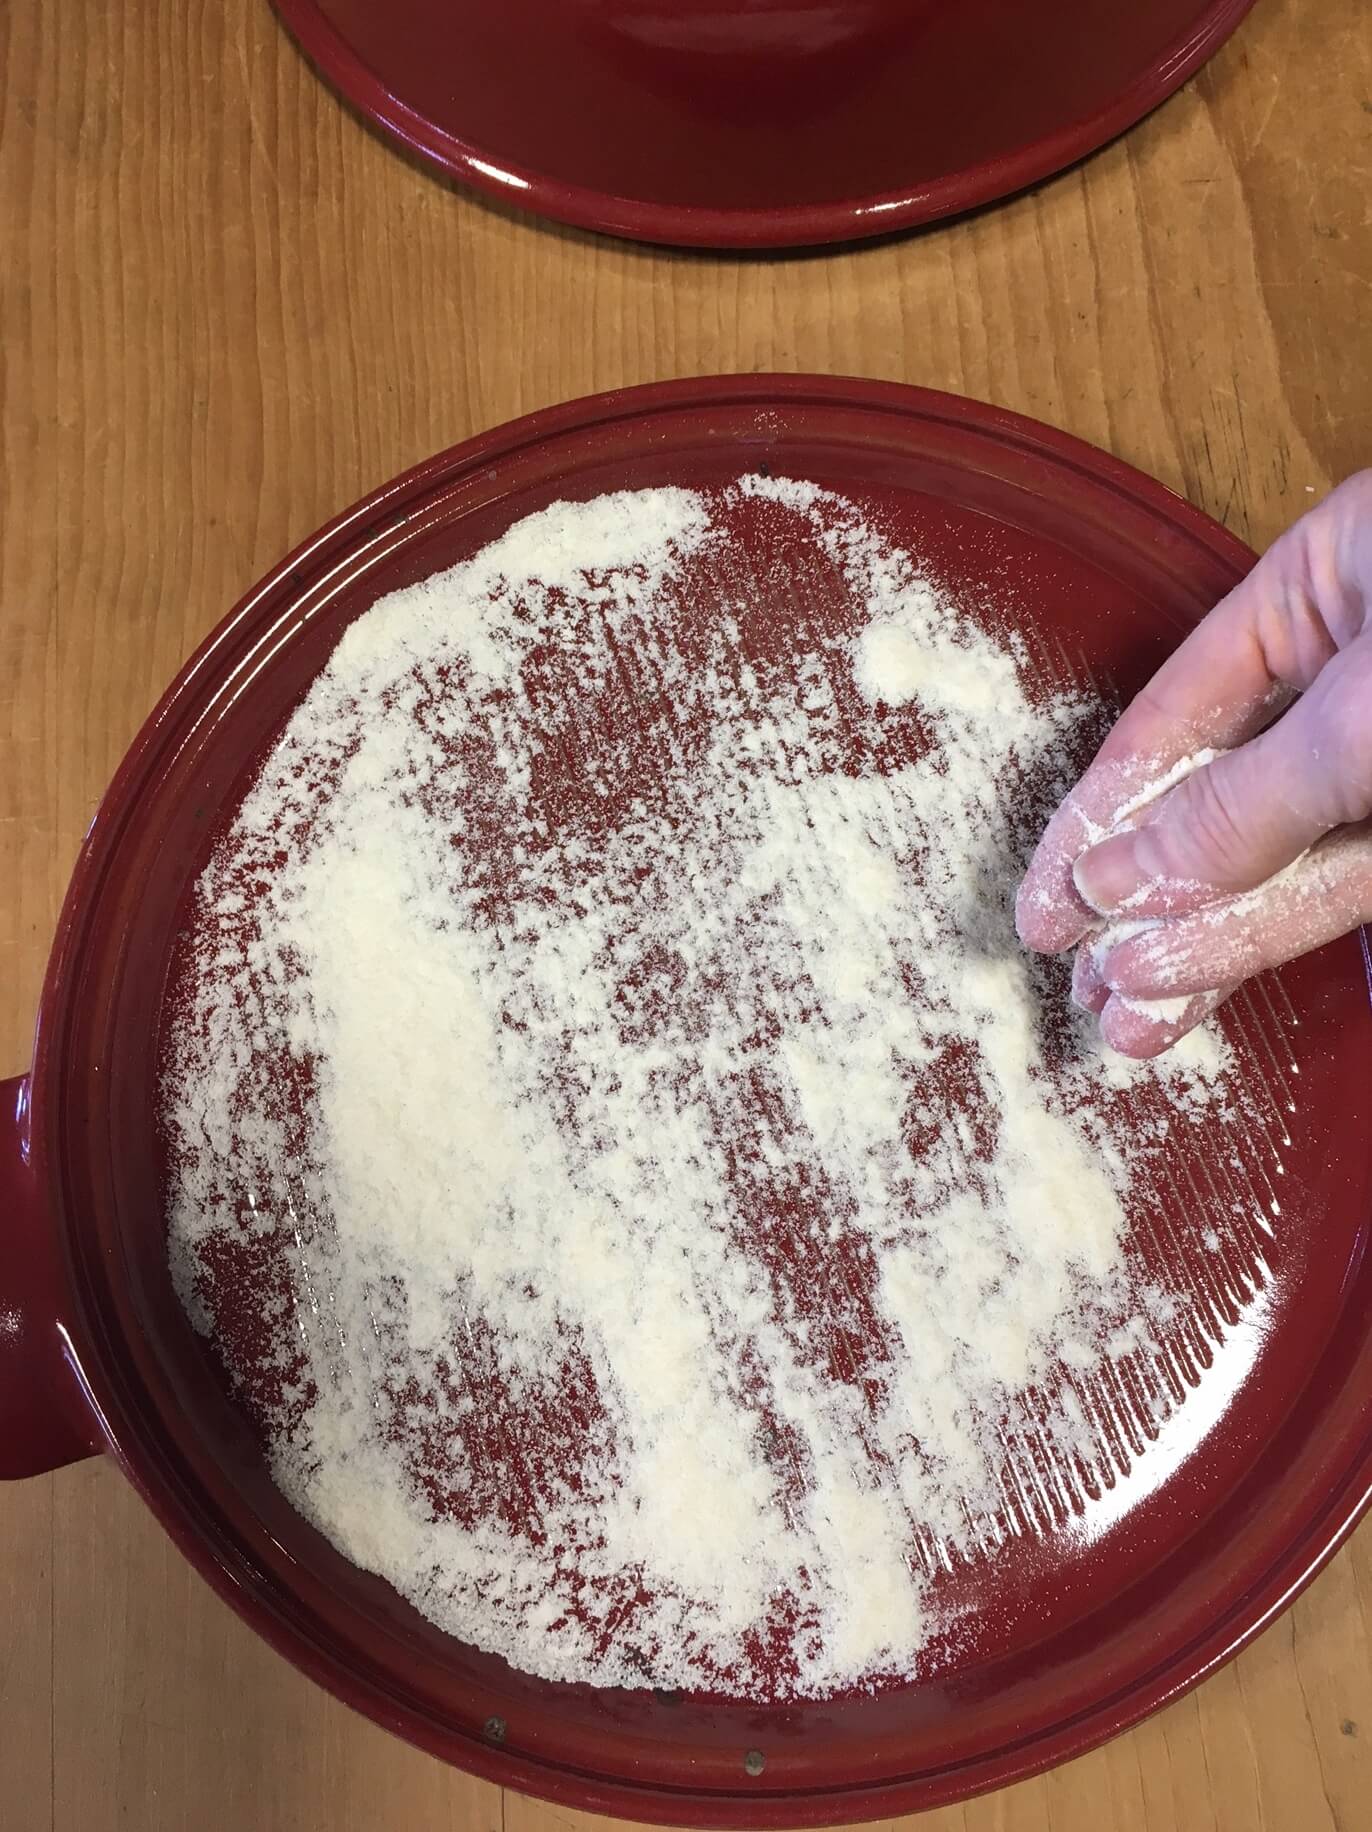
Sprinkle a parchment-lined baking sheet or the bottom of a cloche platter with rice flour. Be generous. There is a good deal of moisture in the dough. It could stick to the platter if you skimp on the flour.
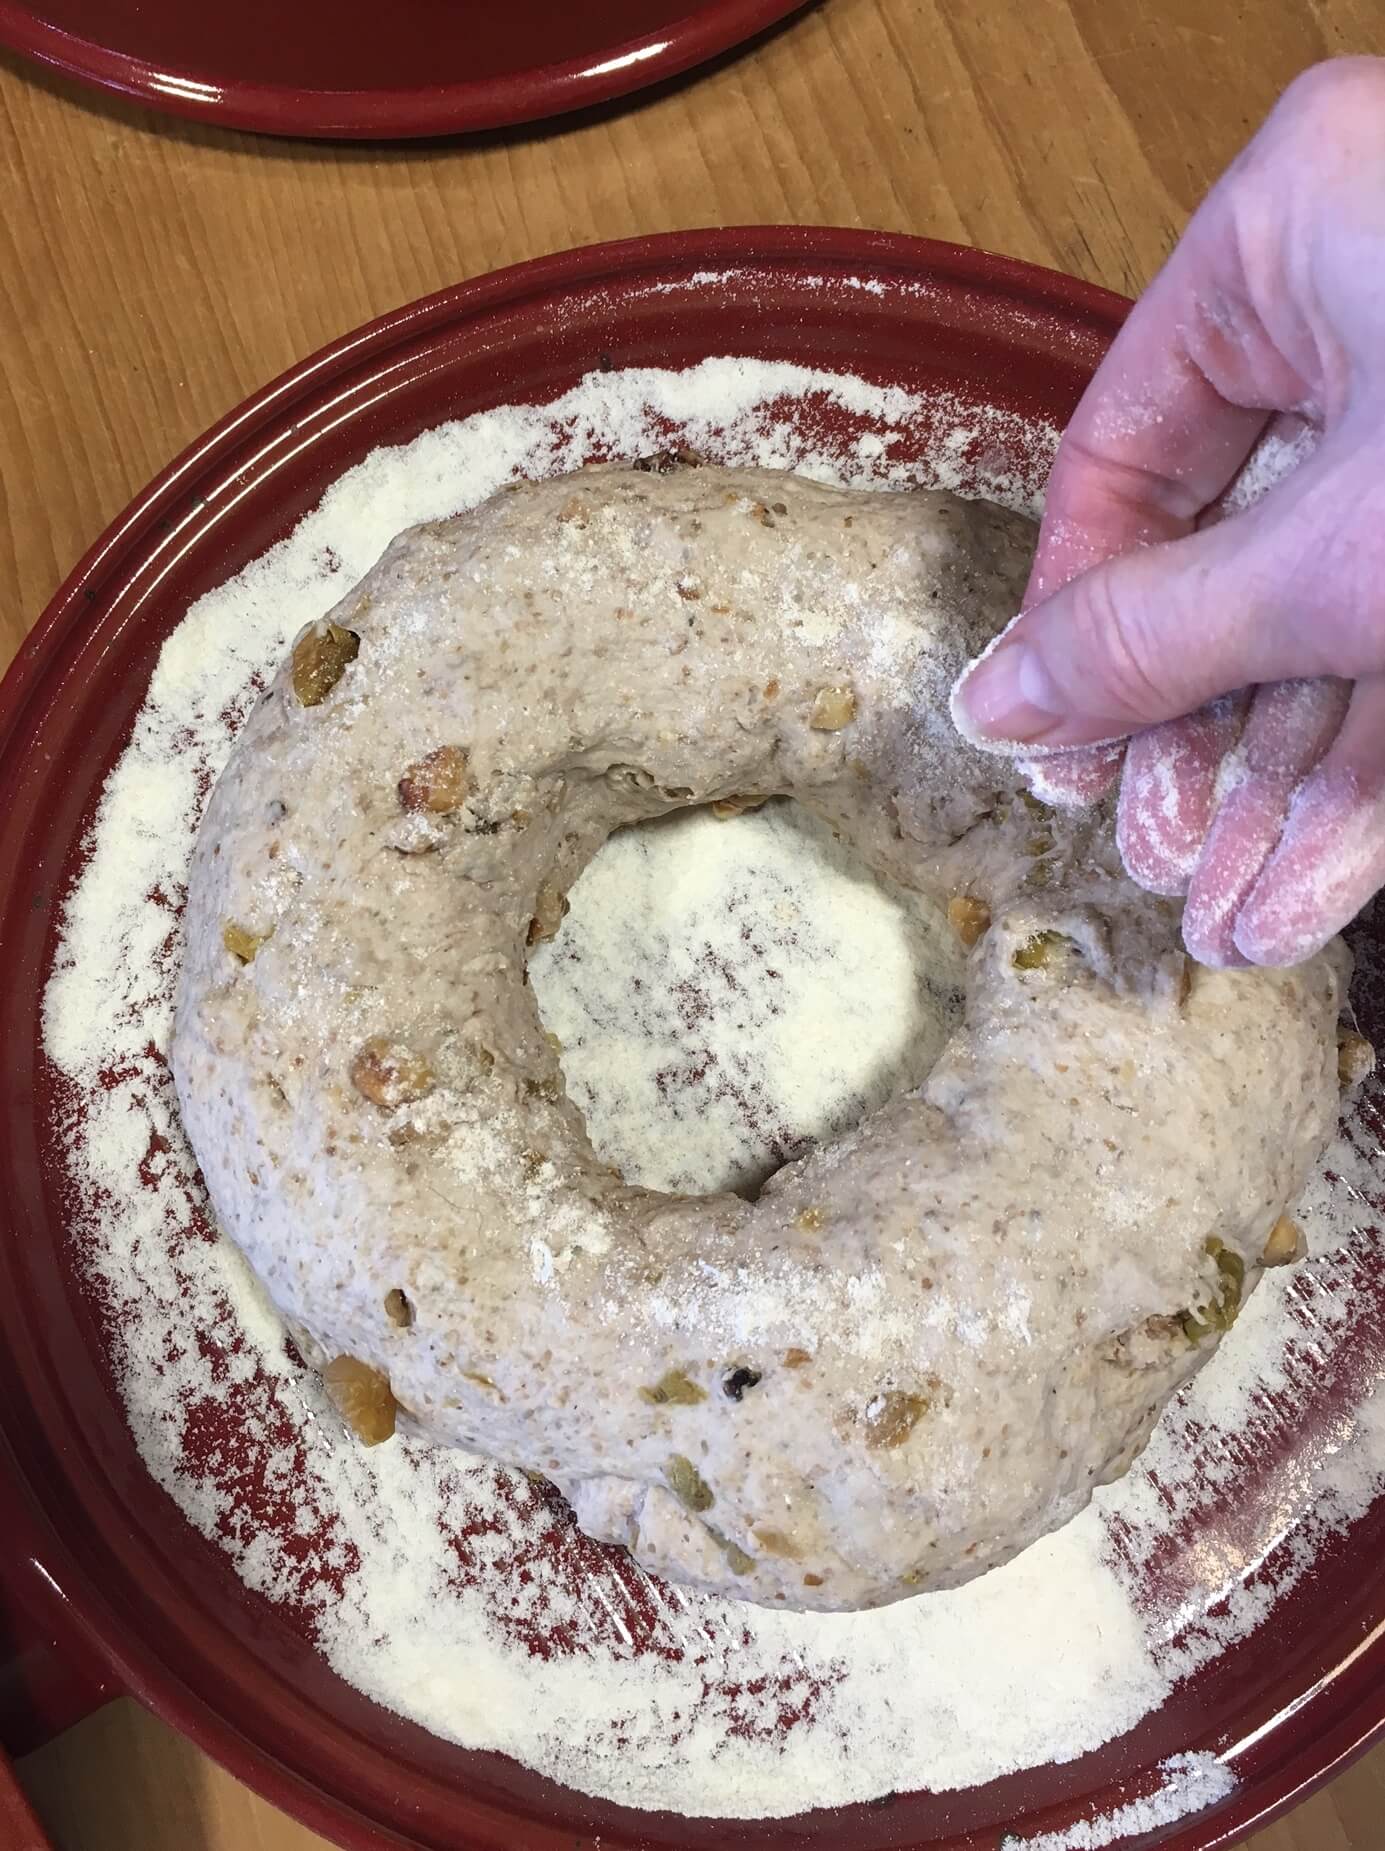
Place the formed ring of Golden Raisin Walnut Crown Loaf dough on the platter. Sprinkle it with more rice flour if you like to give it a rustic appearance.
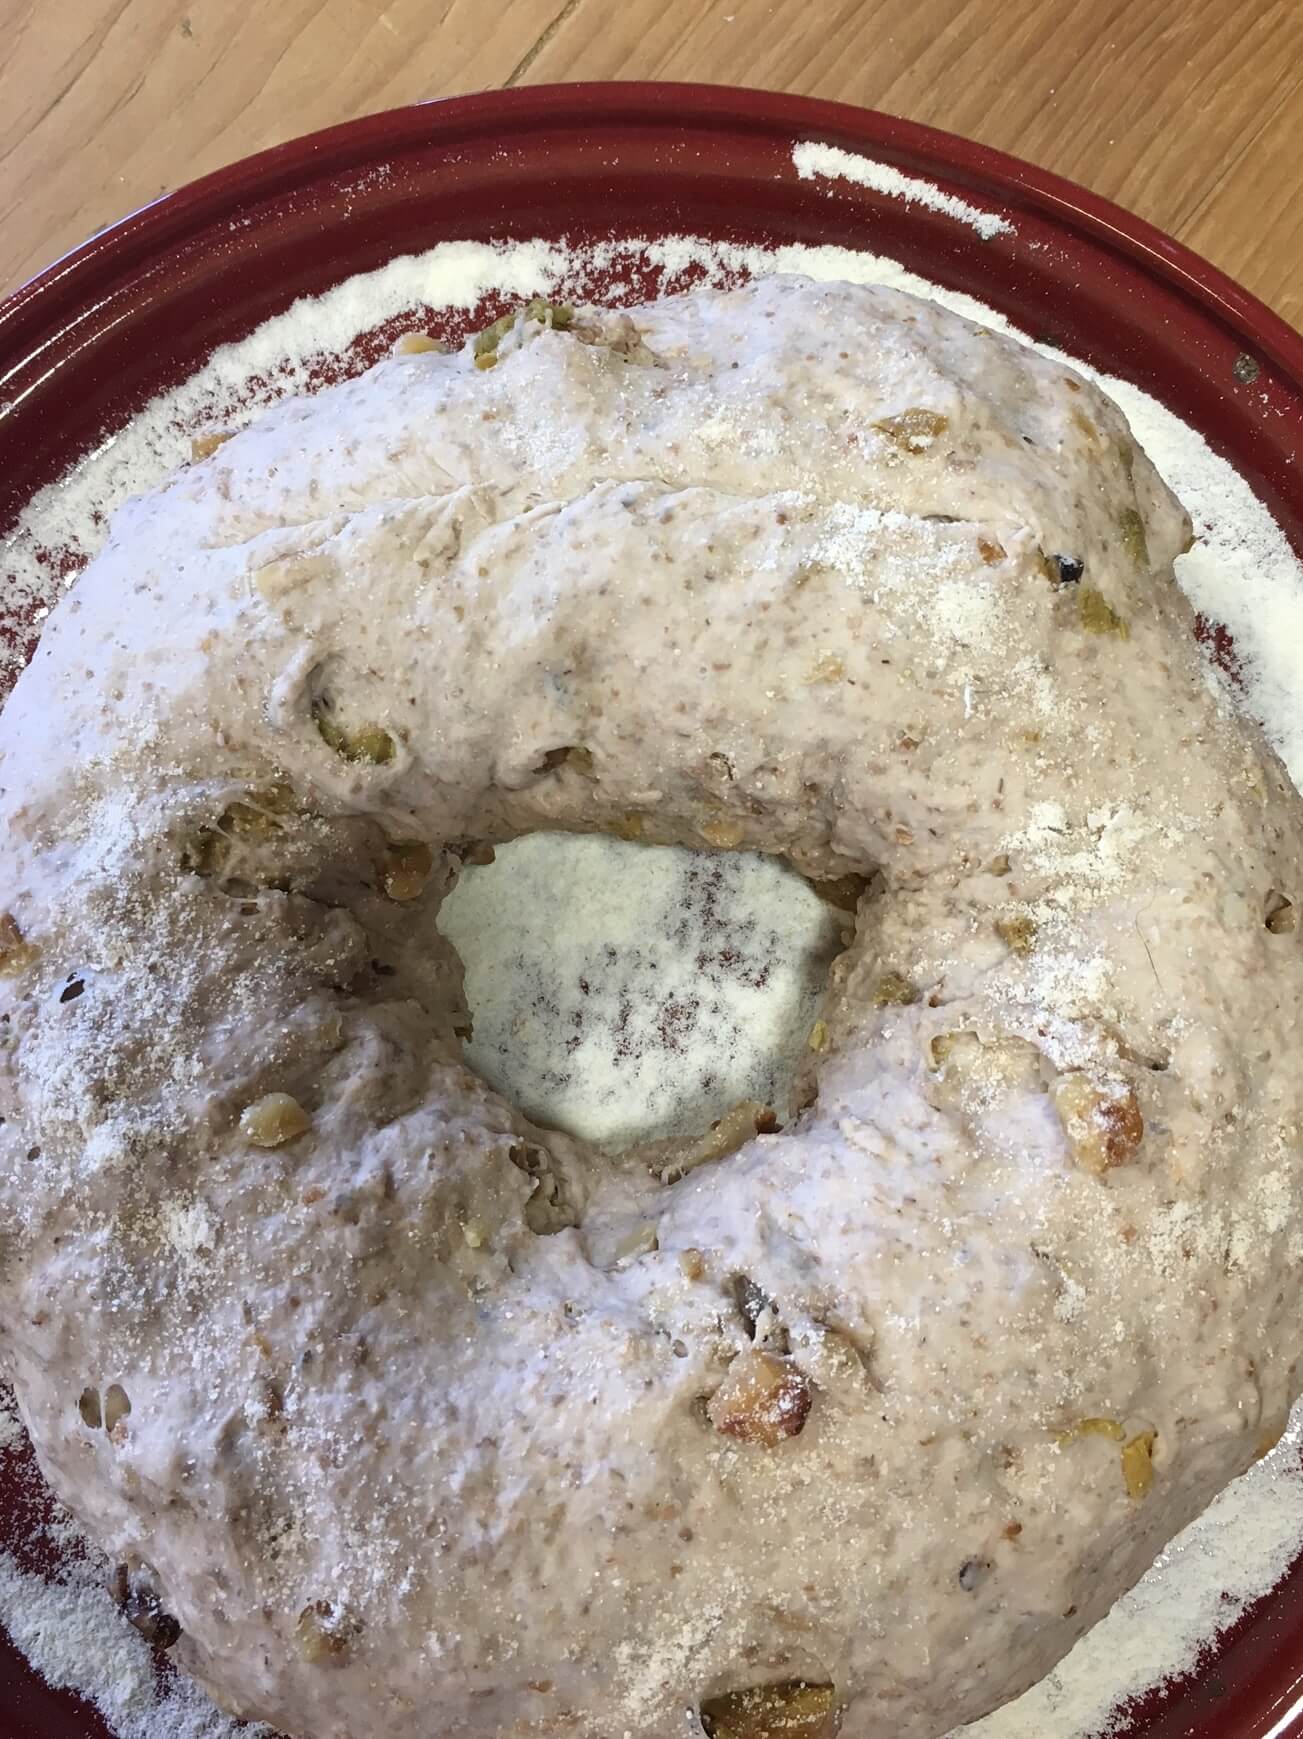
Cover the dough and let it proof or rise a second time. This may take anywhere from 45 minutes to a 1 ½ hours. It depends on the temperature in your kitchen. You can test when your dough is ready by gently pressing a finger into the dough.
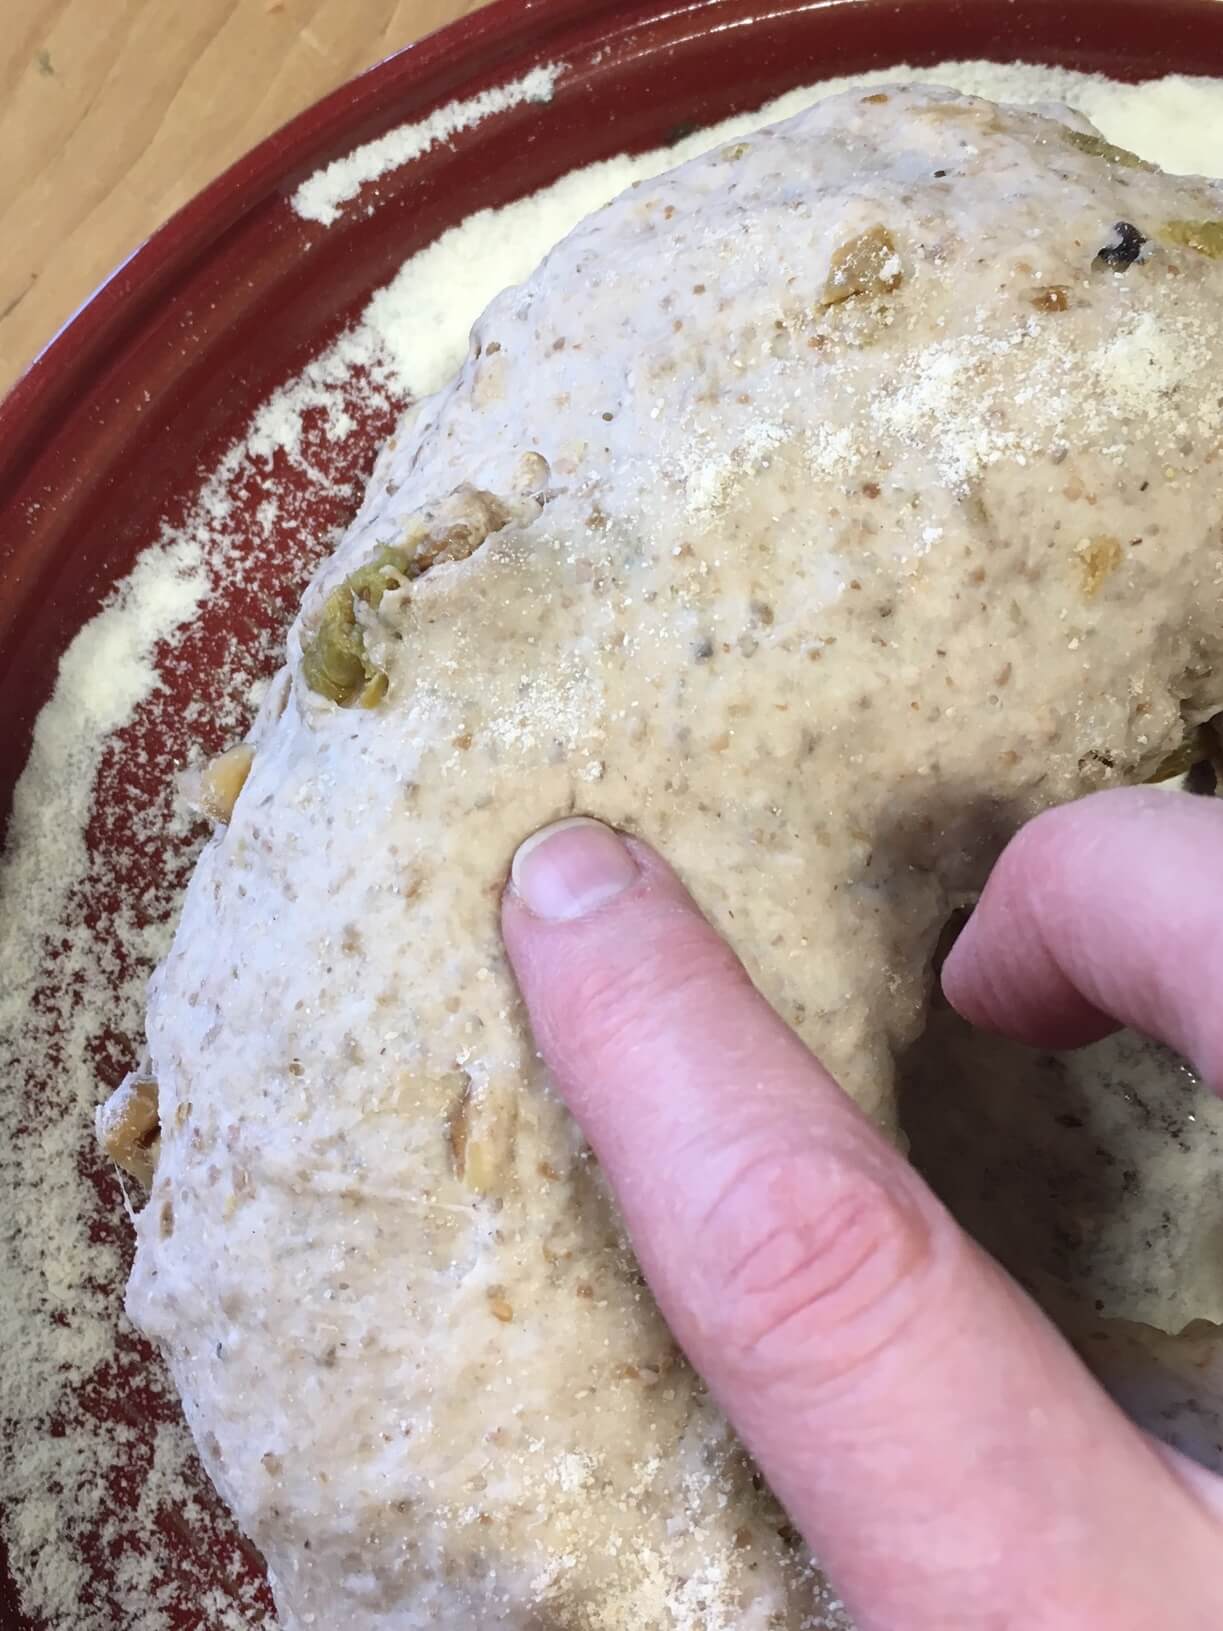
The dough will hold the impression of your fingertip. Now it is ready to bake.
Baking the crown loaf
To get an attractive surface on the dough, score it in several places. I use a serrated twine knife. Hold the knife parallel to the surface of the dough. Then swiftly slash the dough across the top near an edge.
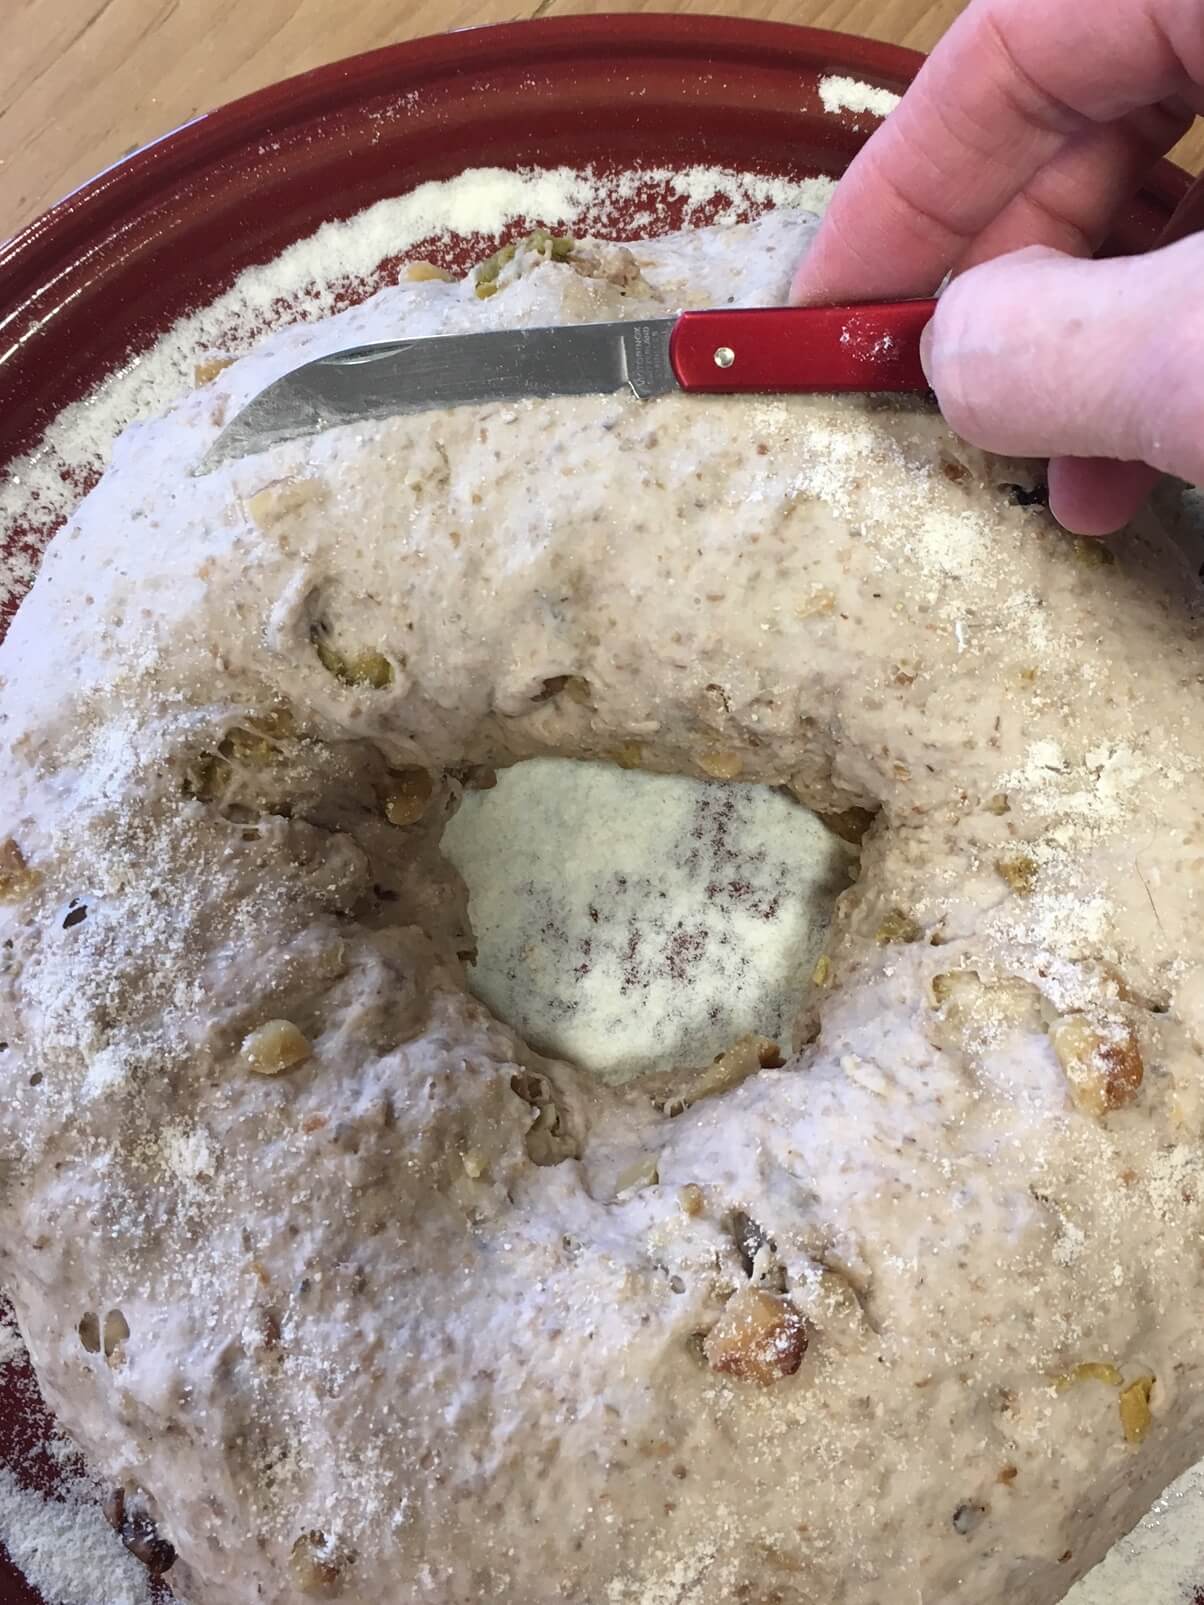
Here is a nice deep slash in the dough that will bake into a beautiful crevice.
Slash the loaf in 6 or seven places. Cover the dough with the cloche and place it in the oven. (If you are using a baking stone, don’t forget to preheat your baking stone. And place a small pan for water on the floor of the oven and preheat it to 450°F. When the dough has proofed, pour ½ cup of boiling water into the pan placed on the bottom of your oven to create steam.)

After 20 minutes, remove the cloche. You’ll see that the loaf has swelled and the slashes have opened up. Keep baking for another 15 to 20 more minutes, uncovered, until the loaf is golden brown and baked through.
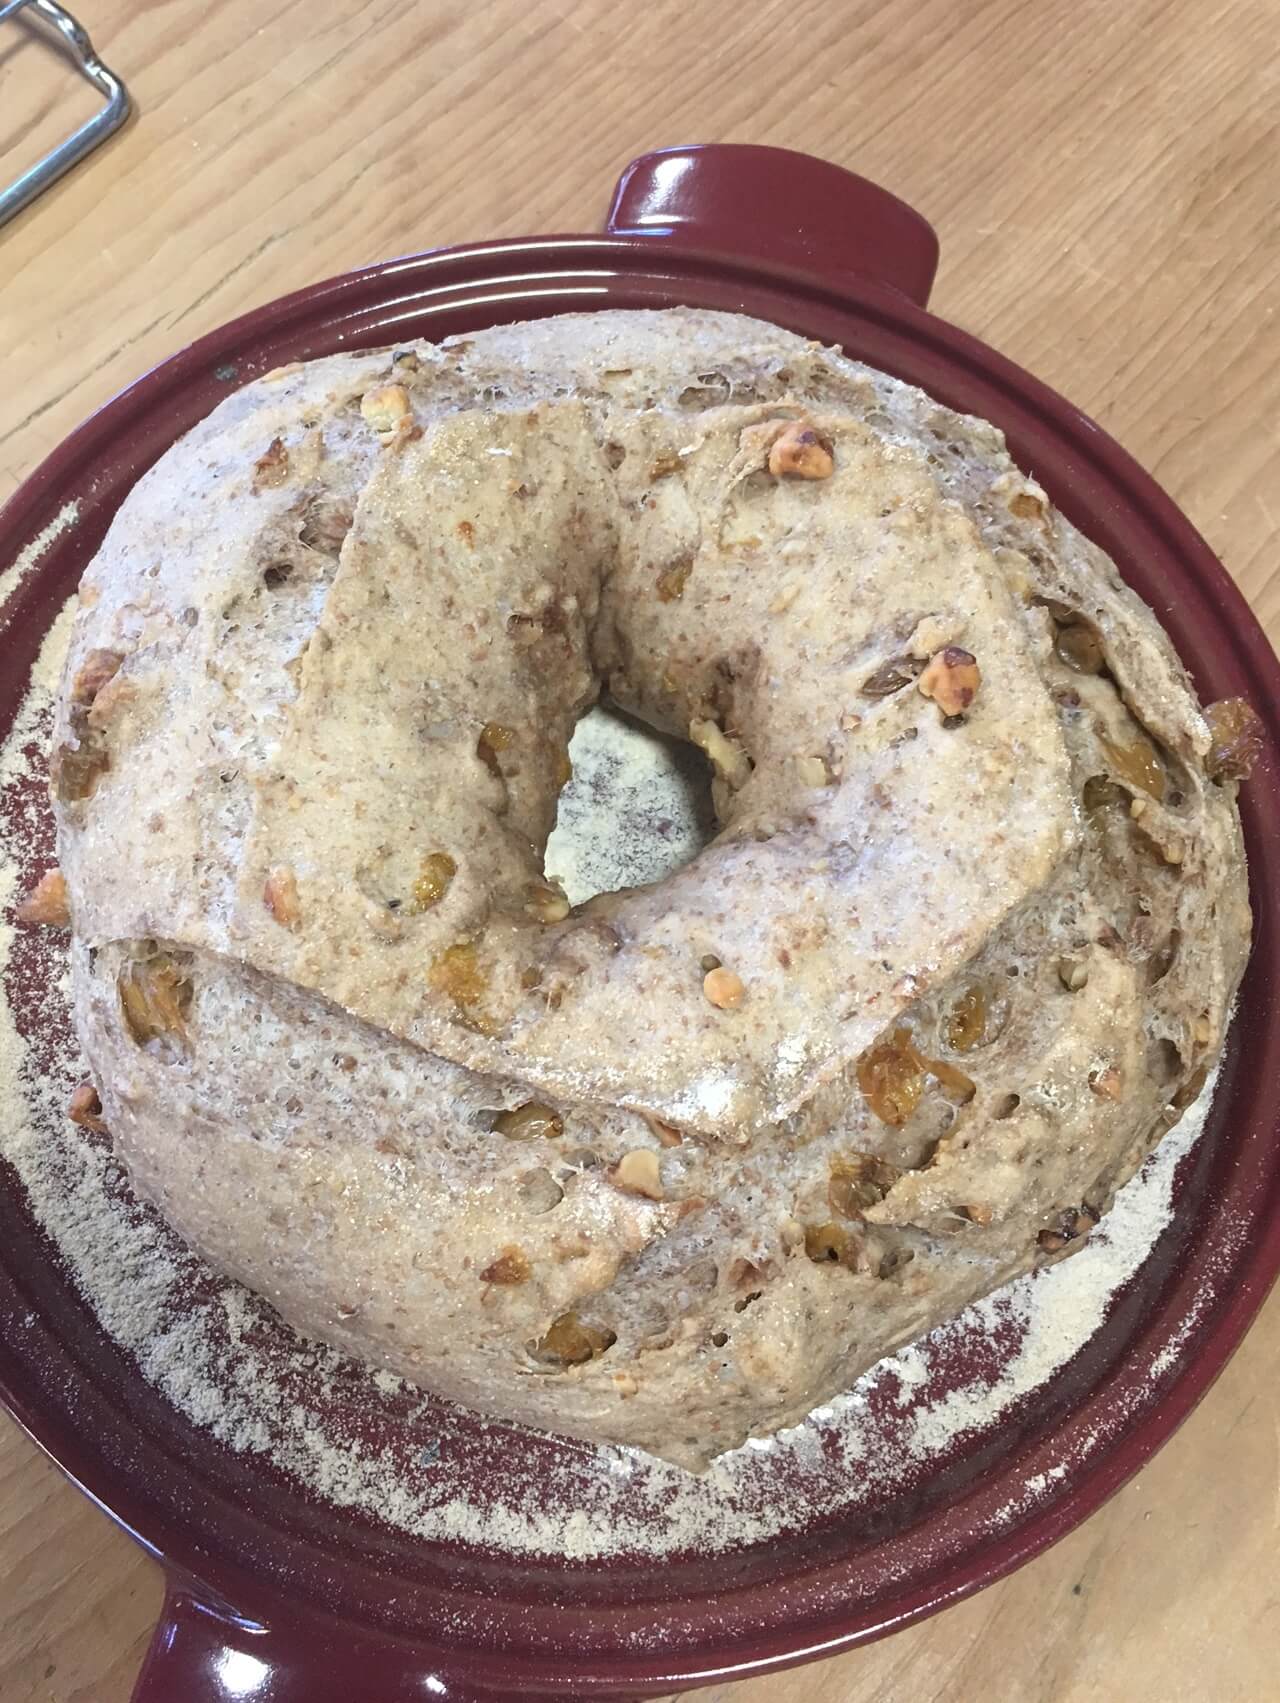
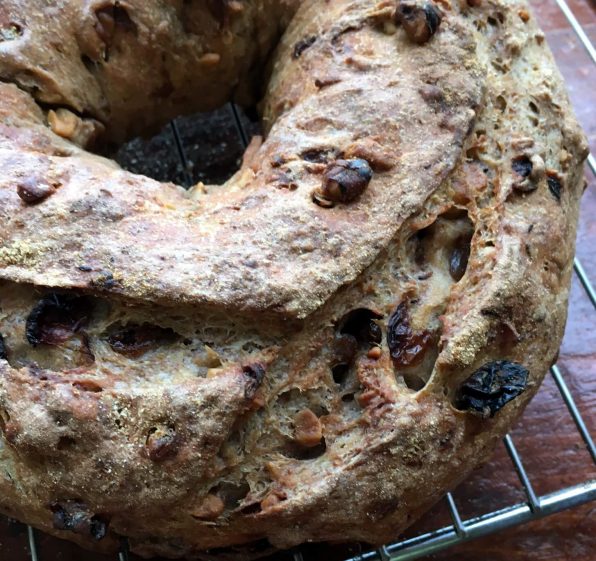
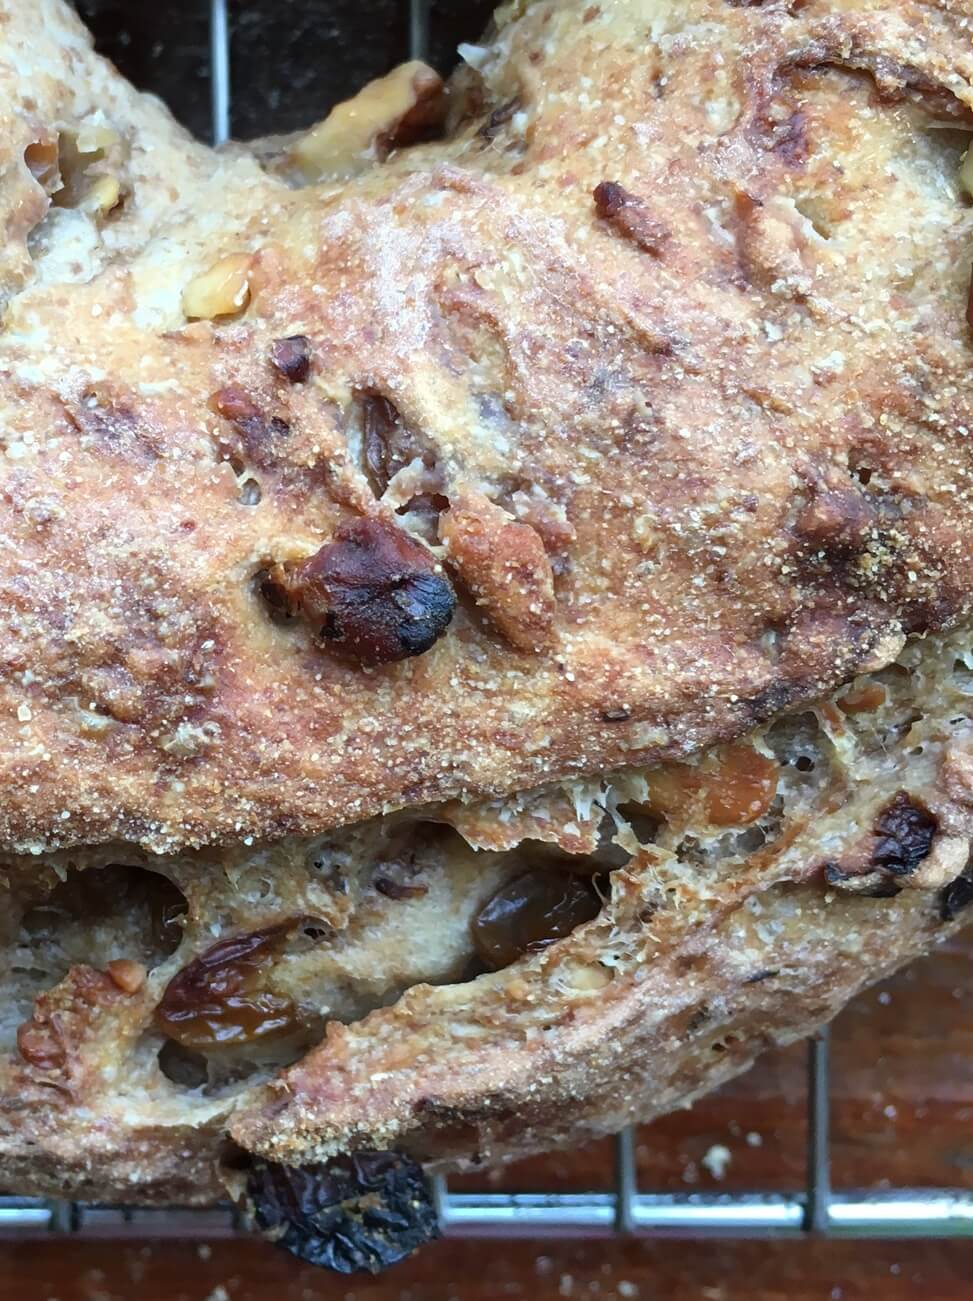
Here is a close-up of the loaf. The slashes have opened up revealing the raisins and walnuts. The flecks of rice flour on the surface of the dough have turned a golden brown.
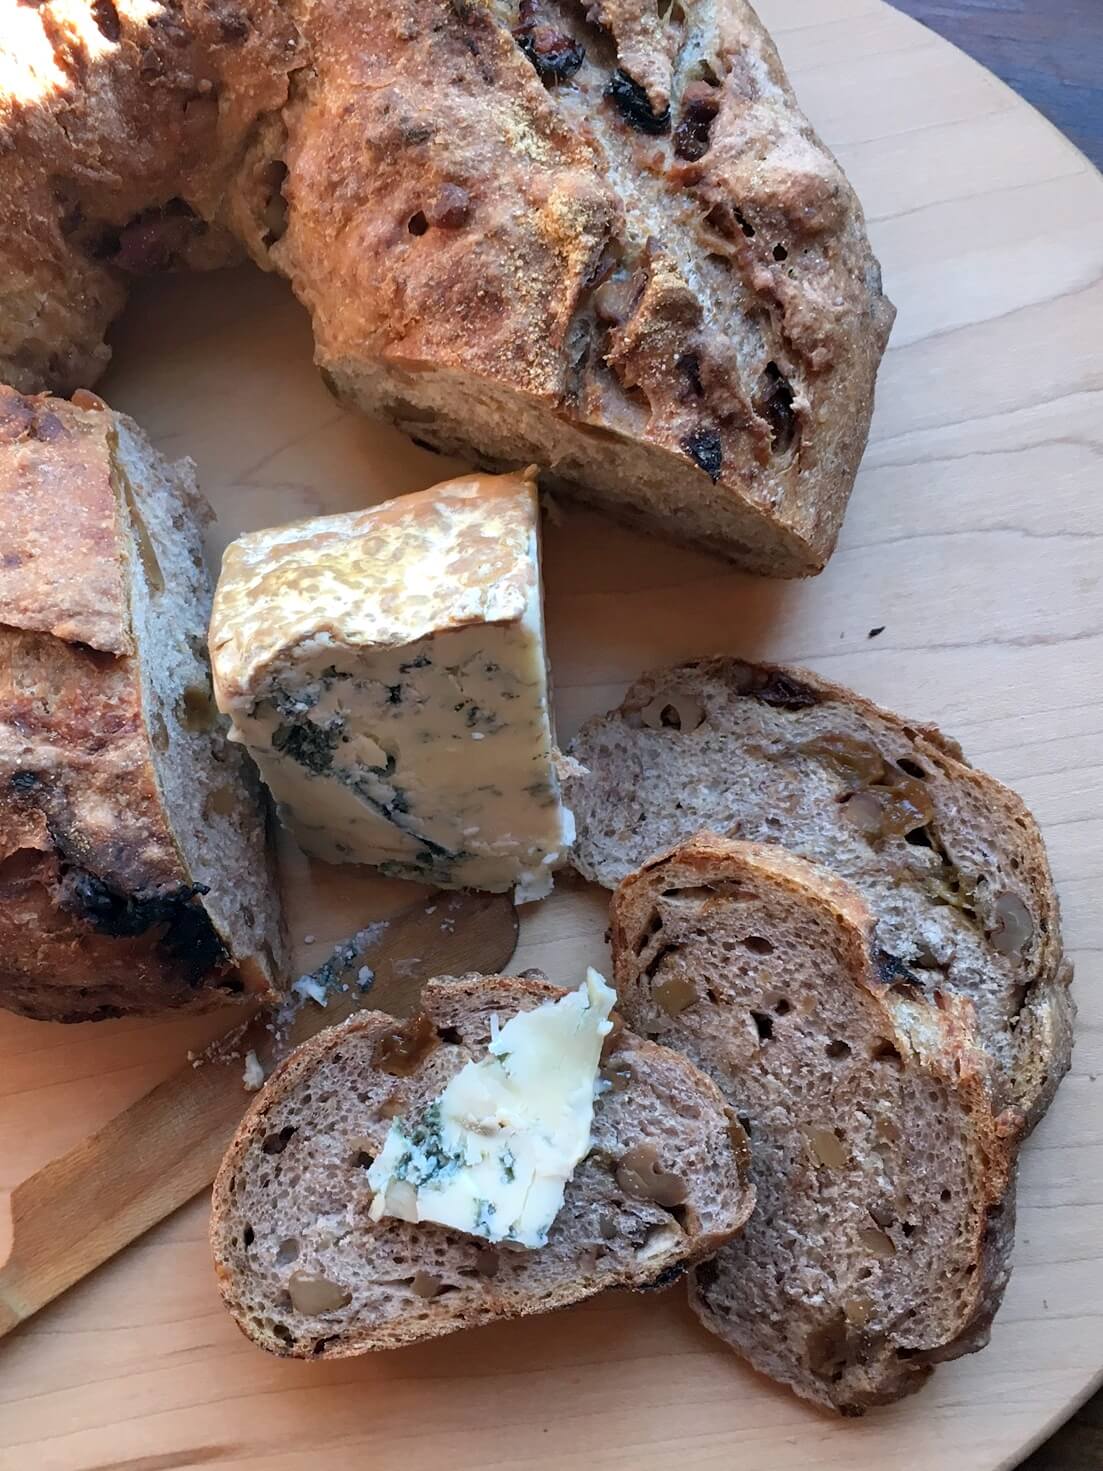
We love slices of this bread with cheese, creamy goat cheese, Comté or gruyère. For a local selection we like Arethusa Blue made in Litchfield, Connecticut. It resembles Stilton and is a perfect partner for this loaf.
Little did I realize when I started this project a month ago how much I would learn about the power of baking bread at home. Making yeast bread a few times a week on top of my regular work added some discipline to my cooking. We started planning our weekly menus ahead to feature the week’s bread. And we have bread to share with the family and friends like those coming tonight to enjoy this loaf with a small assortment of local cheese.
Please let me know if you’ve enjoyed these recipes and would like to see more. I’m happy to continue to spread the message that Bread Makes the Meal.


Time equals taste. Fermentation equals flavor. That's what bakers know and that's one of many reason why naturally-leaved bread made with sourdough starter is so appealing. But most people don't have the time or inclination to keep a yeast dough starter alive. In this recipe for Golden Raisin Walnut Crown Loaf, a sponge dough made with a touch of rye flour is the magic trick that boosts the flavor of one of our favorite loaves.
Ingredients
For the Sponge
1 cup (8 fluid ounces) warm water, 80°F
1 Teaspoon instant yeast
½ cup (2 ½ ounces) stone ground rye flour
½ cup (2 ½ ounces) all-purpose flour
For the Dough:
½ cup golden raisins
1 ½ cups (6 ¾ ounces) all-purpose flour
½ cup (2 ½ ounces) stone ground whole wheat flour
1 teaspoon salt
1 cup walnut pieces, toasted and chopped
Directions
- To make the sponge, combine the water and instant yeast in a bowl. Let the yeast dissolve for a minute or two. Add the rye and all-purpose flours. Stir with a spatula to make a wet dough. Cover and let ferment for 2 hours.
- While the sponge ferments, prepare the golden raisins. Place them in a small bowl. Cover the raisins with boiling water and let them sit for 20 minutes. Drain the raisins.
- Scrape the sponge into the bowl of a stand mixer fitted with a dough hook. Add the all-purpose and whole wheat flours and the salt. Knead on medium speed until all of the flour has been moistened and the dough comes together, for approximately 2 to 3 minutes. Let the dough sit for 10 minutes.
- Add half of the chopped toasted walnuts to the dough. Knead the dough on medium speed until it is smooth and elastic, for 4 or 5 minutes. Knead in the rest of the walnuts and the raisins by hand or in the mixer.
- Form the dough into a ball then place it in a container or bowl. Cover and let the dough ferment and rise for 2 to 3 hours. It will slowly double in volume.
- Preheat the oven to 450°F.
- Place the dough on a work table or silicone baking mat. Press down on the dough. To form it into a ball, fold down the top edge and fold up the bottom edge like a letter. Fold in each side. Turn the piece of dough over and roll it between the palms of your hands to form a tight round ball.
- Poke the center of the dough with two fingers. Pull gently to gradually stretch an opening in the dough. Pick it up and gently stretch out the dough into a large doughnut shape.
- Sprinkle the Emile Henry bread baking cloche platter with some flour. (Or line a baking sheet with parchment and sprinkle it with rice flour.*) Place the dough on the platter or baking sheet. Cover with the cloche or a sheet of plastic and let proof until expanded to 1 ½ times its original size, for 30 to 45 minutes.
- Using a serrated knife, make six or seven ¼-inch deep slashes across the top of the dough. Cover with the cloche and bake for 30 minutes. Remove the cloche and continue baking until the bread is well risen and golden brown, approximately 15 to 20 more minutes. Or, insert an instant-read thermometer into the bread, and if the internal temperature is 205°F to 210°F the bread is done
- Cool the bread on a wire rack.
Notes
*If you are using a baking stone. Thirty minutes before baking, put the oven rack on the second shelf from the bottom of the oven and place a baking stone on the rack. Place a small pan for water on the floor of the oven and preheat it to 450°F. When the dough has proofed, pour ½ cup of boiling water into the pan placed on the bottom of your oven to create steam.