

No Knead Bread launched more fine baking careers that I can count. And it brought the craft of home made yeast bread back to kitchens around the world. Many professional bakers were introduced to no-knead bread when Canadian chef and baker James MacGuire wrote about it as a thought experiment in The Art of Eating newsletter. He wanted to come up with a way to capture the texture and crust of a French baguette at home. This recipe for Experimental No Knead Bread is my contribution to the effort to get more people baking bread at home.
In his method, MacGuire mixes a wet dough with a minimum amount of yeast. Instead of kneading, he gently folds the dough over onto itself every hour for four hours. This helps the elastic structure in the dough develop without kneading. And it allows the dough to ferment and develop a fine flavor. Otherwise the dough requires little attention.
Around the same time, another baker Jim Leahy, perfected a similar approach to make billowy loaves of crusty bread. Instead of tending to the dough by folding it over several times, he mixes the dough. Then he lets it sit for 12 to 18 hours. During that long slow rise, the dough softens. The flour absorbs the moisture and the yeast comes alive. His Sullivan Street Bakery in Manhattan sells this fabulous bread. And millions of people make it at home following his recipe.
What appeals to me in each of these approaches is how accessible yeast bread making is for the beginning bread baker. After making a batch or two, you can add a small amount of whole wheat or rye and start to develop different flavor profiles in your bread. And if you stick with it you might find yourself graduating to other types of bread. Or to grinding your own flour. Or to using sourdough starter.
Bread makes the meal and this recipe is one way to get started.
Basics of Experimental No Knead Bread Making
Here are some visual pointers on how to make this Experimental No Knead Bread recipe or any no knead bread. Its a great place to get started baking at home.
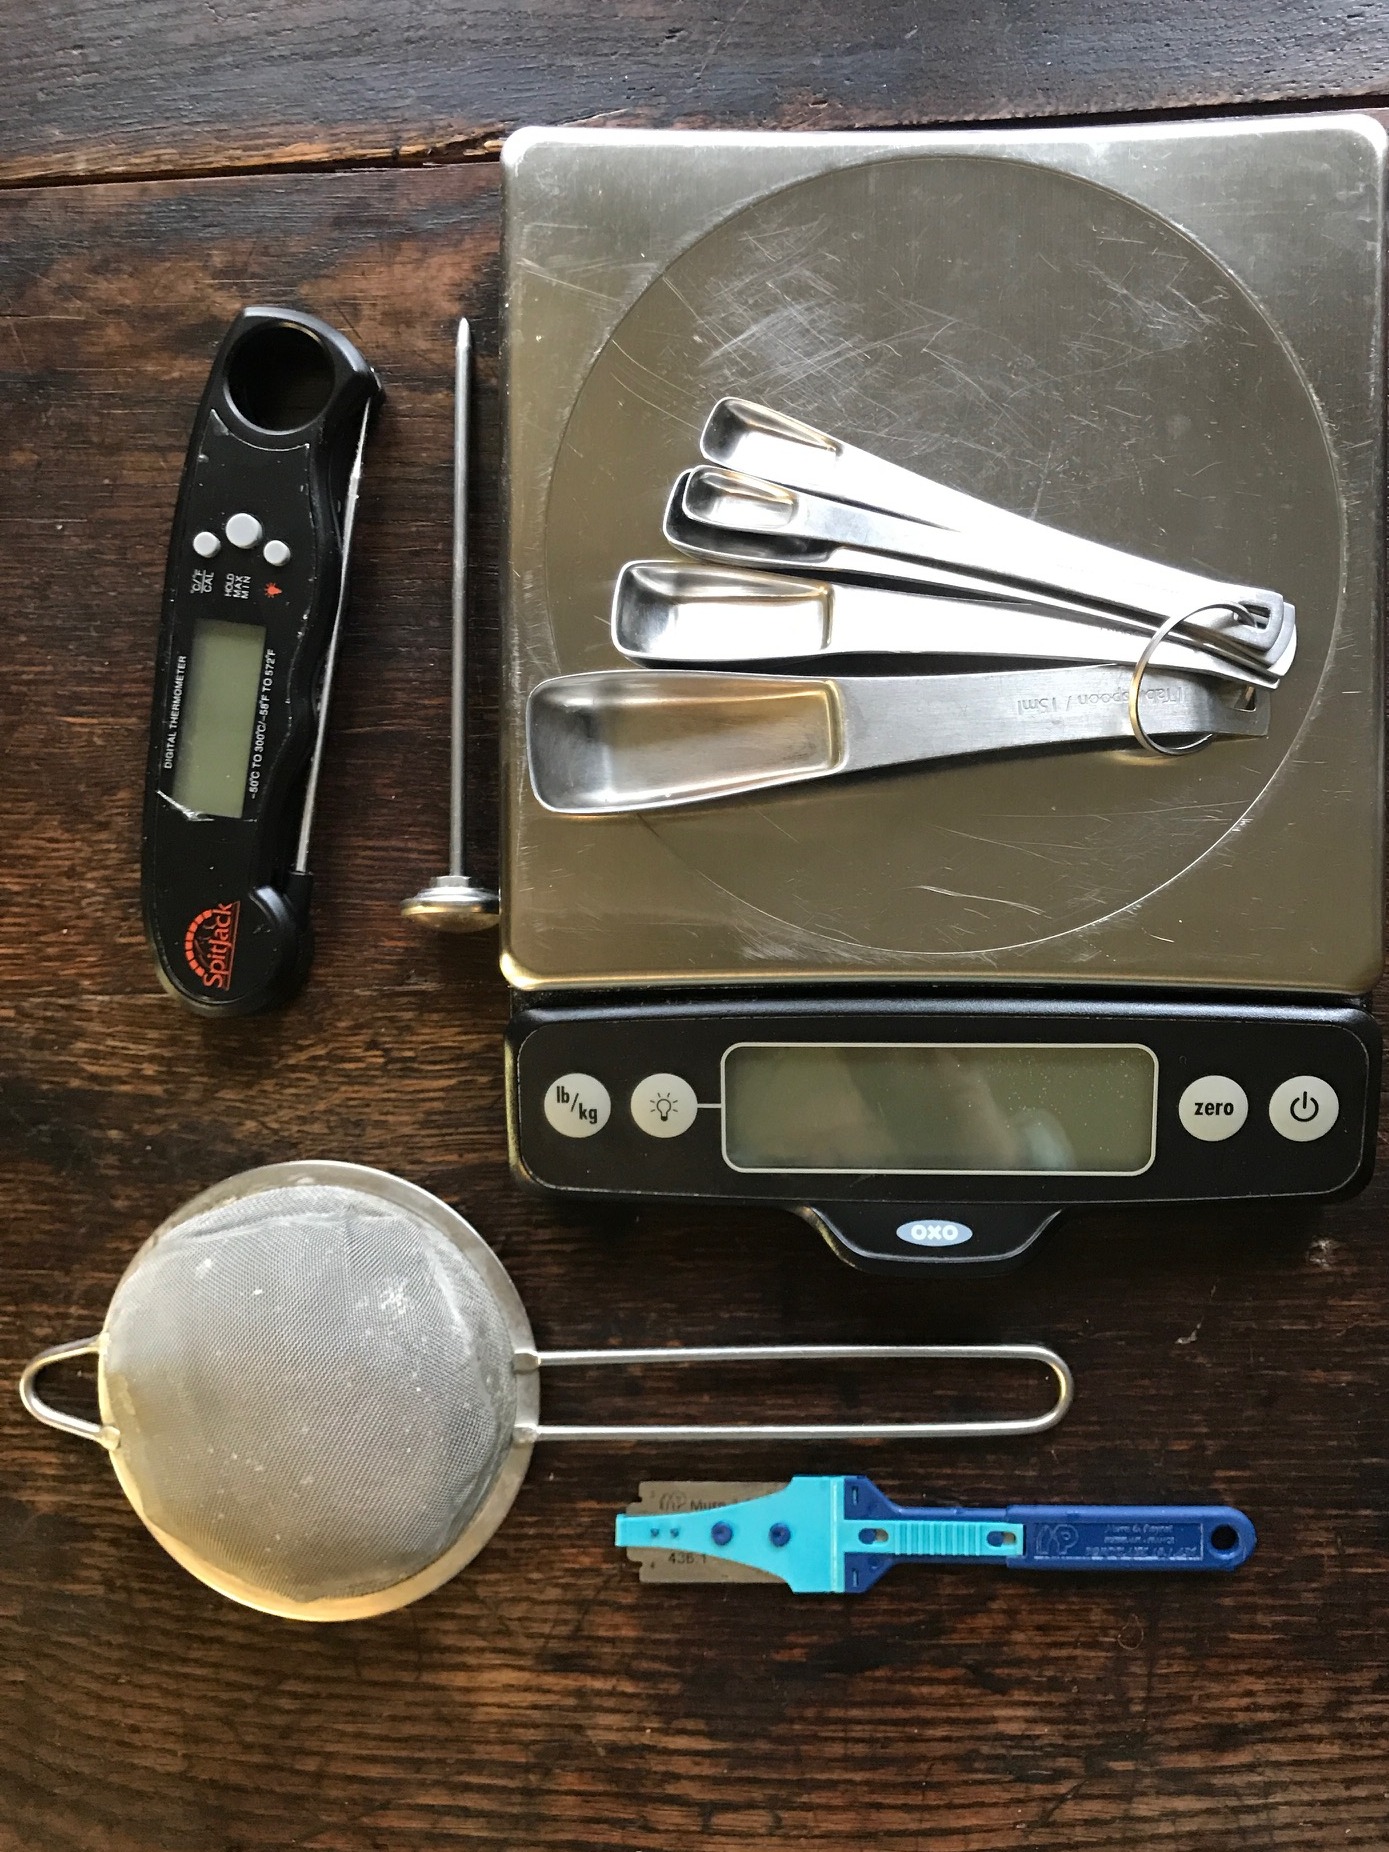
My tool kit includes a scale, an instant read and a digital probe thermometer, measuring spoons a a fine sifter for dusting my counter top and dough with flour.
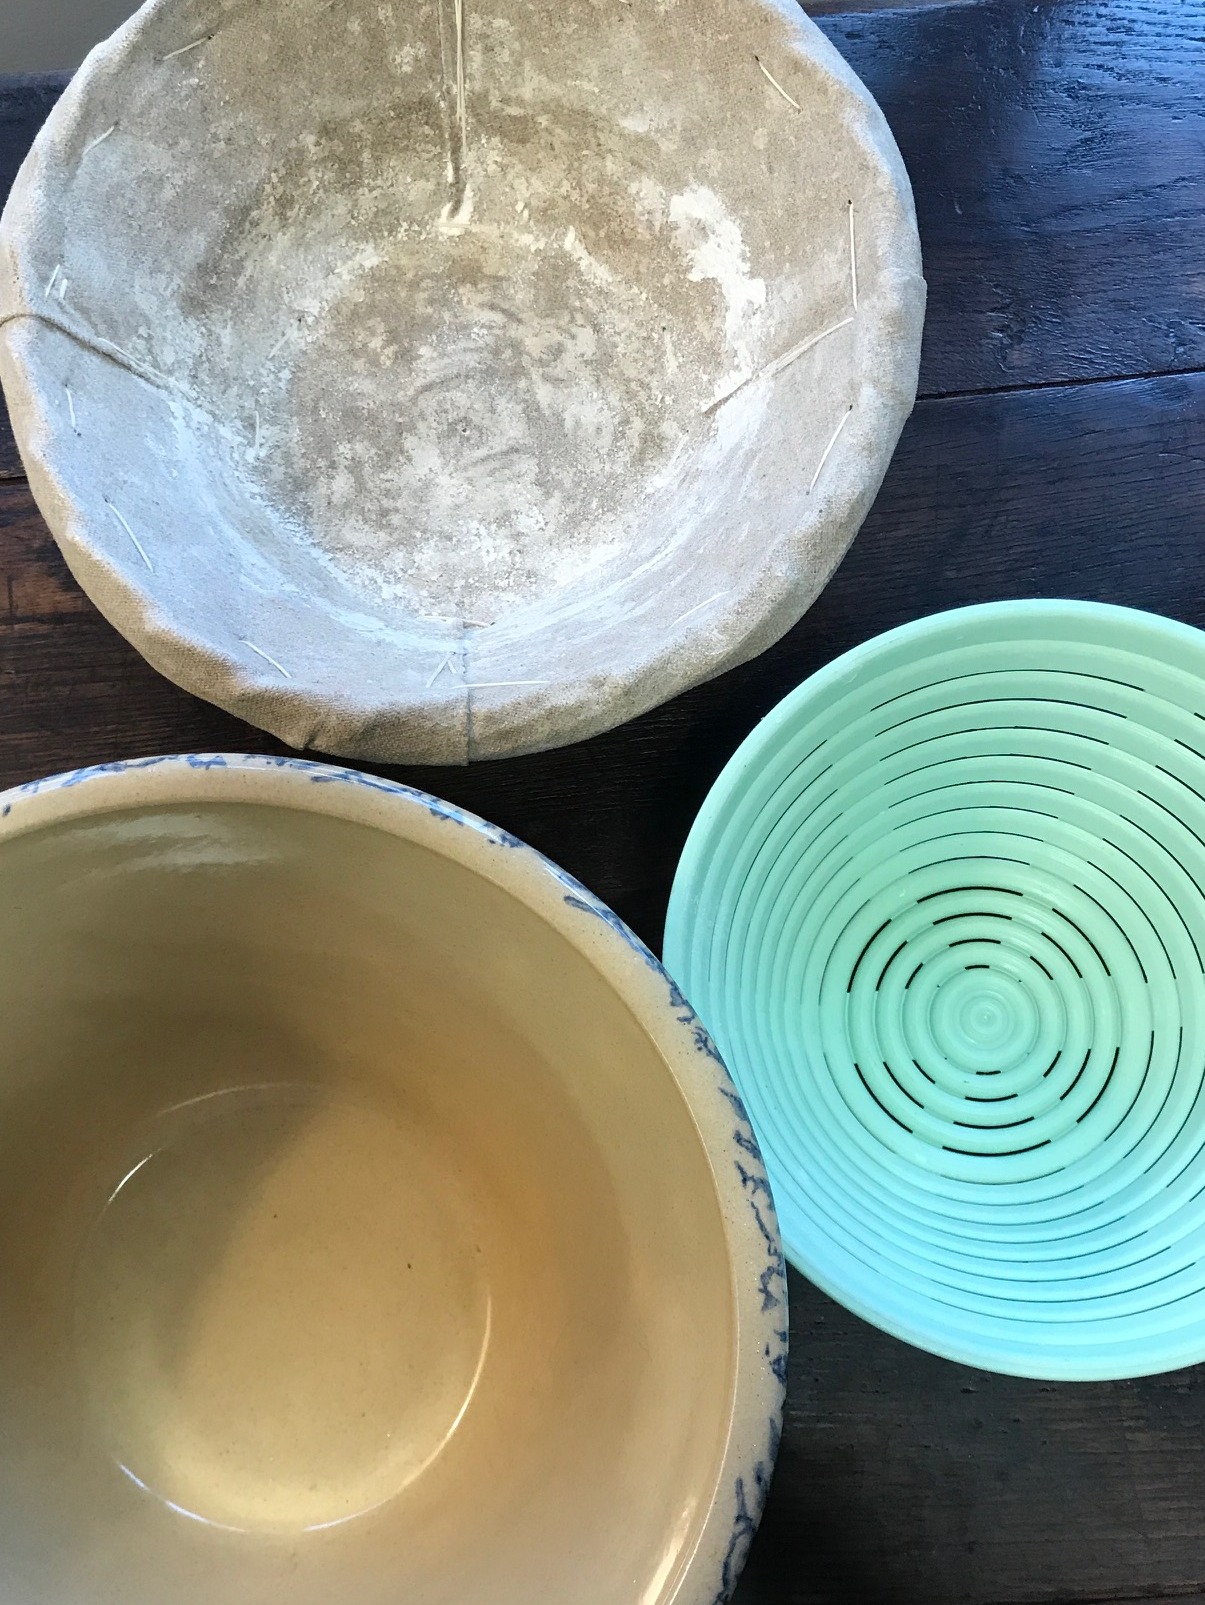
A heavy weight ceramic mixing bowl is perfect for no knead bread. Any kind of wet dough needs a form or mold to hold it before baking. Here you see the linen-lined French basket called a banneton and a plastic German version called a brotform.
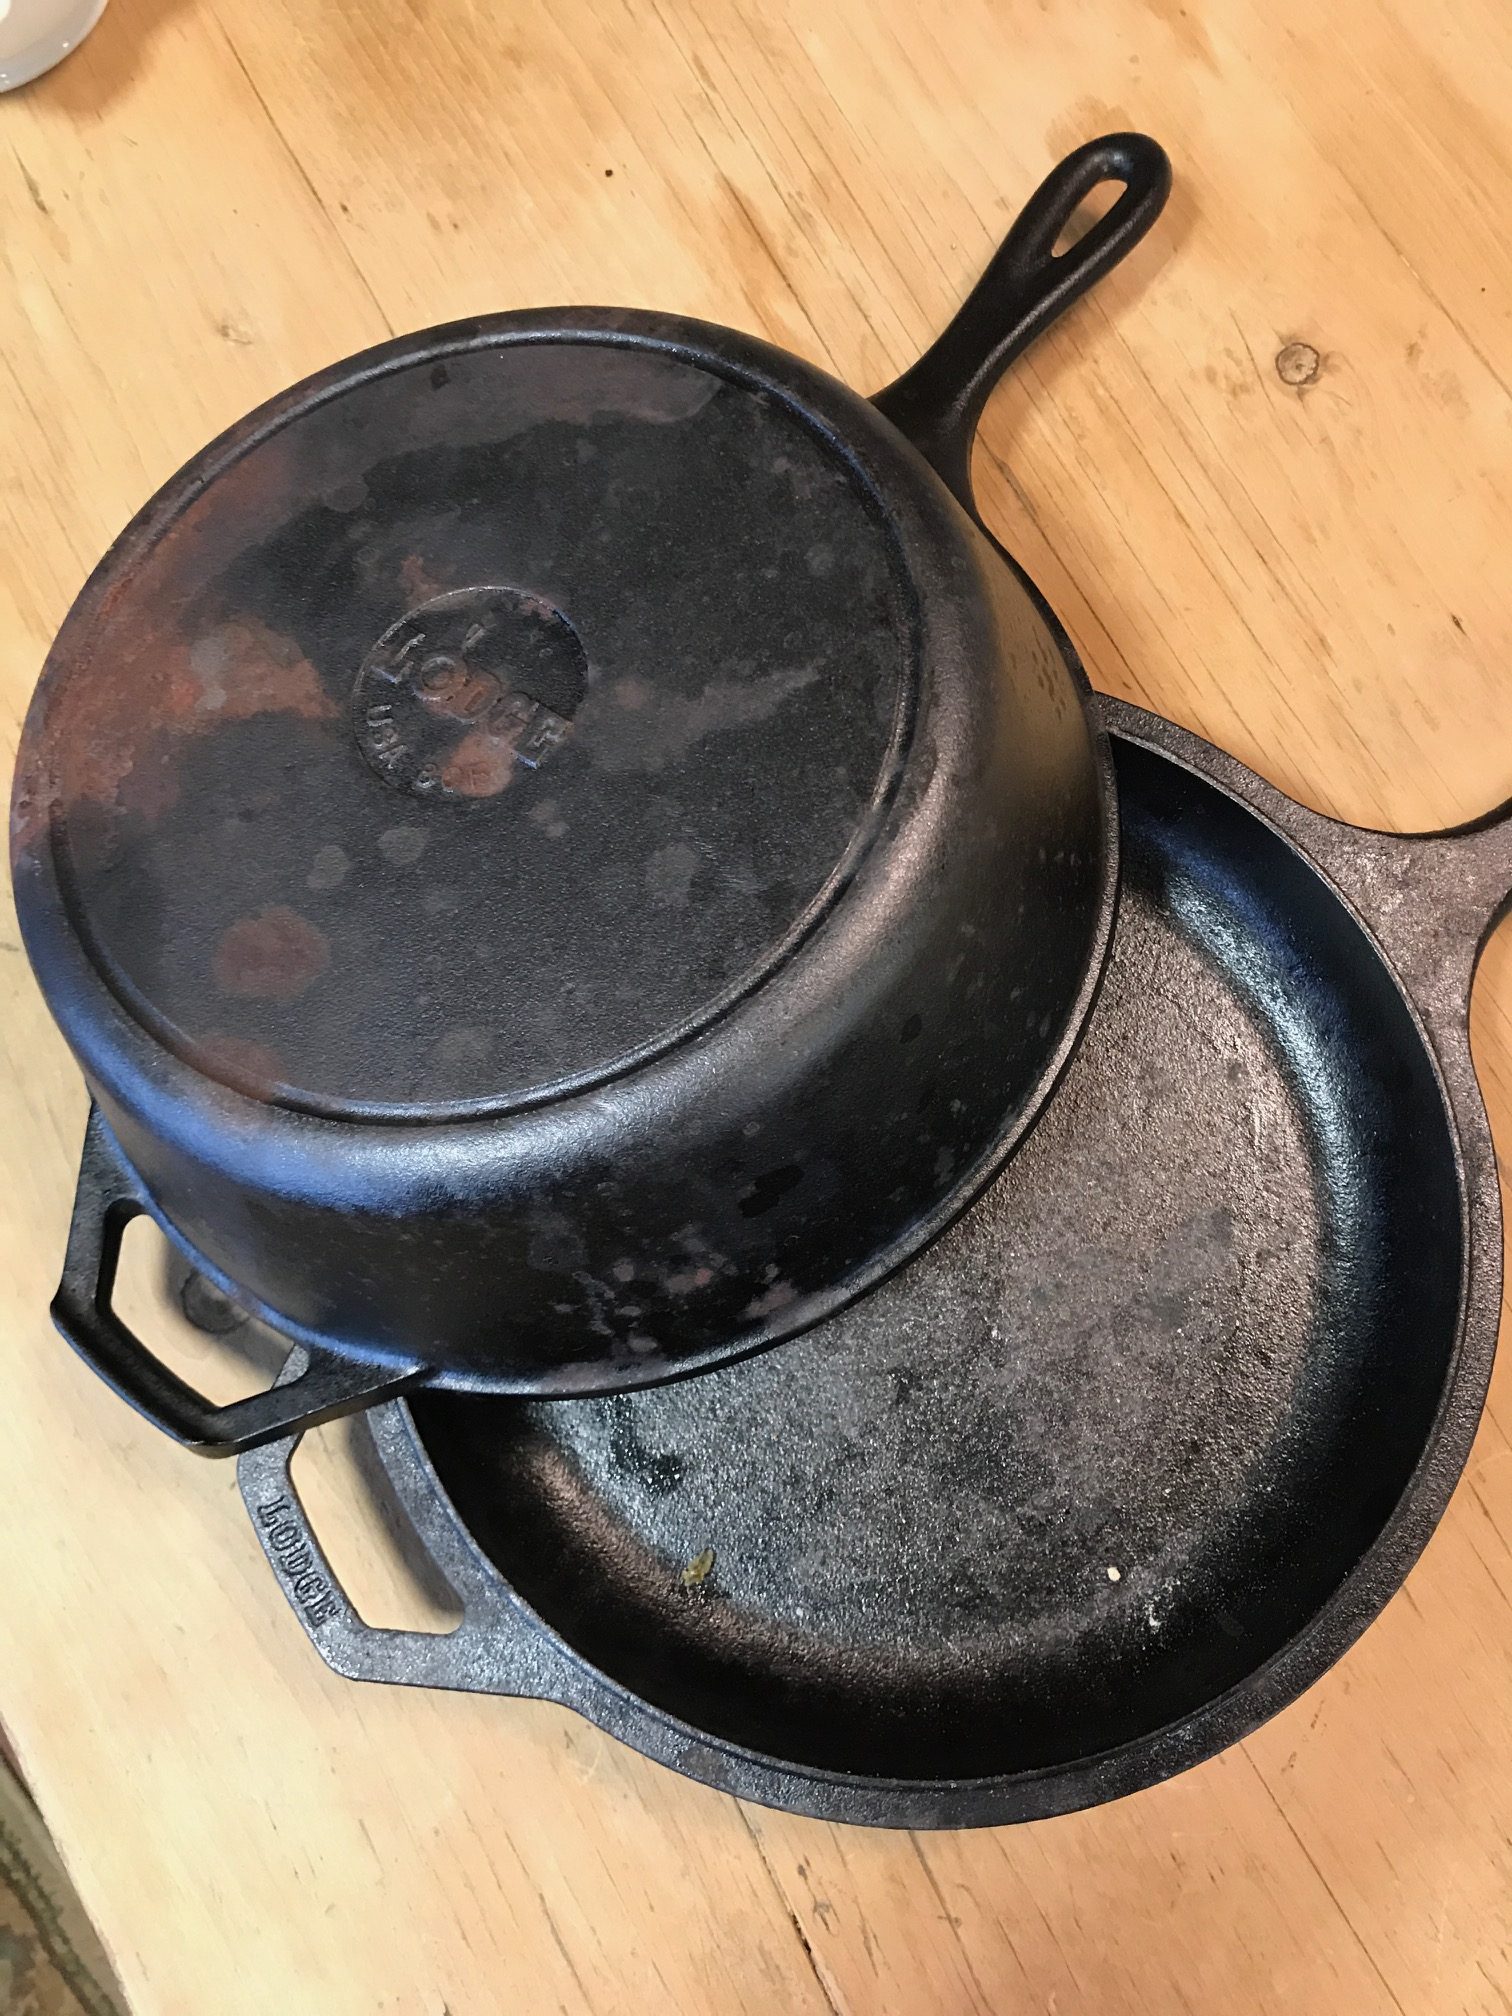
This type of wet bread dough bakes in a preheated covered cast iron casserole or Dutch oven. A quality covered baker such as that made by Emile Henry or one of the Dutch ovens works well too. Whichever pot you use, place it in the oven when your dough is proofing. Turn the oven on and make sure it preheats for at least an hour.
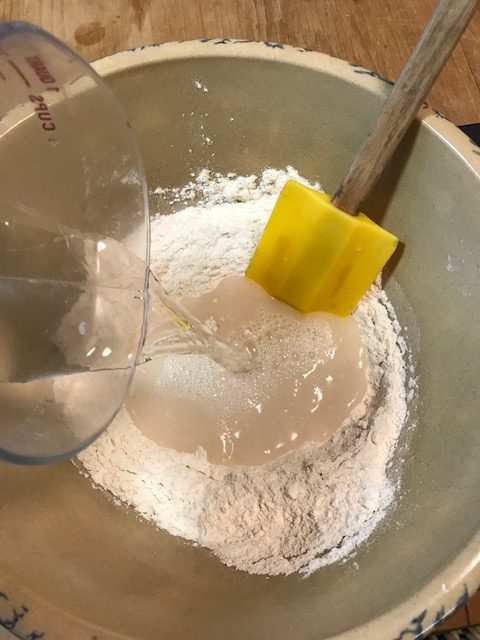
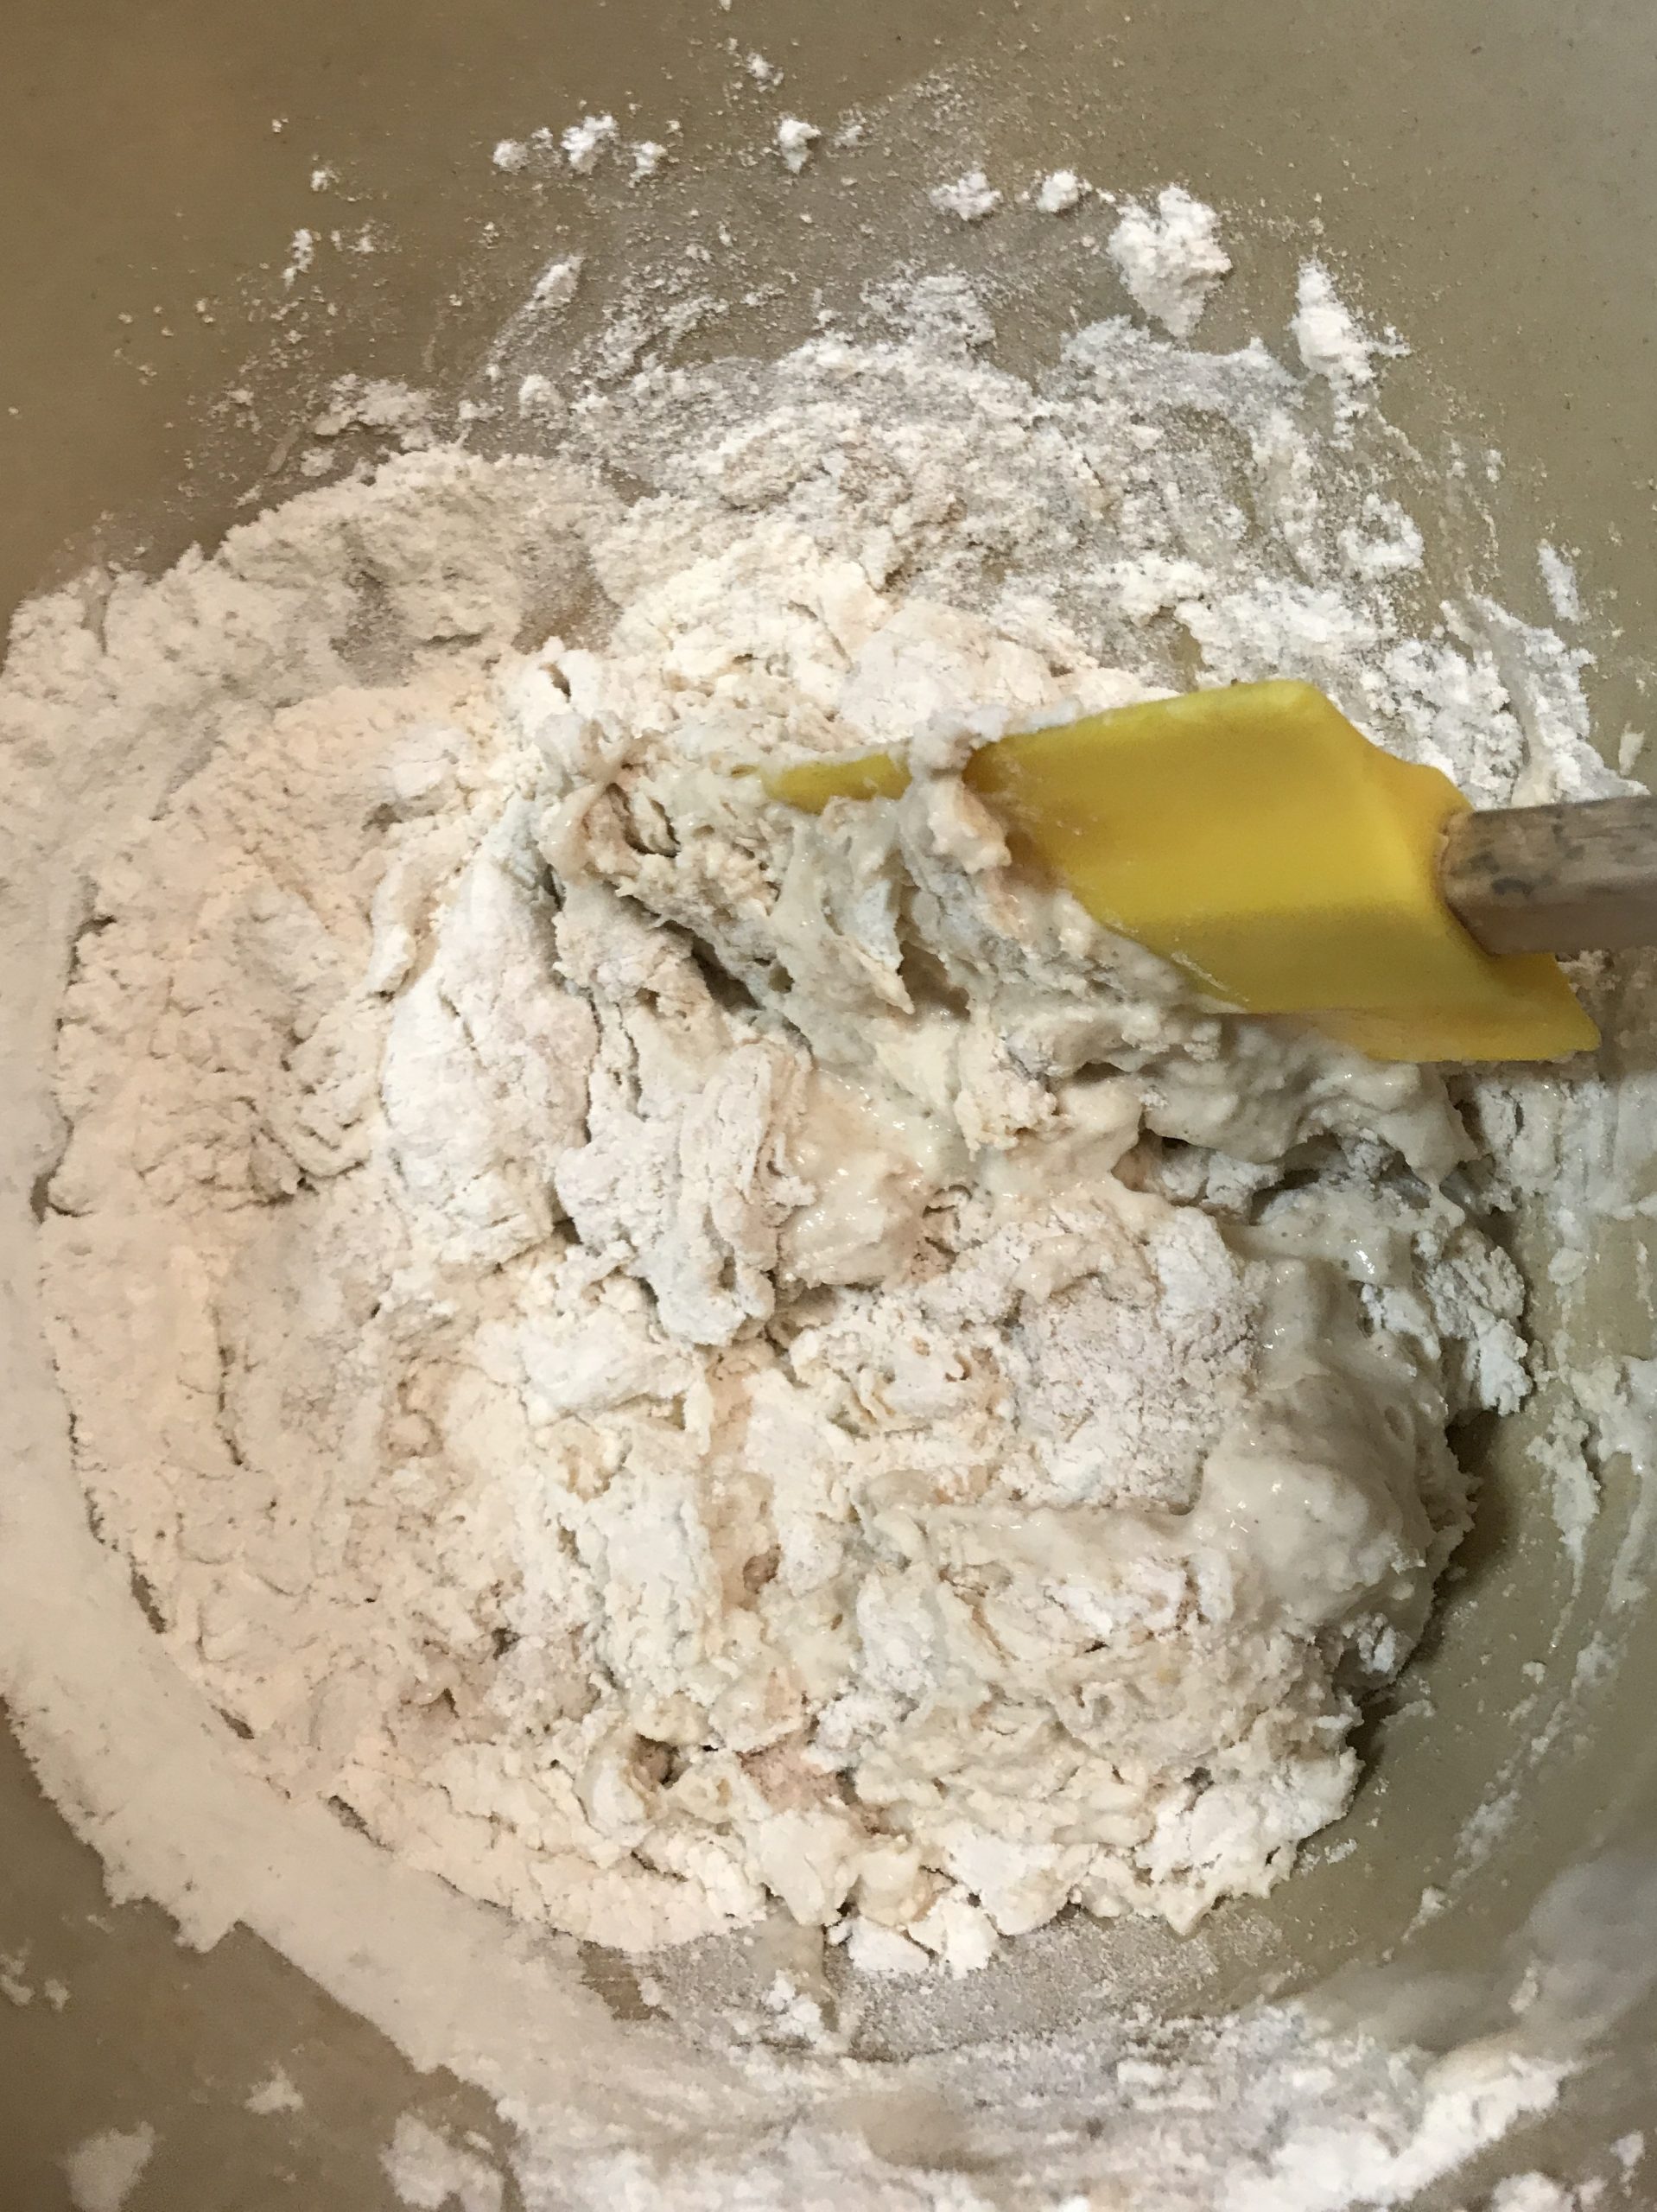
Making the no knead bread is as easy as mixing pancake batter. Even easier perhaps because you do not mix it too much. First you add water to the flour, yeast and salt. Then you stir it into a shaggy mass. You can even squeeze it between your fingers until all of the flour is moistened.
As the dough rests, it become supple and softens.
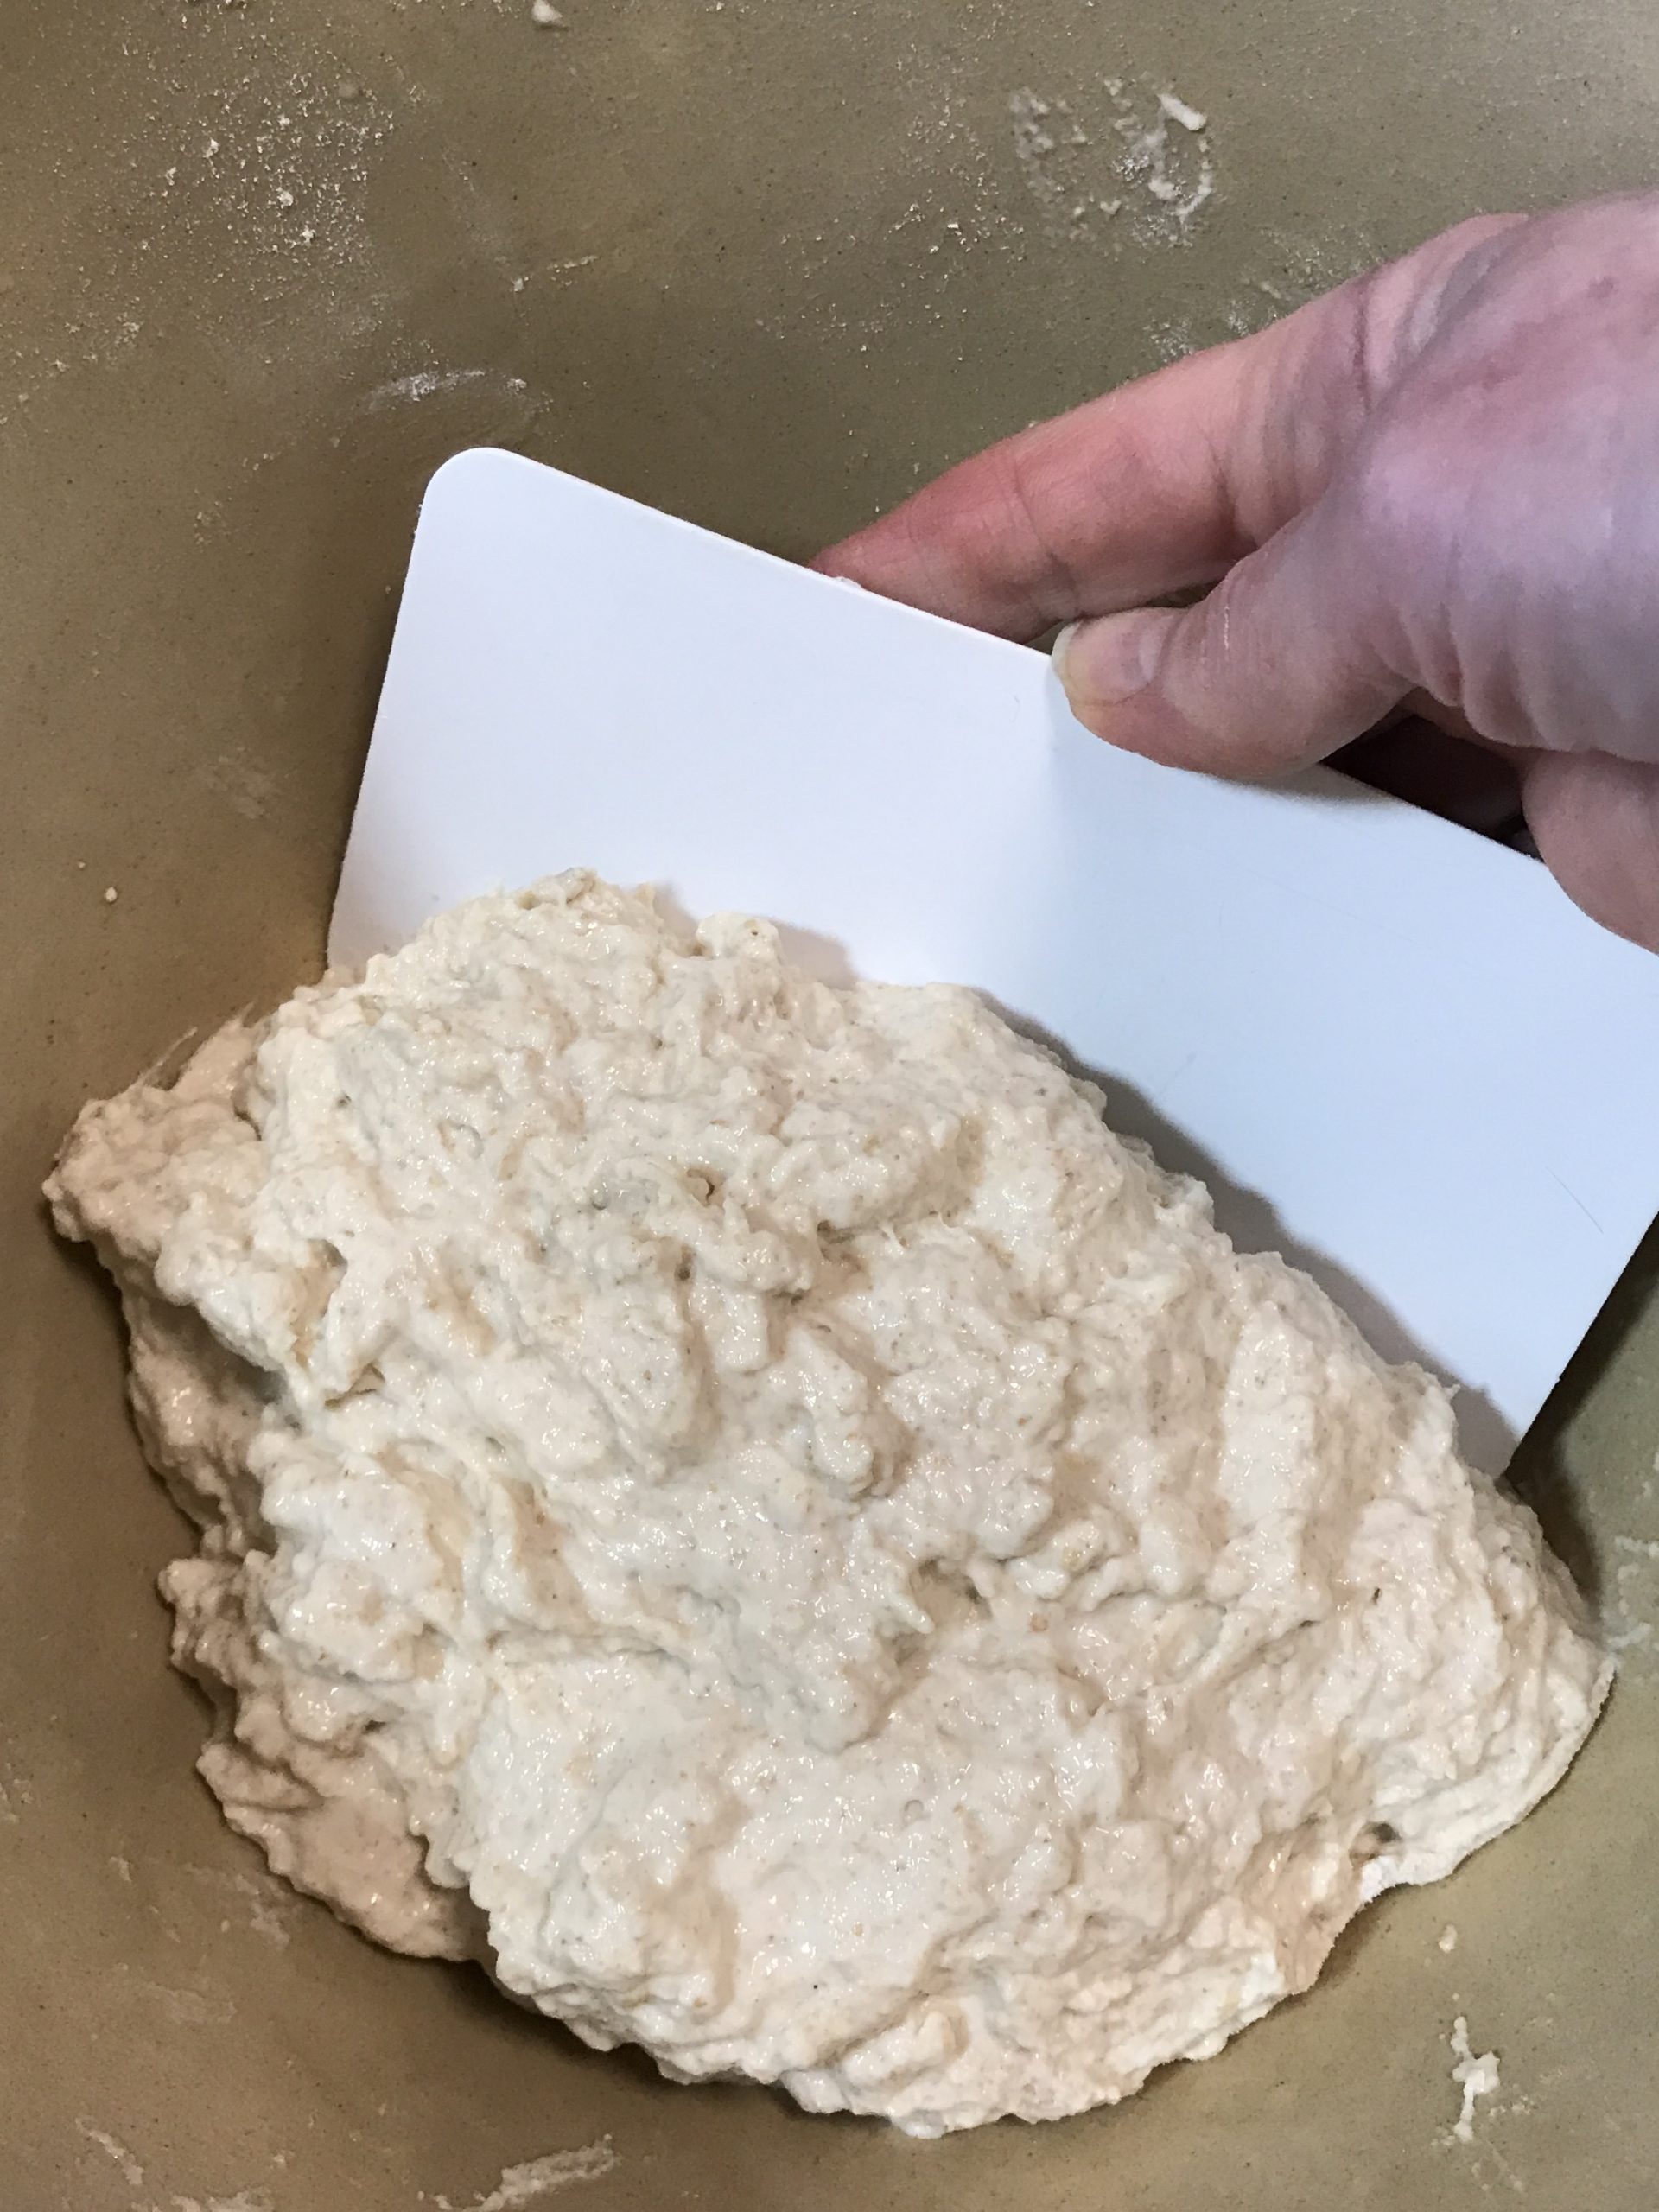
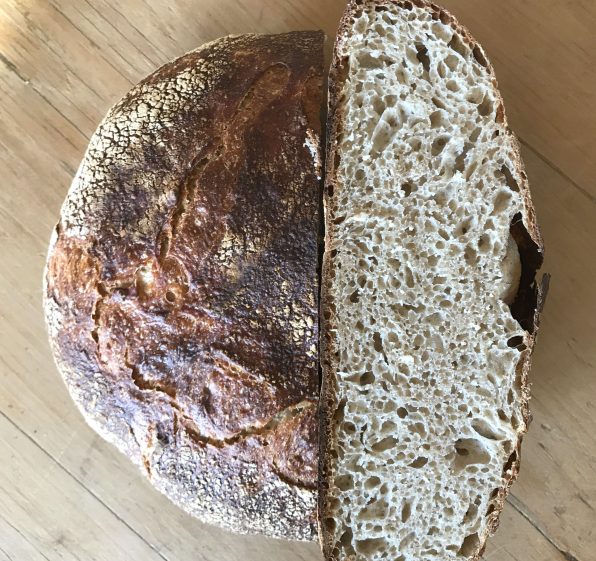
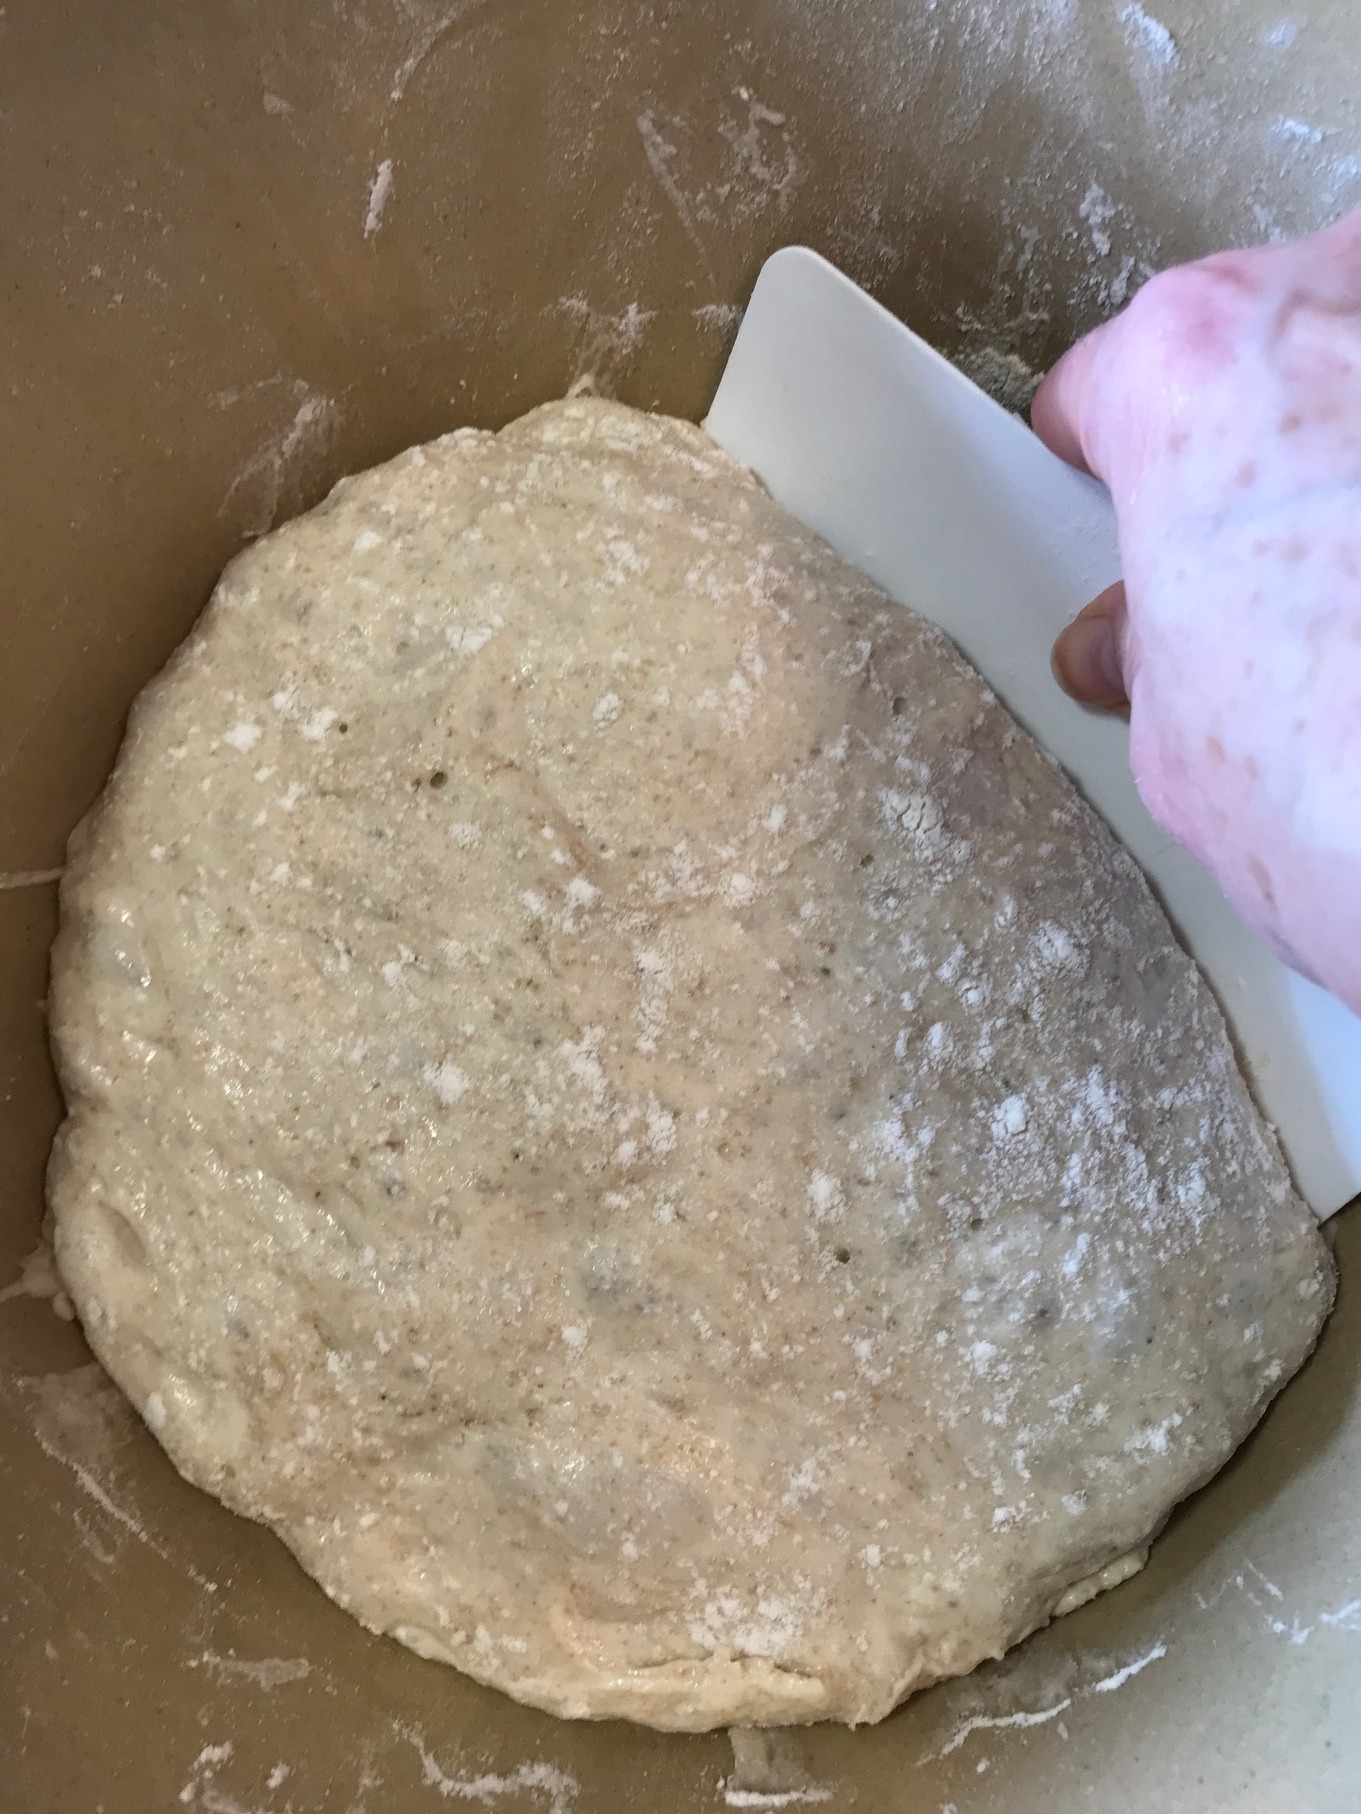
After the dough ferments and rises for 12 – 18 hours, it is noticeably soft and risen with large air bubbles trapped in the gluten network, which you can see here.

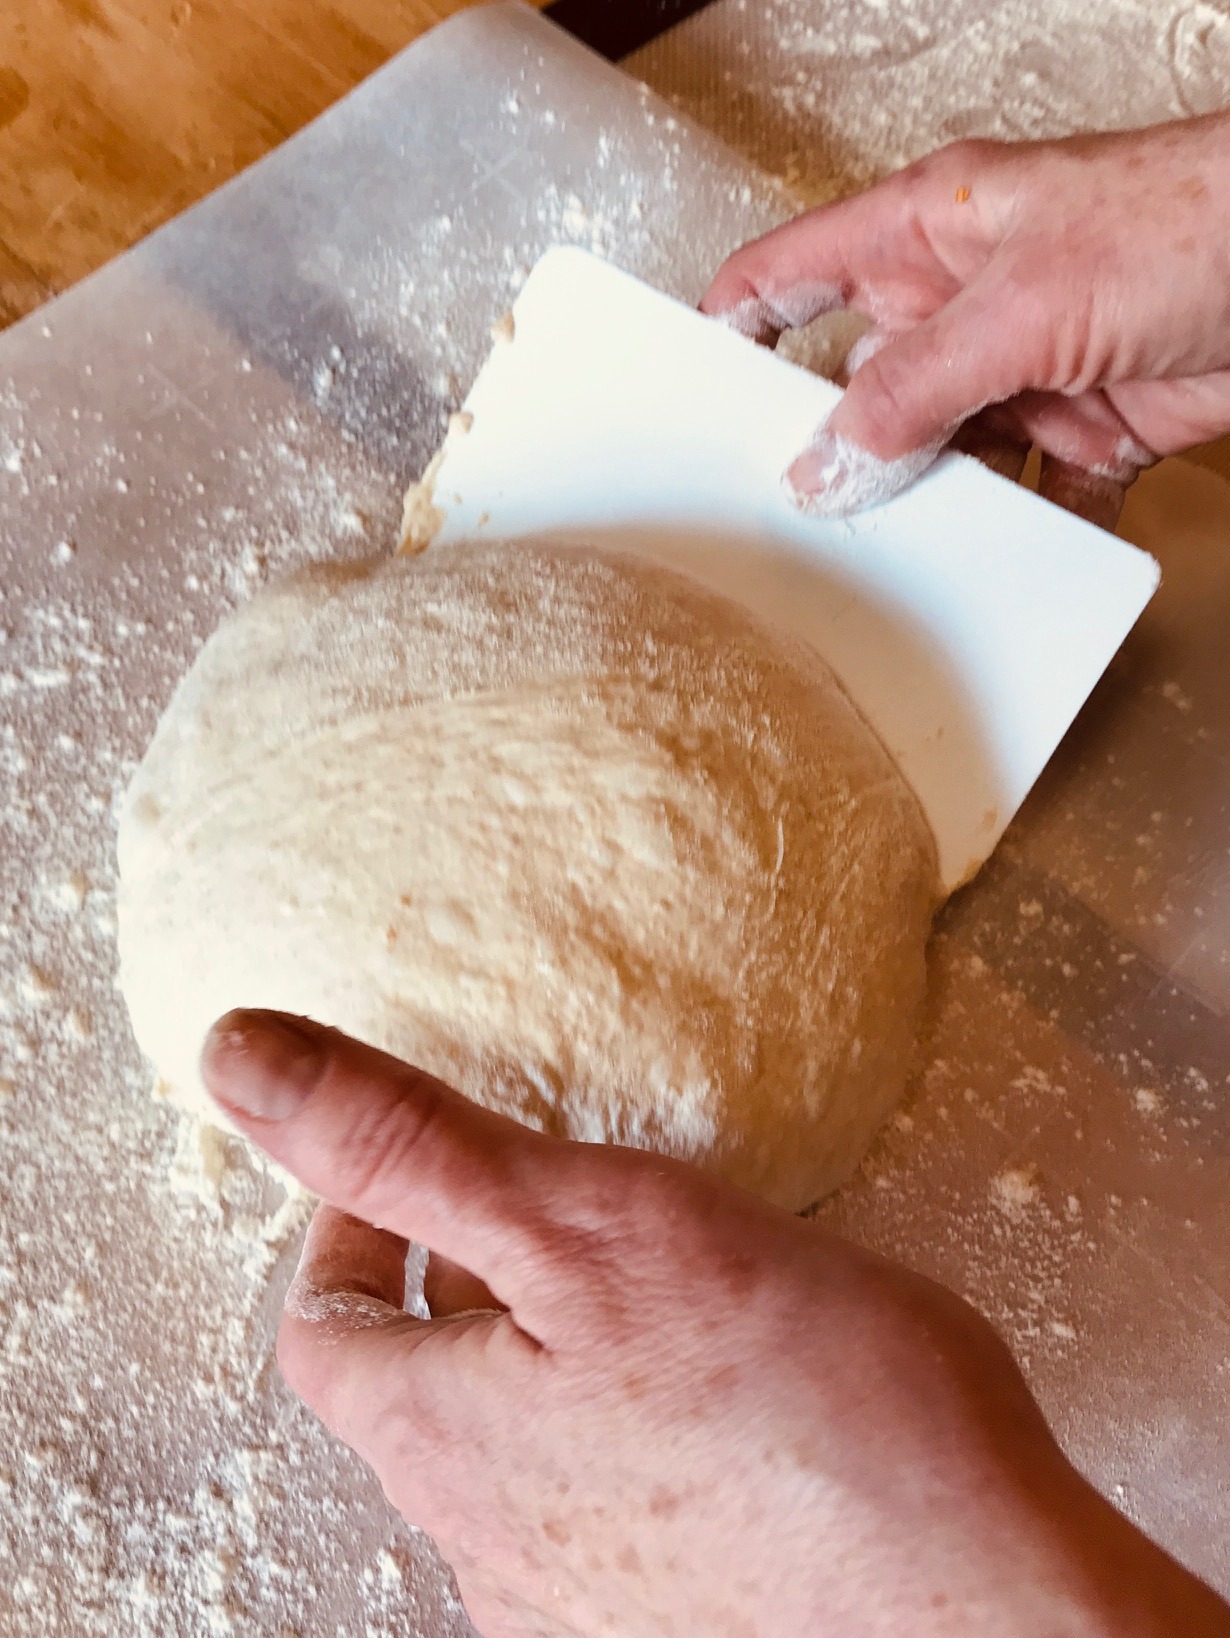
The wet and sticky dough is really fun to handle. Actually it is a challenge. But using plenty of flour helps as does using a gentle touch. Use a dough scraper to gently move the dough from the bowl to the flour-dusted work surface.
Then use the scraper to life and fold the dough into shape. You fold the dough over onto itself, first from one side then the the other until you have a long log.

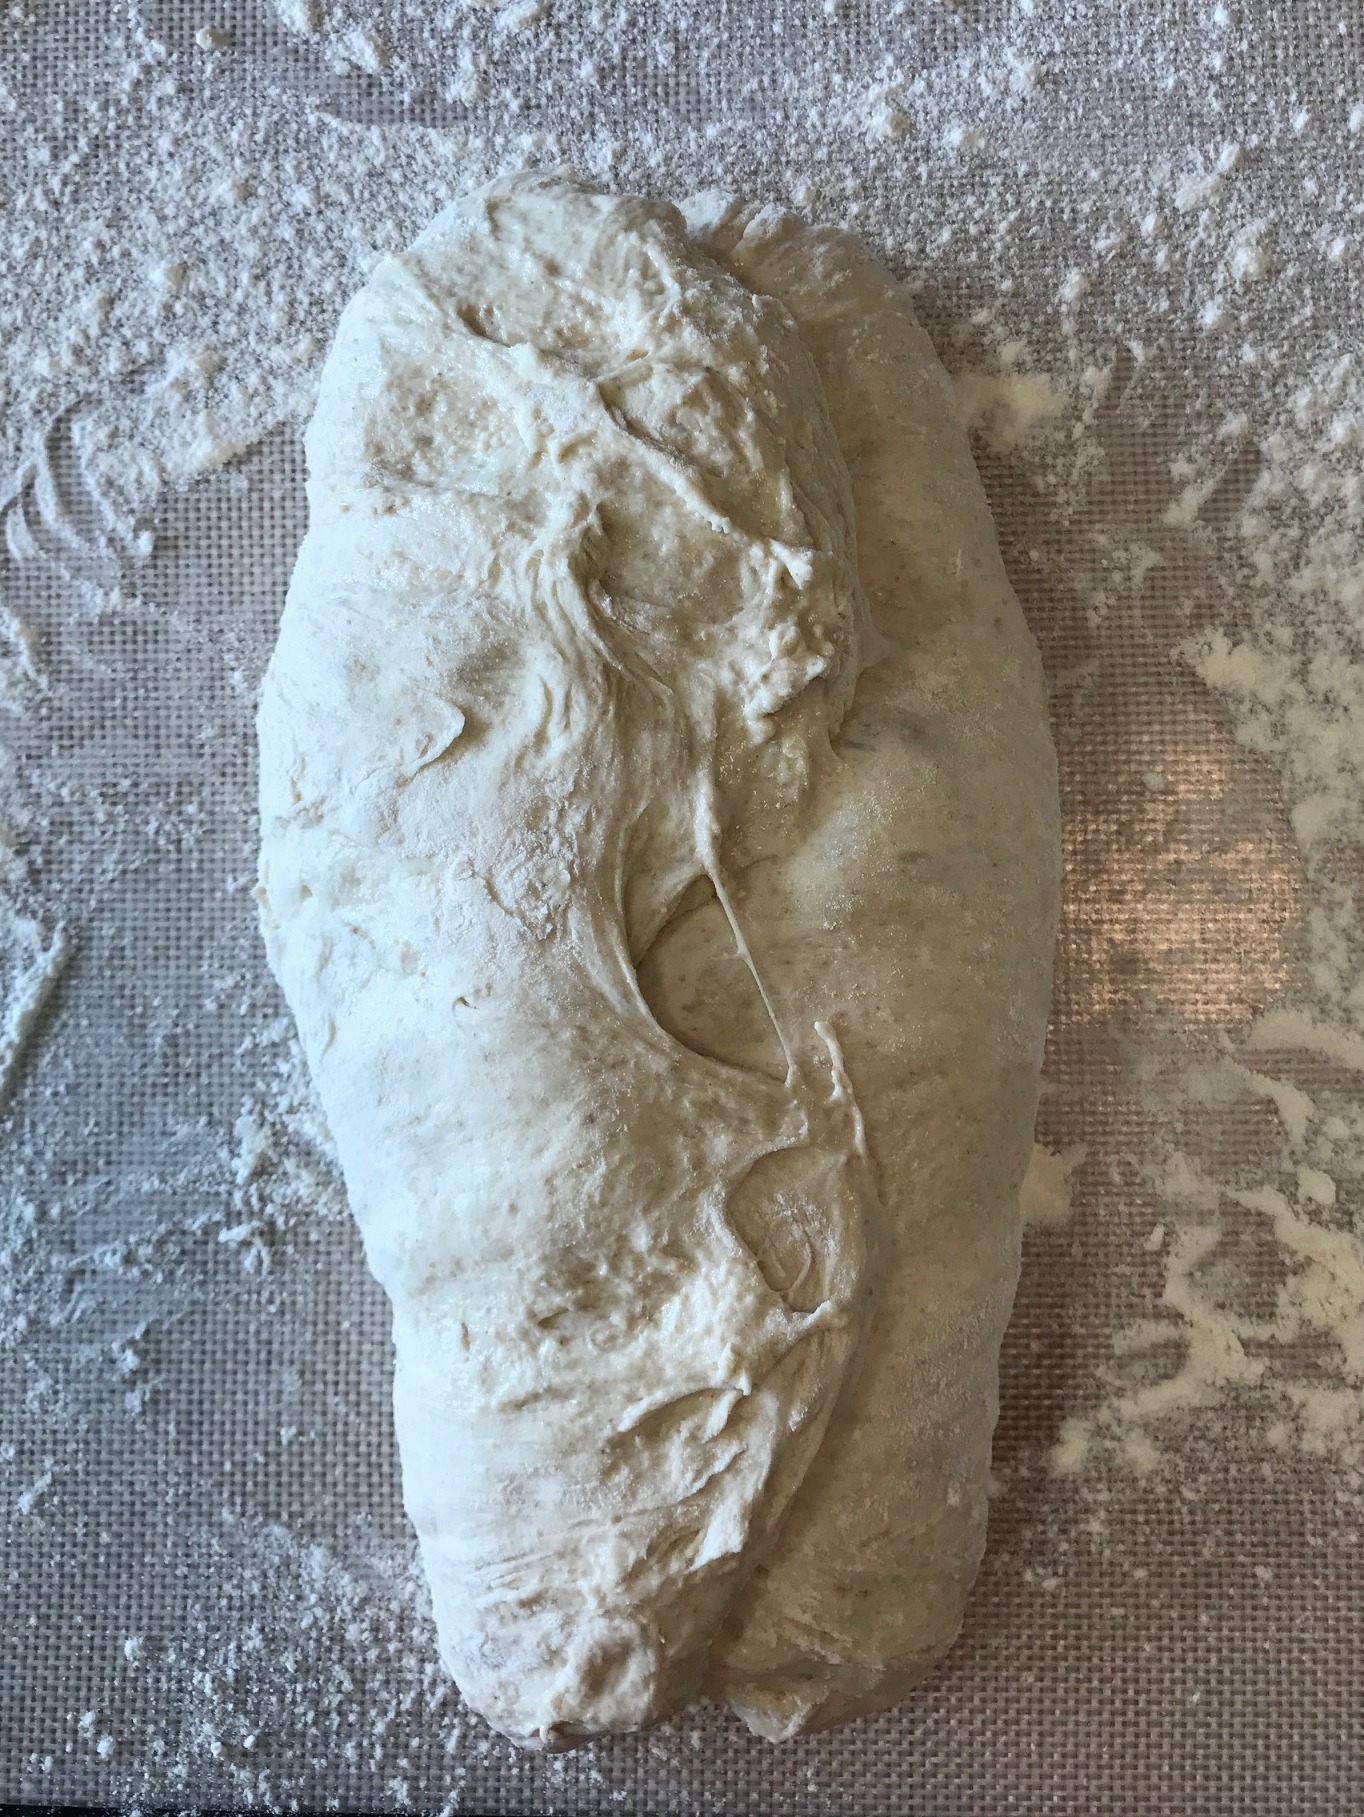
Then you do the same thing on each end until you have a rough square.
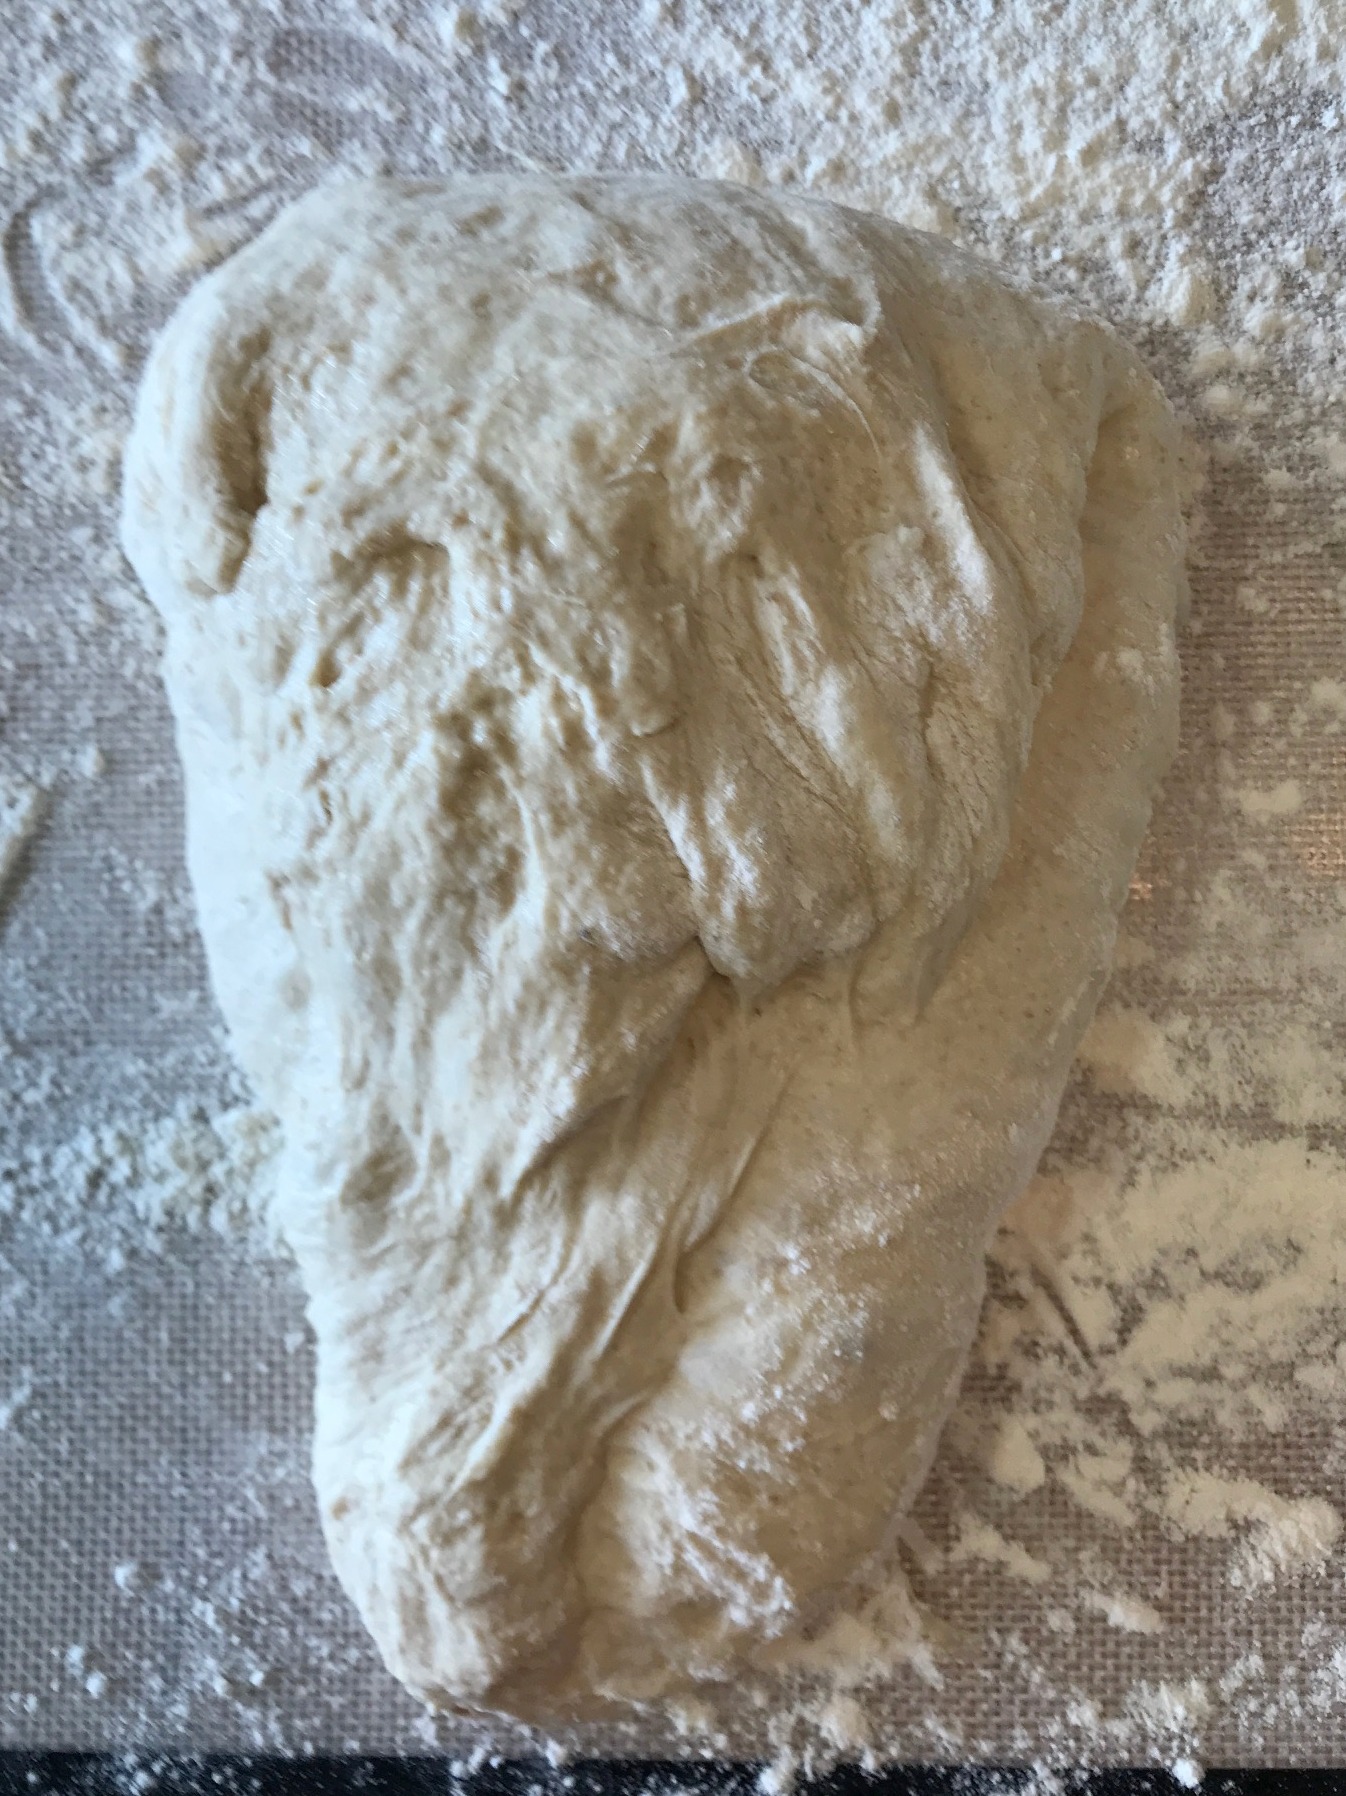
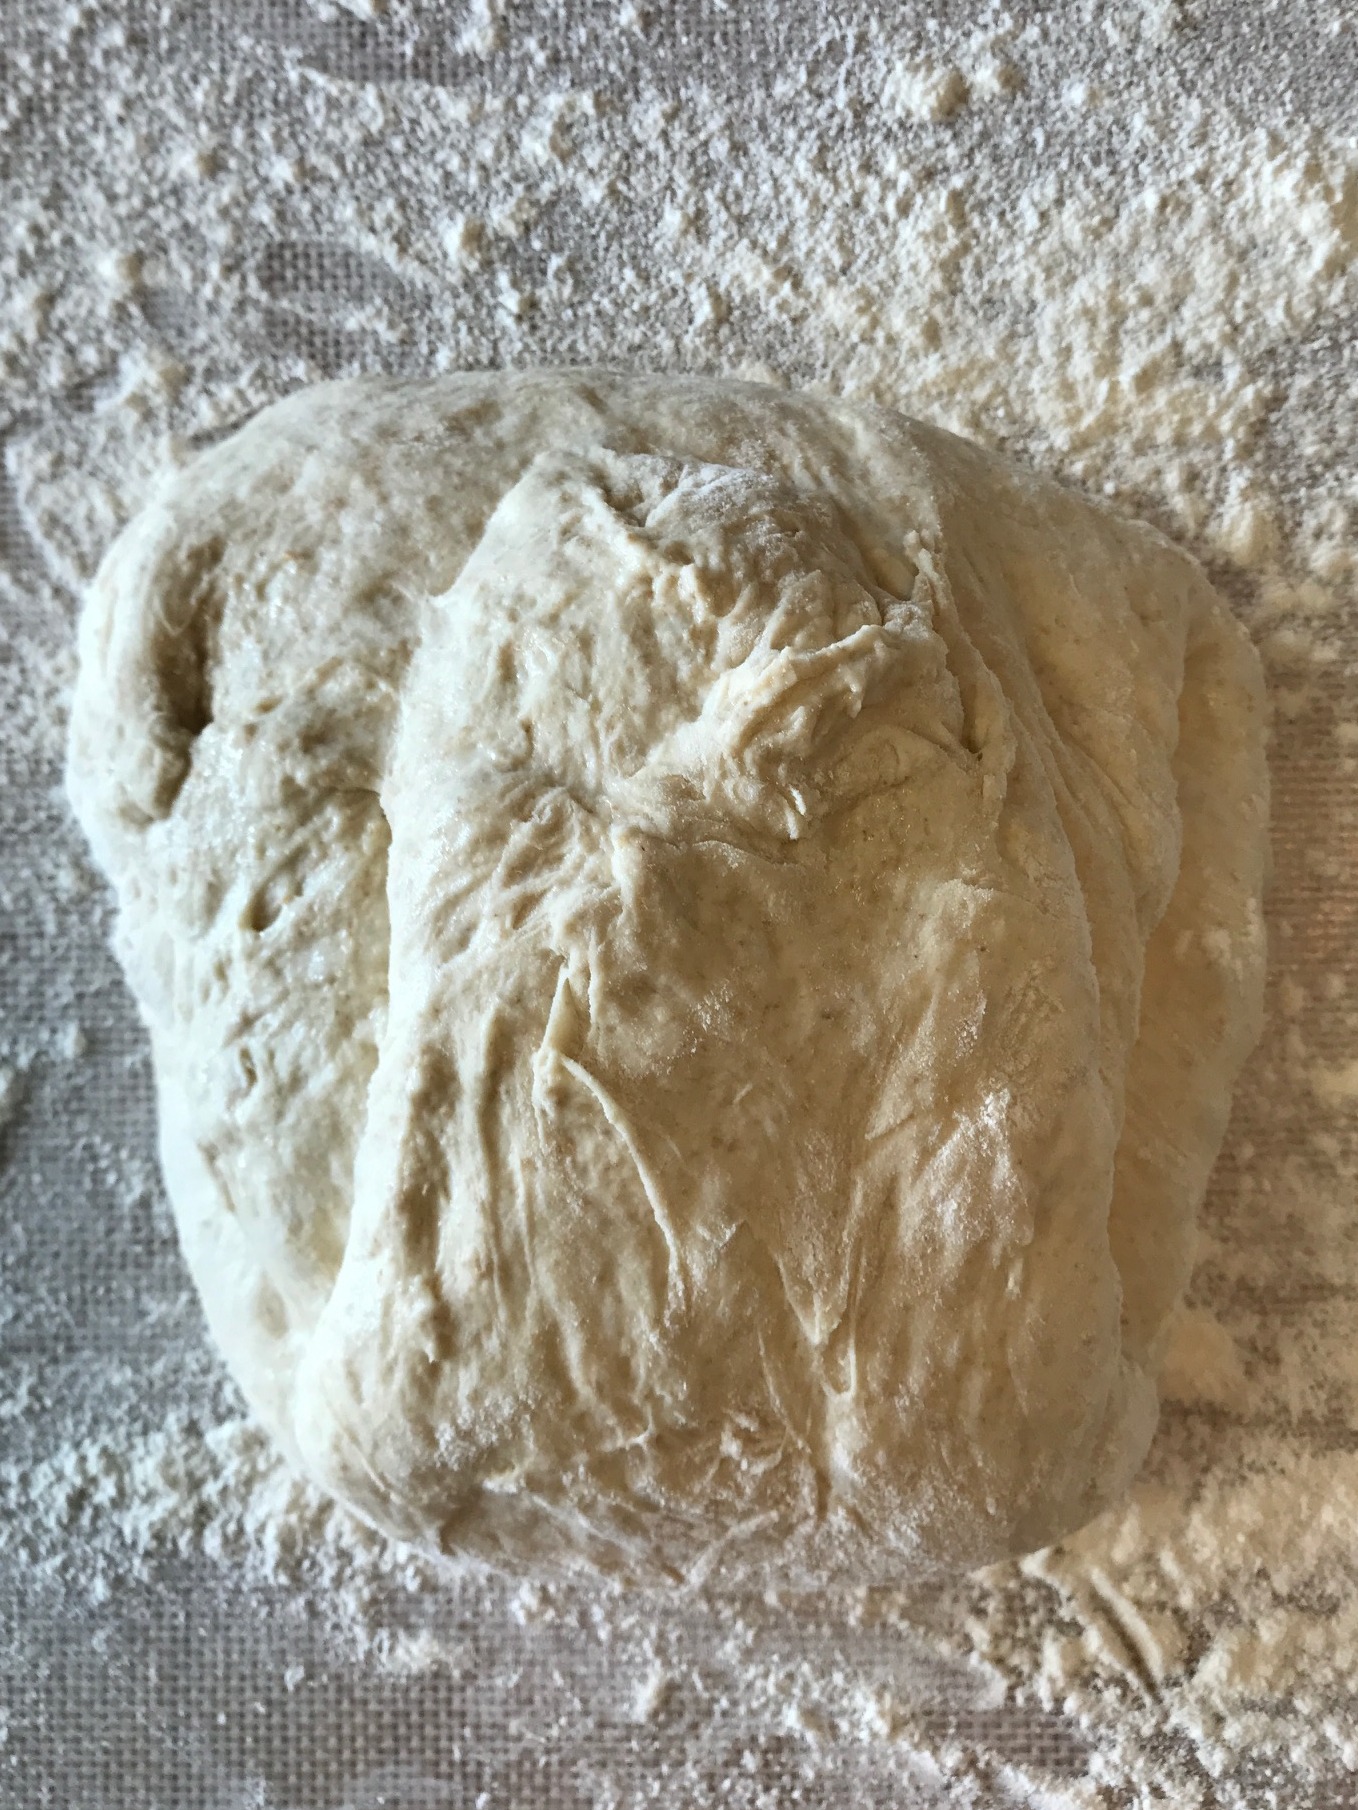
Carefully flip the dough over and onto a flour-dusted sheet of parchment paper. You will use the paper to place the dough in a bowl or banneton while it proofs. (This is the second stage of bread rising.) Tuck your fingers and a dough scraper under the dough, working around it until you have a nice round shape.
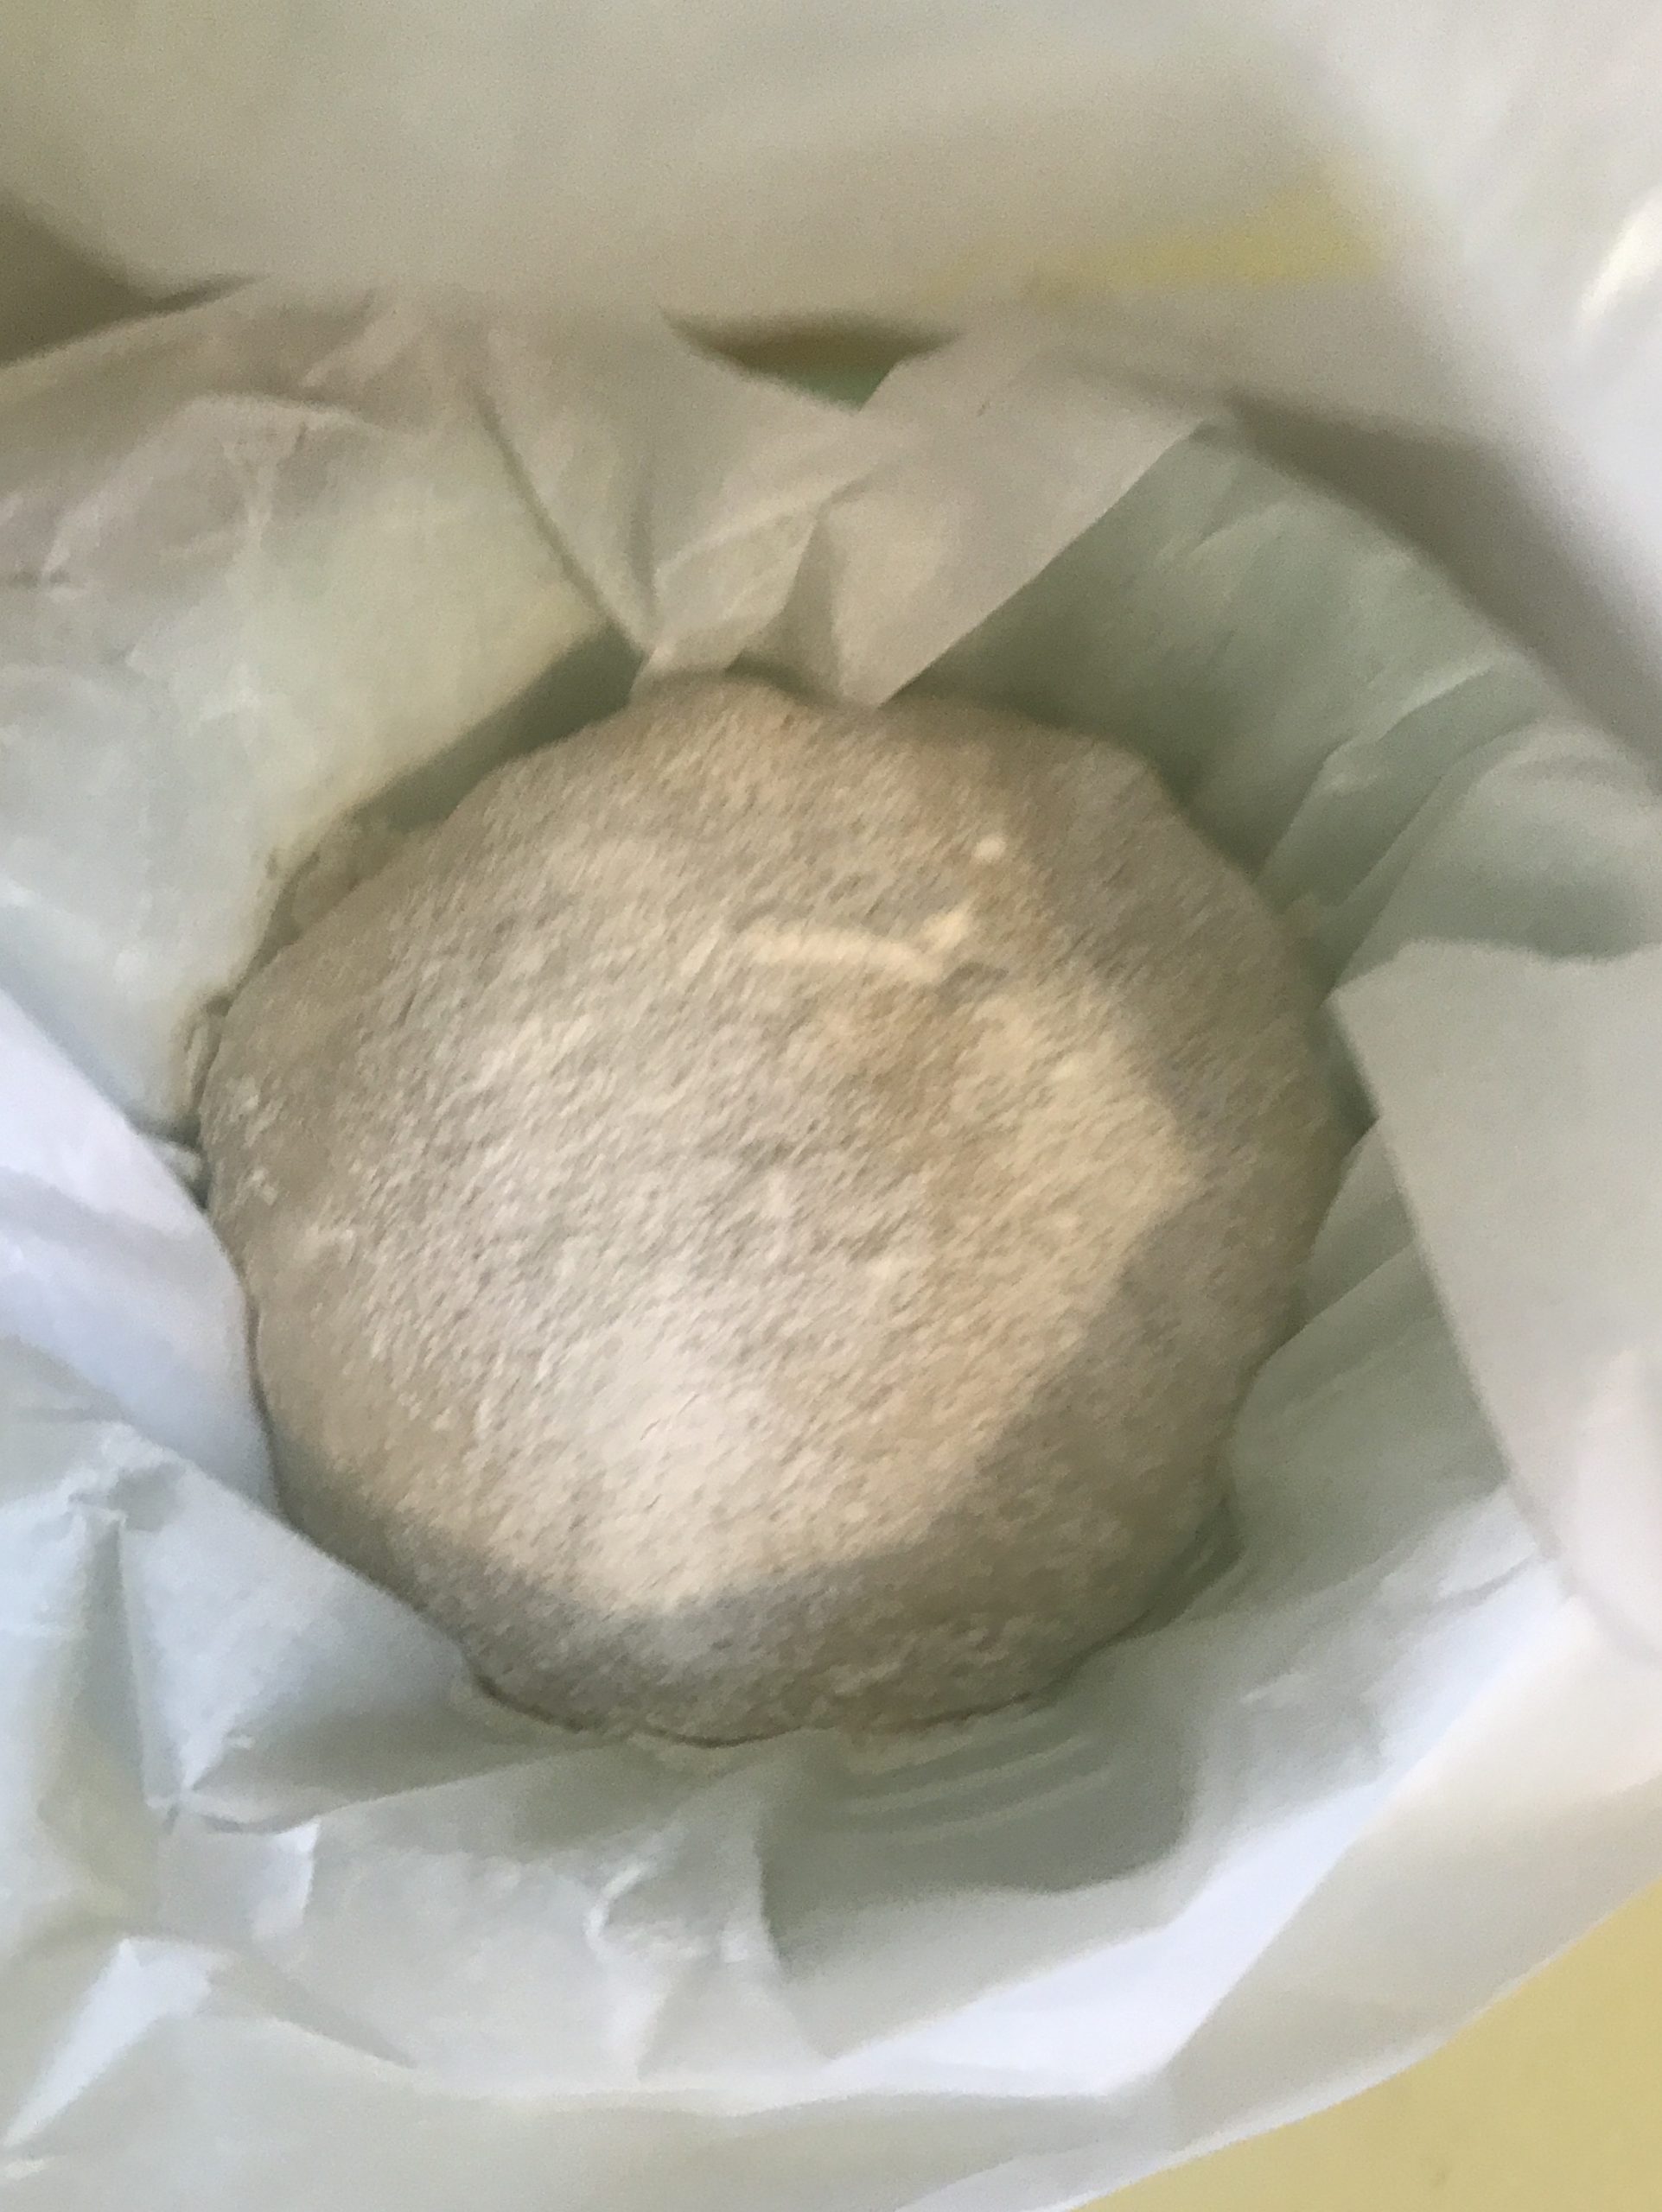
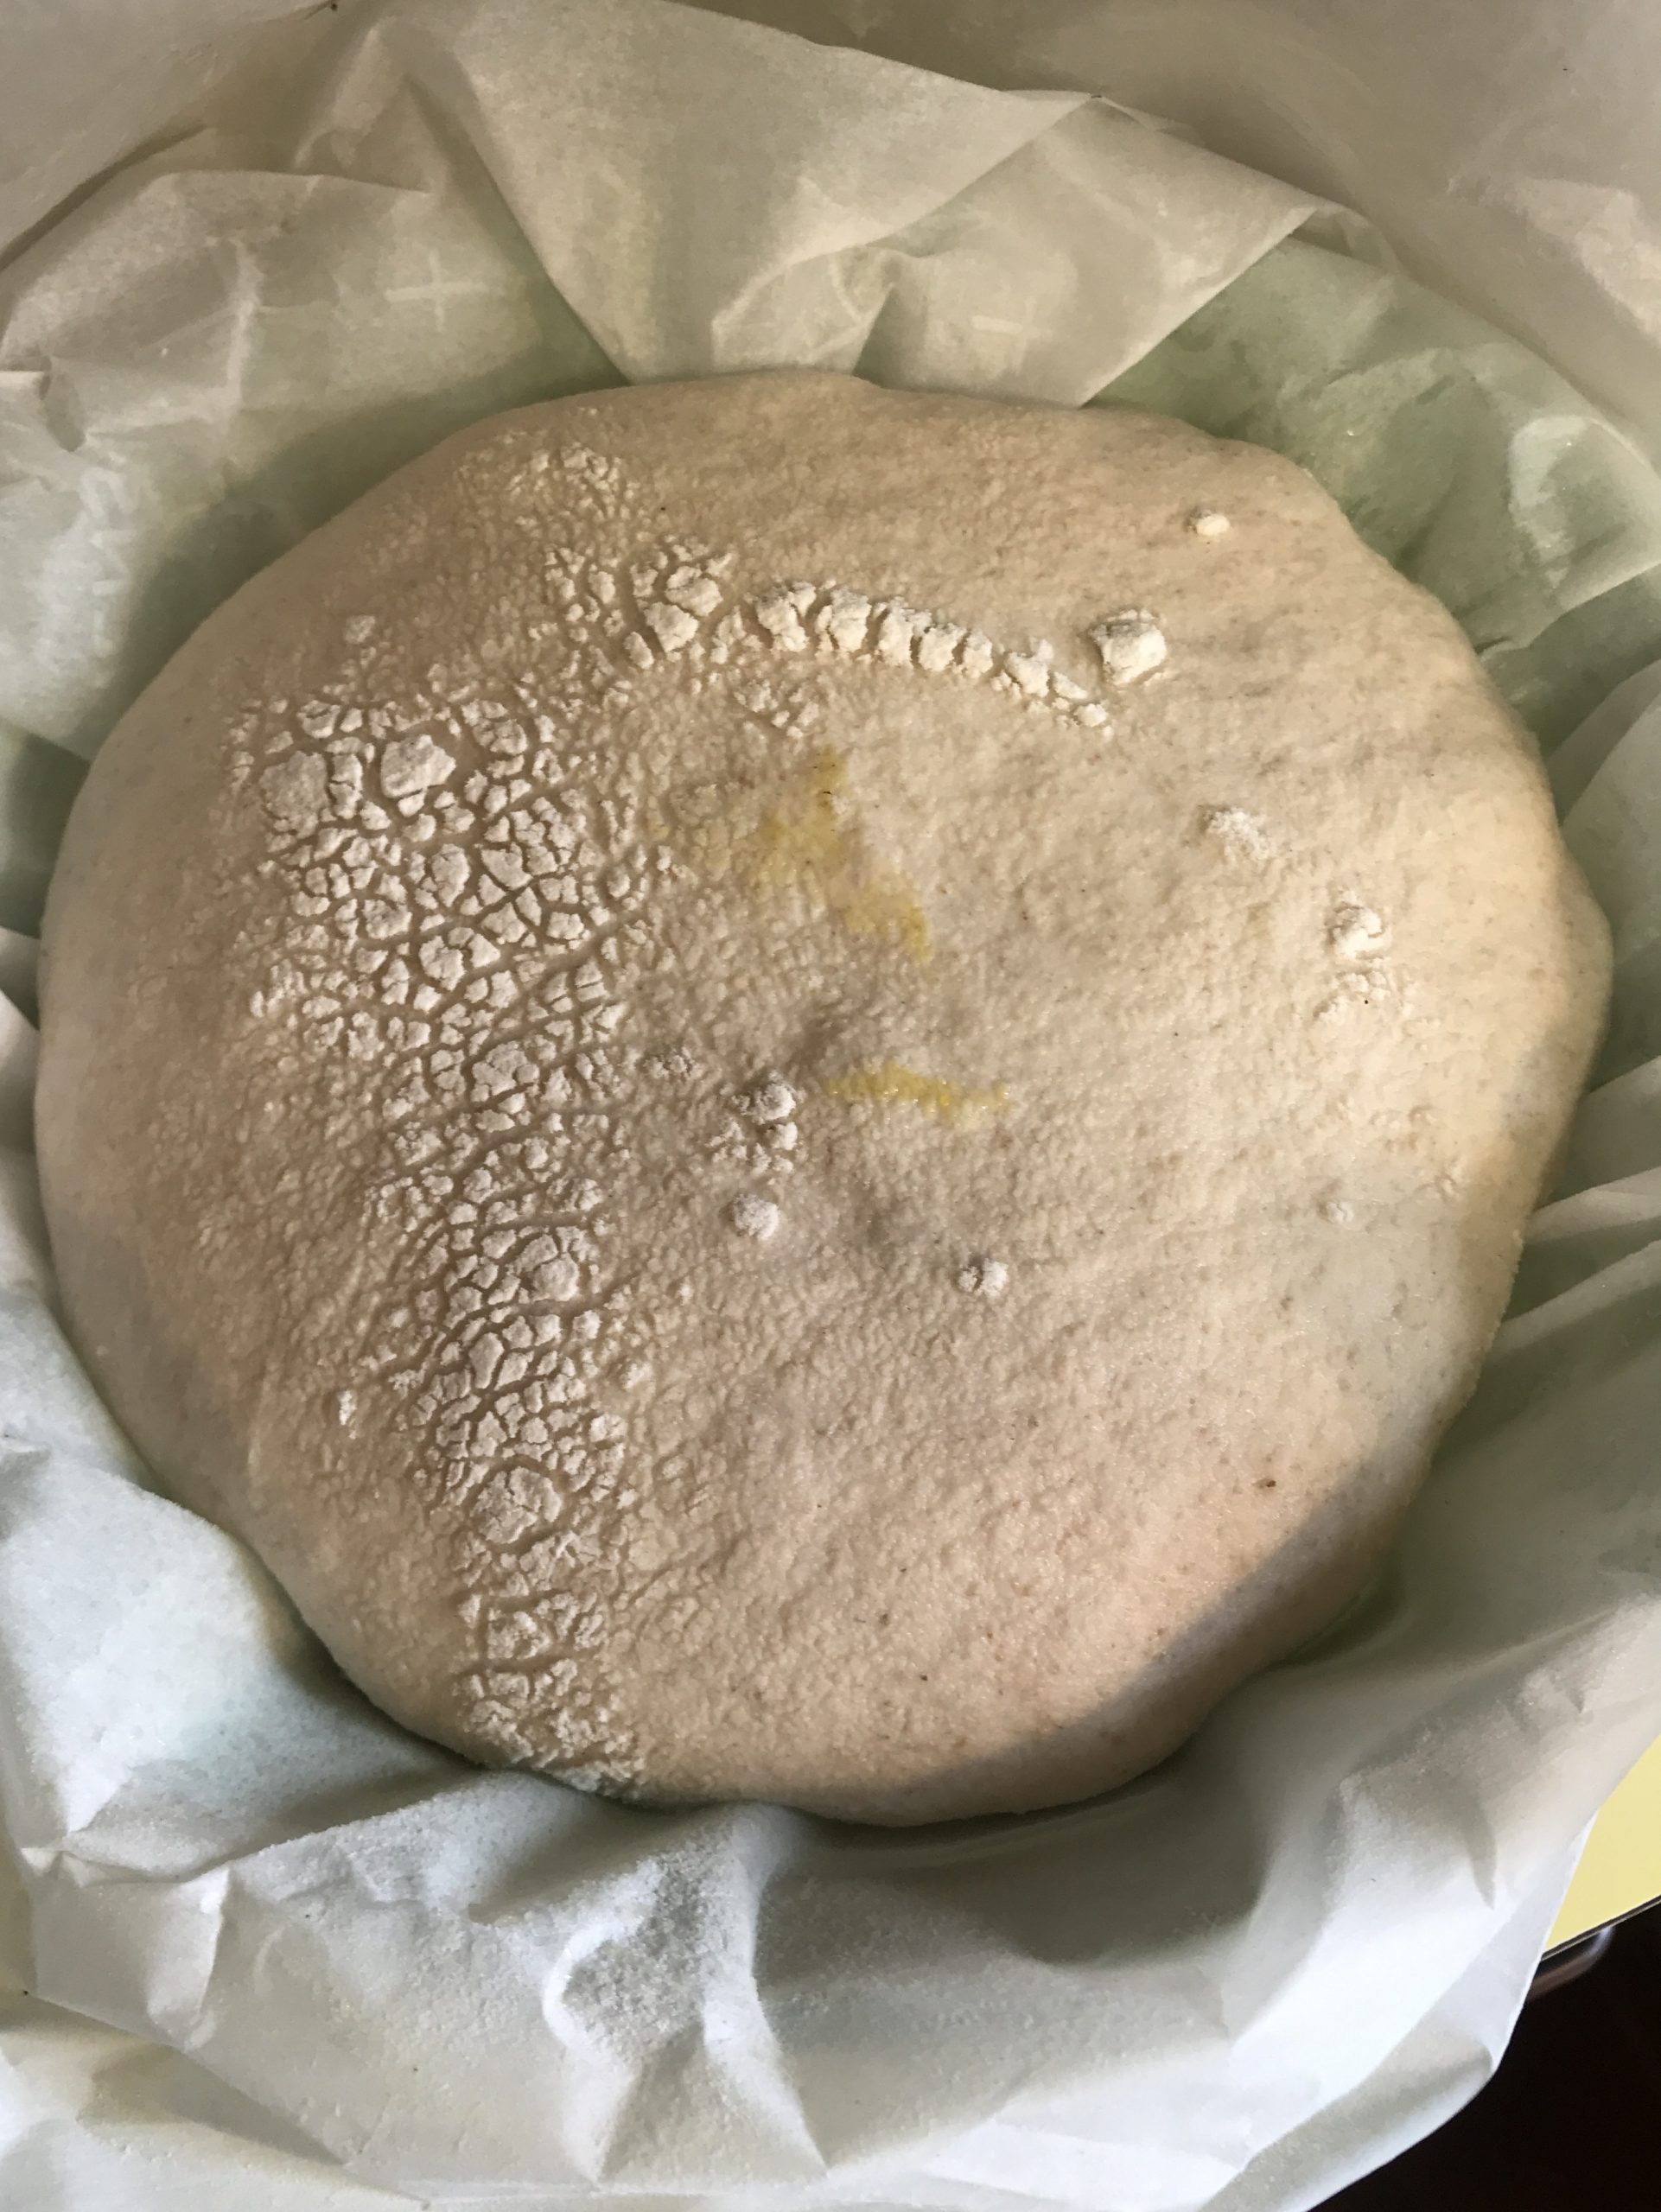
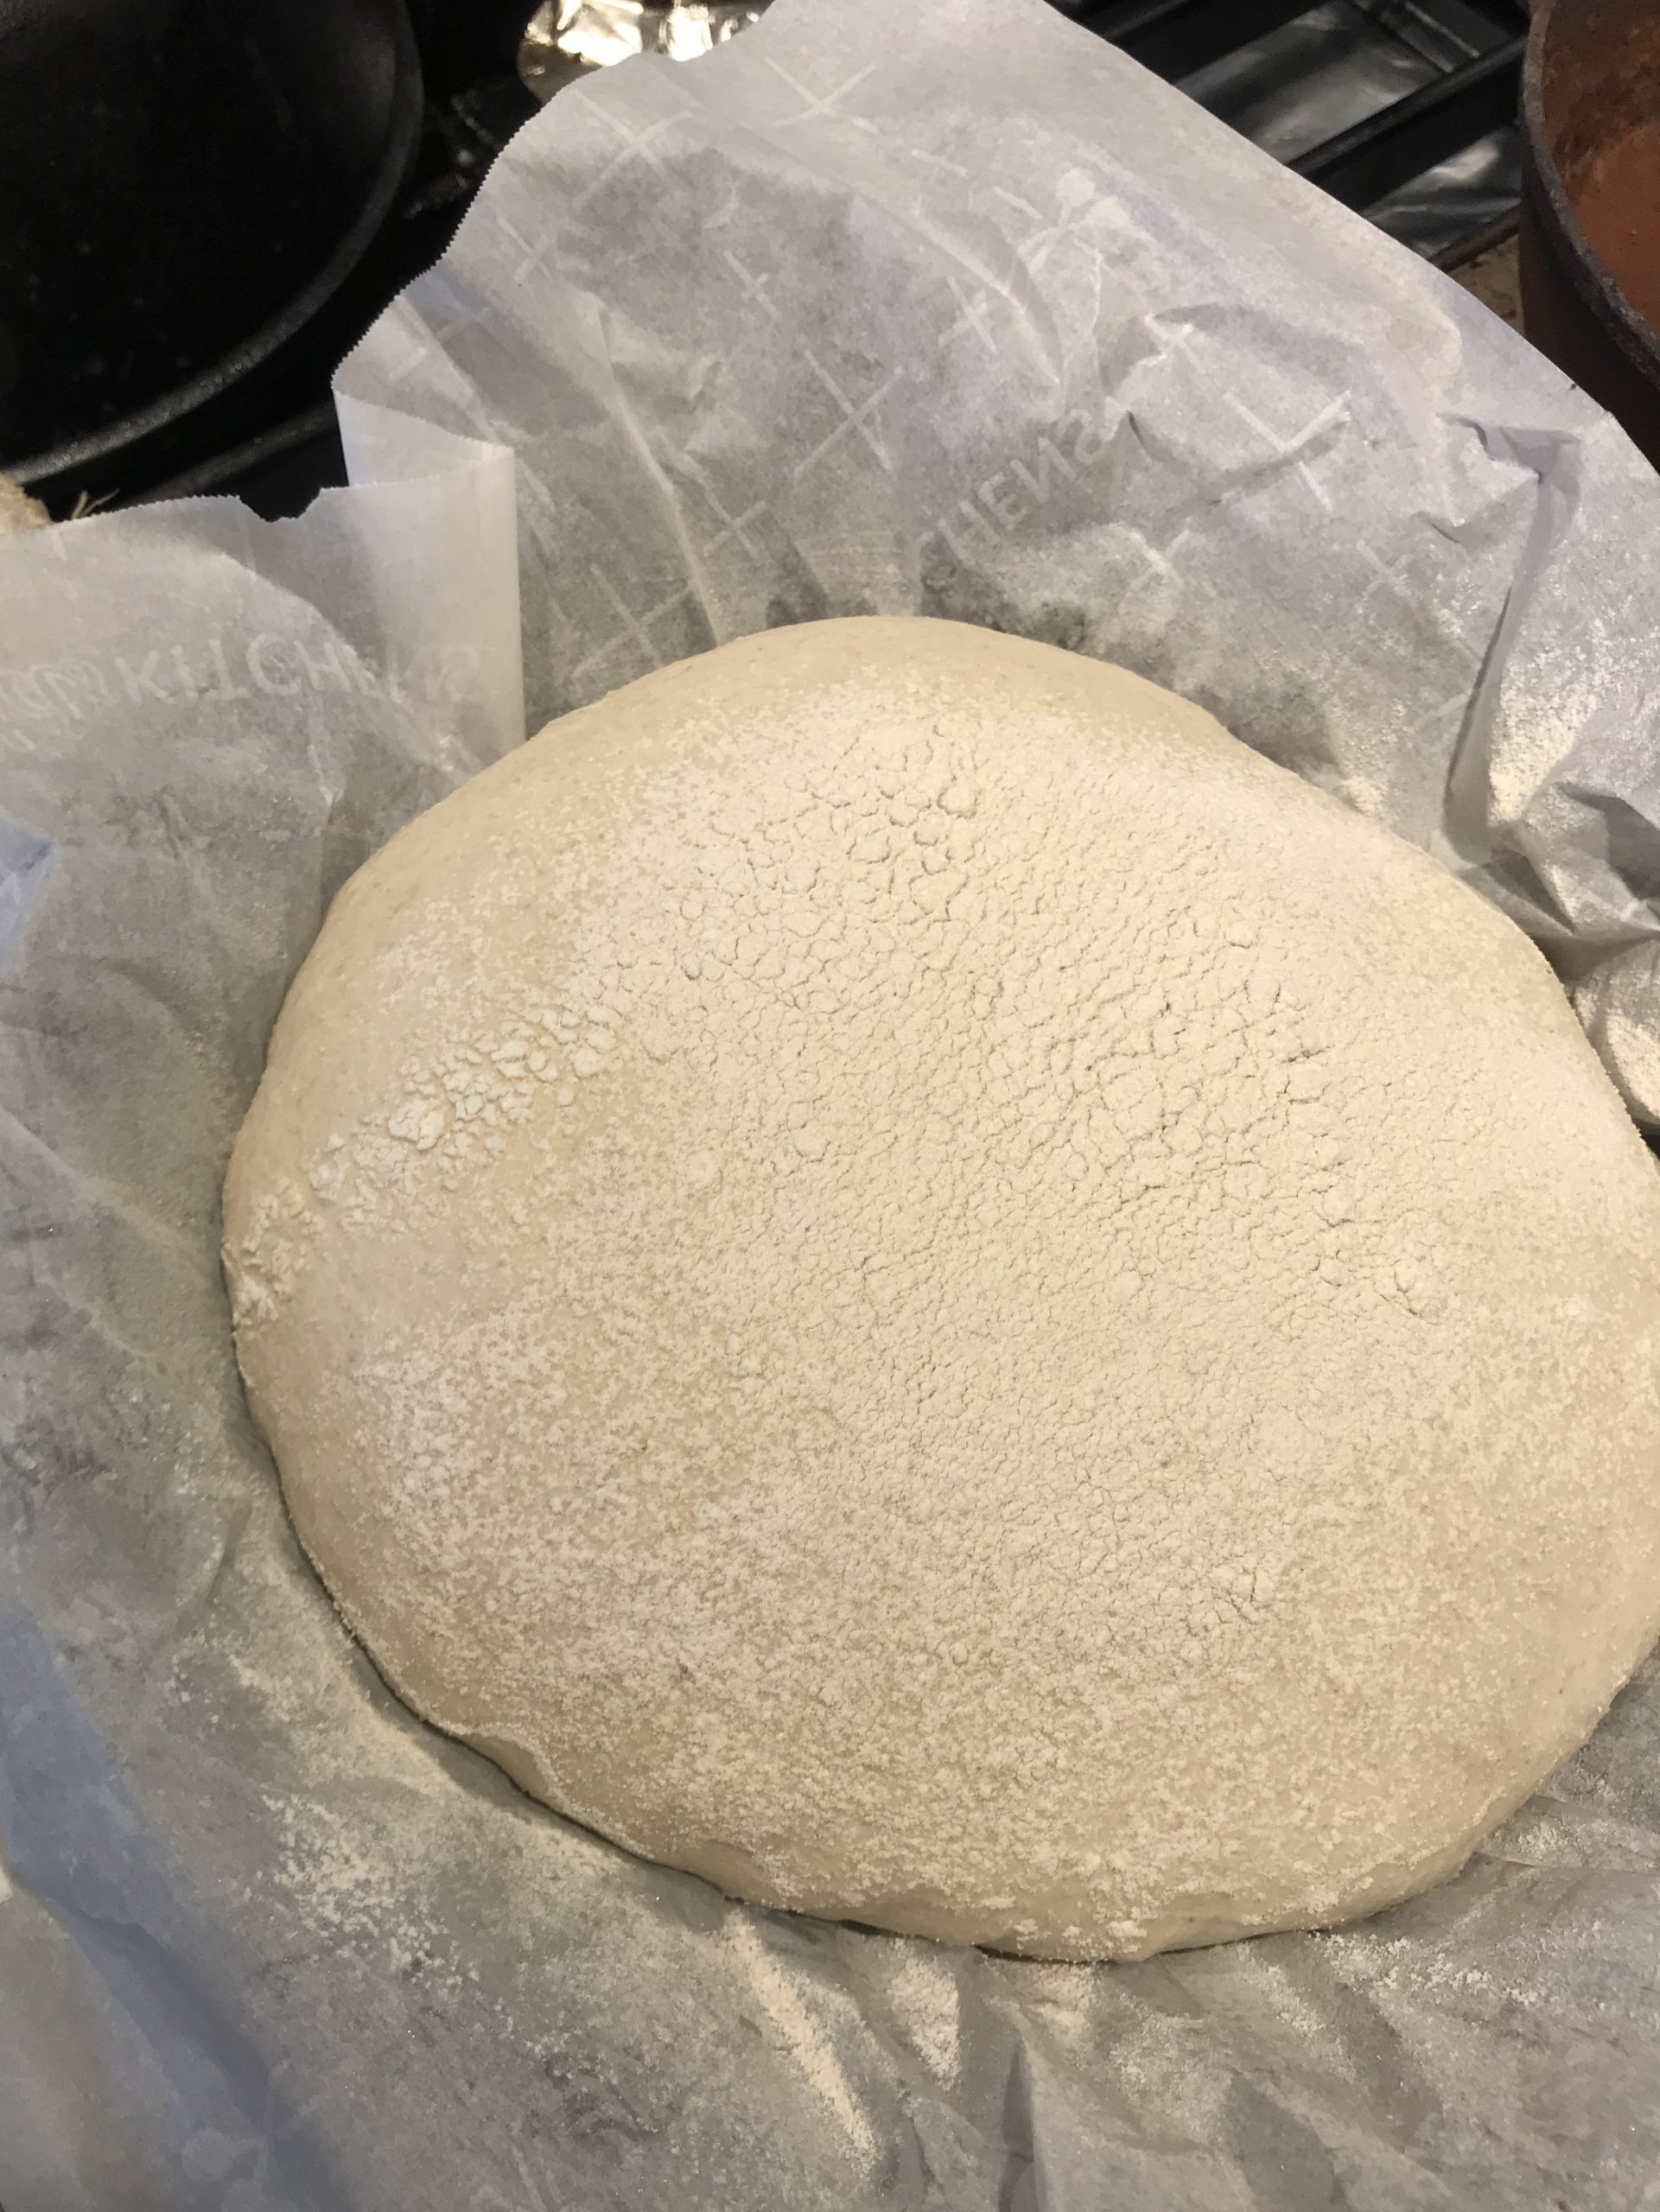
Lift the parchment paper and the formed dough and place it into a bowl, banneton or other bread form. Let the formed dough (below left) sit for one to two hours at room temperature lightly covered. It will visibly expand in volume (below right). You may see large bubbles on its surface, a sign of yeast activity.
Before baking, place your covered cast iron casserole or Dutch oven in the oven on the middle shelf. Preheat it for at least an hour.
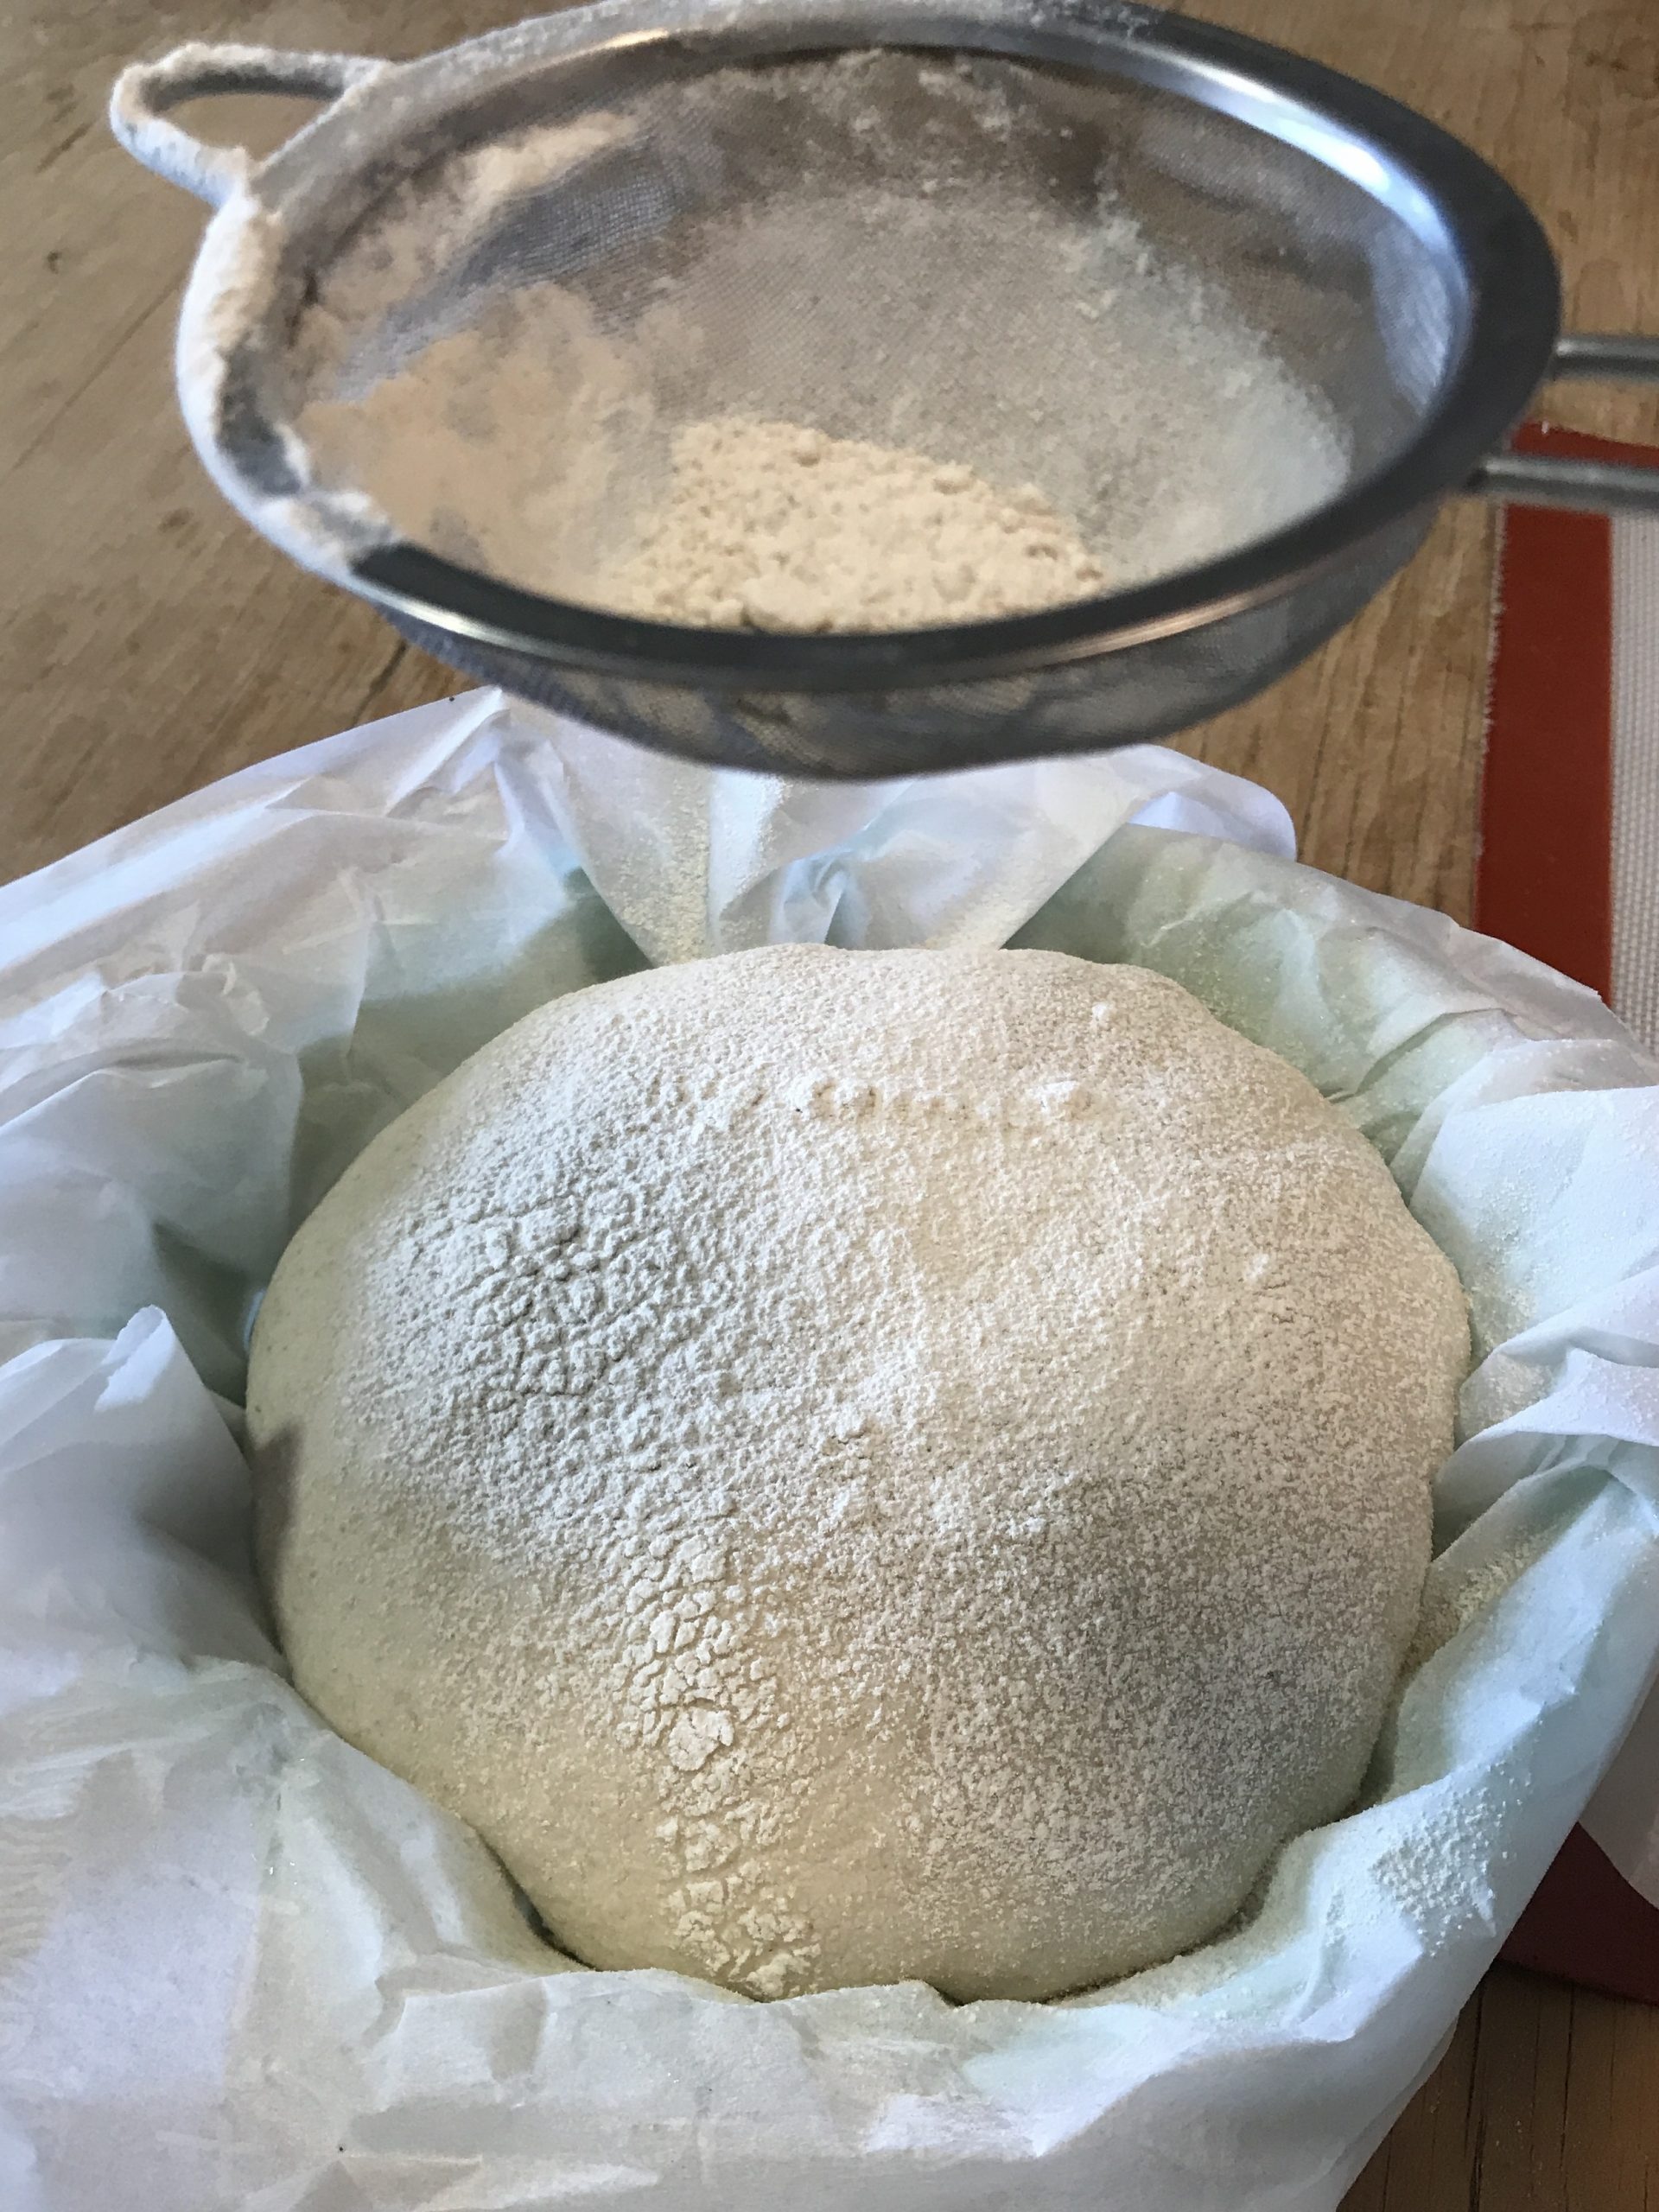
When the dough is ready, dust it lightly with flour. This gives the bread a rustic appearance after baking. Then carefully take the preheated dutch oven out of your oven. Remove the lid. Lifting the parchment paper and dough, quickly transfer the proofed dough into the dutch oven. Cover and carefully return it to the oven to bake.
Et Voila!
Kitchen Notebook
Since I wrote this post, I’ve become aware of an earlier work that coins the phrase “no-knead” bread. It is by artist and chef Suzanne Dunaway and you can read about it here.


Jim Lahey's No Knead Bread Sullivan Street Bakery in Manhattan is famous for billowy loaves of crusty chewy bread. Baker and owner Jim Lahey makes this bread using another type of no -knead technique. Instead of tending to the dough by folding it over several times, he mixes the dough. The he lets it sit for 12 to 18 hours. During that long slow rise, the dough softens. The flour absorbs the moisture and the yeast comes alive. This recipe is adapted from his book My Bread published by Norton.
Ingredients
400 grams (3 cups) King Arthur bread flour, at room temperature
10 grams (1 ½ teaspoons) fine sea salt
1/4 teaspoon (1 gram) instant yeast
300 milliliters (1 1/3 cups) water, 55-65°F
Rice or whole wheat flour for dusting
Directions
- Combine the flour, salt and yeast in a large mixing bowl. Make a well in the center and add the water. Stir the flour into the water using your fingertips. As the flour moistens, scrape more flour in from the sides of the bowl. Start to grab and squeeze the mixture between your fingers to create a uniformly wet sticky dough.
- Cover the dough and let it rest for 12 – 18 hours at room temperature 70 – 72°F. The dough will more than double in size.
- Sprinkle the surface of the dough with flour. Slide your fingers down the sides of the bowl and sprinkle with some flour. The dough will be elastic.
- Turn the dough out gently onto a flour-dusted worktable.
- Pick up one side of the dough and fold it over onto itself. Pick up the opposite edge of the dough. Pull and stretch until it reaches the other side. Do this a few times to build tension on the dough.
- Flip the dough onto a sheet of flour-dusted parchment paper. Lift the parchment paper by its edges and place the formed dough into a banneton or bowl to proof. Cover the dough loosely with a sheet of thick plastic.
- Place a covered 4 ½-to 5 ½-quart cast iron or clay Dutch oven in the oven. Preheat the oven to 475°F.
- Let the dough proof for 1 – 2 hours. A fingertip pressed into the dough should disappear in 2 -3 seconds. If it springs back, wait longer. If it does not disappear, you have waited too long. The loaf may be somewhat flat after baking.
- Score the surface of the dough if you like. Carefully remove the heated casserole from the oven. Remove the lid. Lift the parchment by the edges and place it and the dough in the casserole. Cover and return to the oven.
- Bake for 30 minutes. Remove the lid and bake for 15 - 30 more minutes until the loaf is a burnished deep brown color. Cool the loaf on a wire rack for at least an hour before eating.