

For many years, I taught a cooking class called Holiday Baking for Smart Cookies. I’d forgotten about this until Pem McNerney of Shore Publishing asked me for some cookie baking tips.
Like most time-pressed cooks, I follow a few steps to avoid the holiday baking frenzy. Breaking down the work into short bursts of activity helps me avoid last-minute frenzy. Even if you only bake a couple different types of cookies, I hope some of these tips are useful.
(You can download a pdf of these tips here)
Keep a Prep List– Make a prep list like a restaurant chef. Consider what cookies you’d like to have and how much time you can spend baking. (Often, I make enough for a couple of family gatherings and enough extra cookies to share with friends). A list helps me gauge what is feasible, because I am congenitally overambitious.
Mix It Up –The fattest folder in my recipe files says COOKIES. It’s like shopping seed catalogs. I peruse the recipes and select based on time and my mood. Select cookies with a variety of textures, ingredients, flavors and shapes. That’s what makes cookie exchange parties so appealing. You can exponentially change what you offer in a snap.
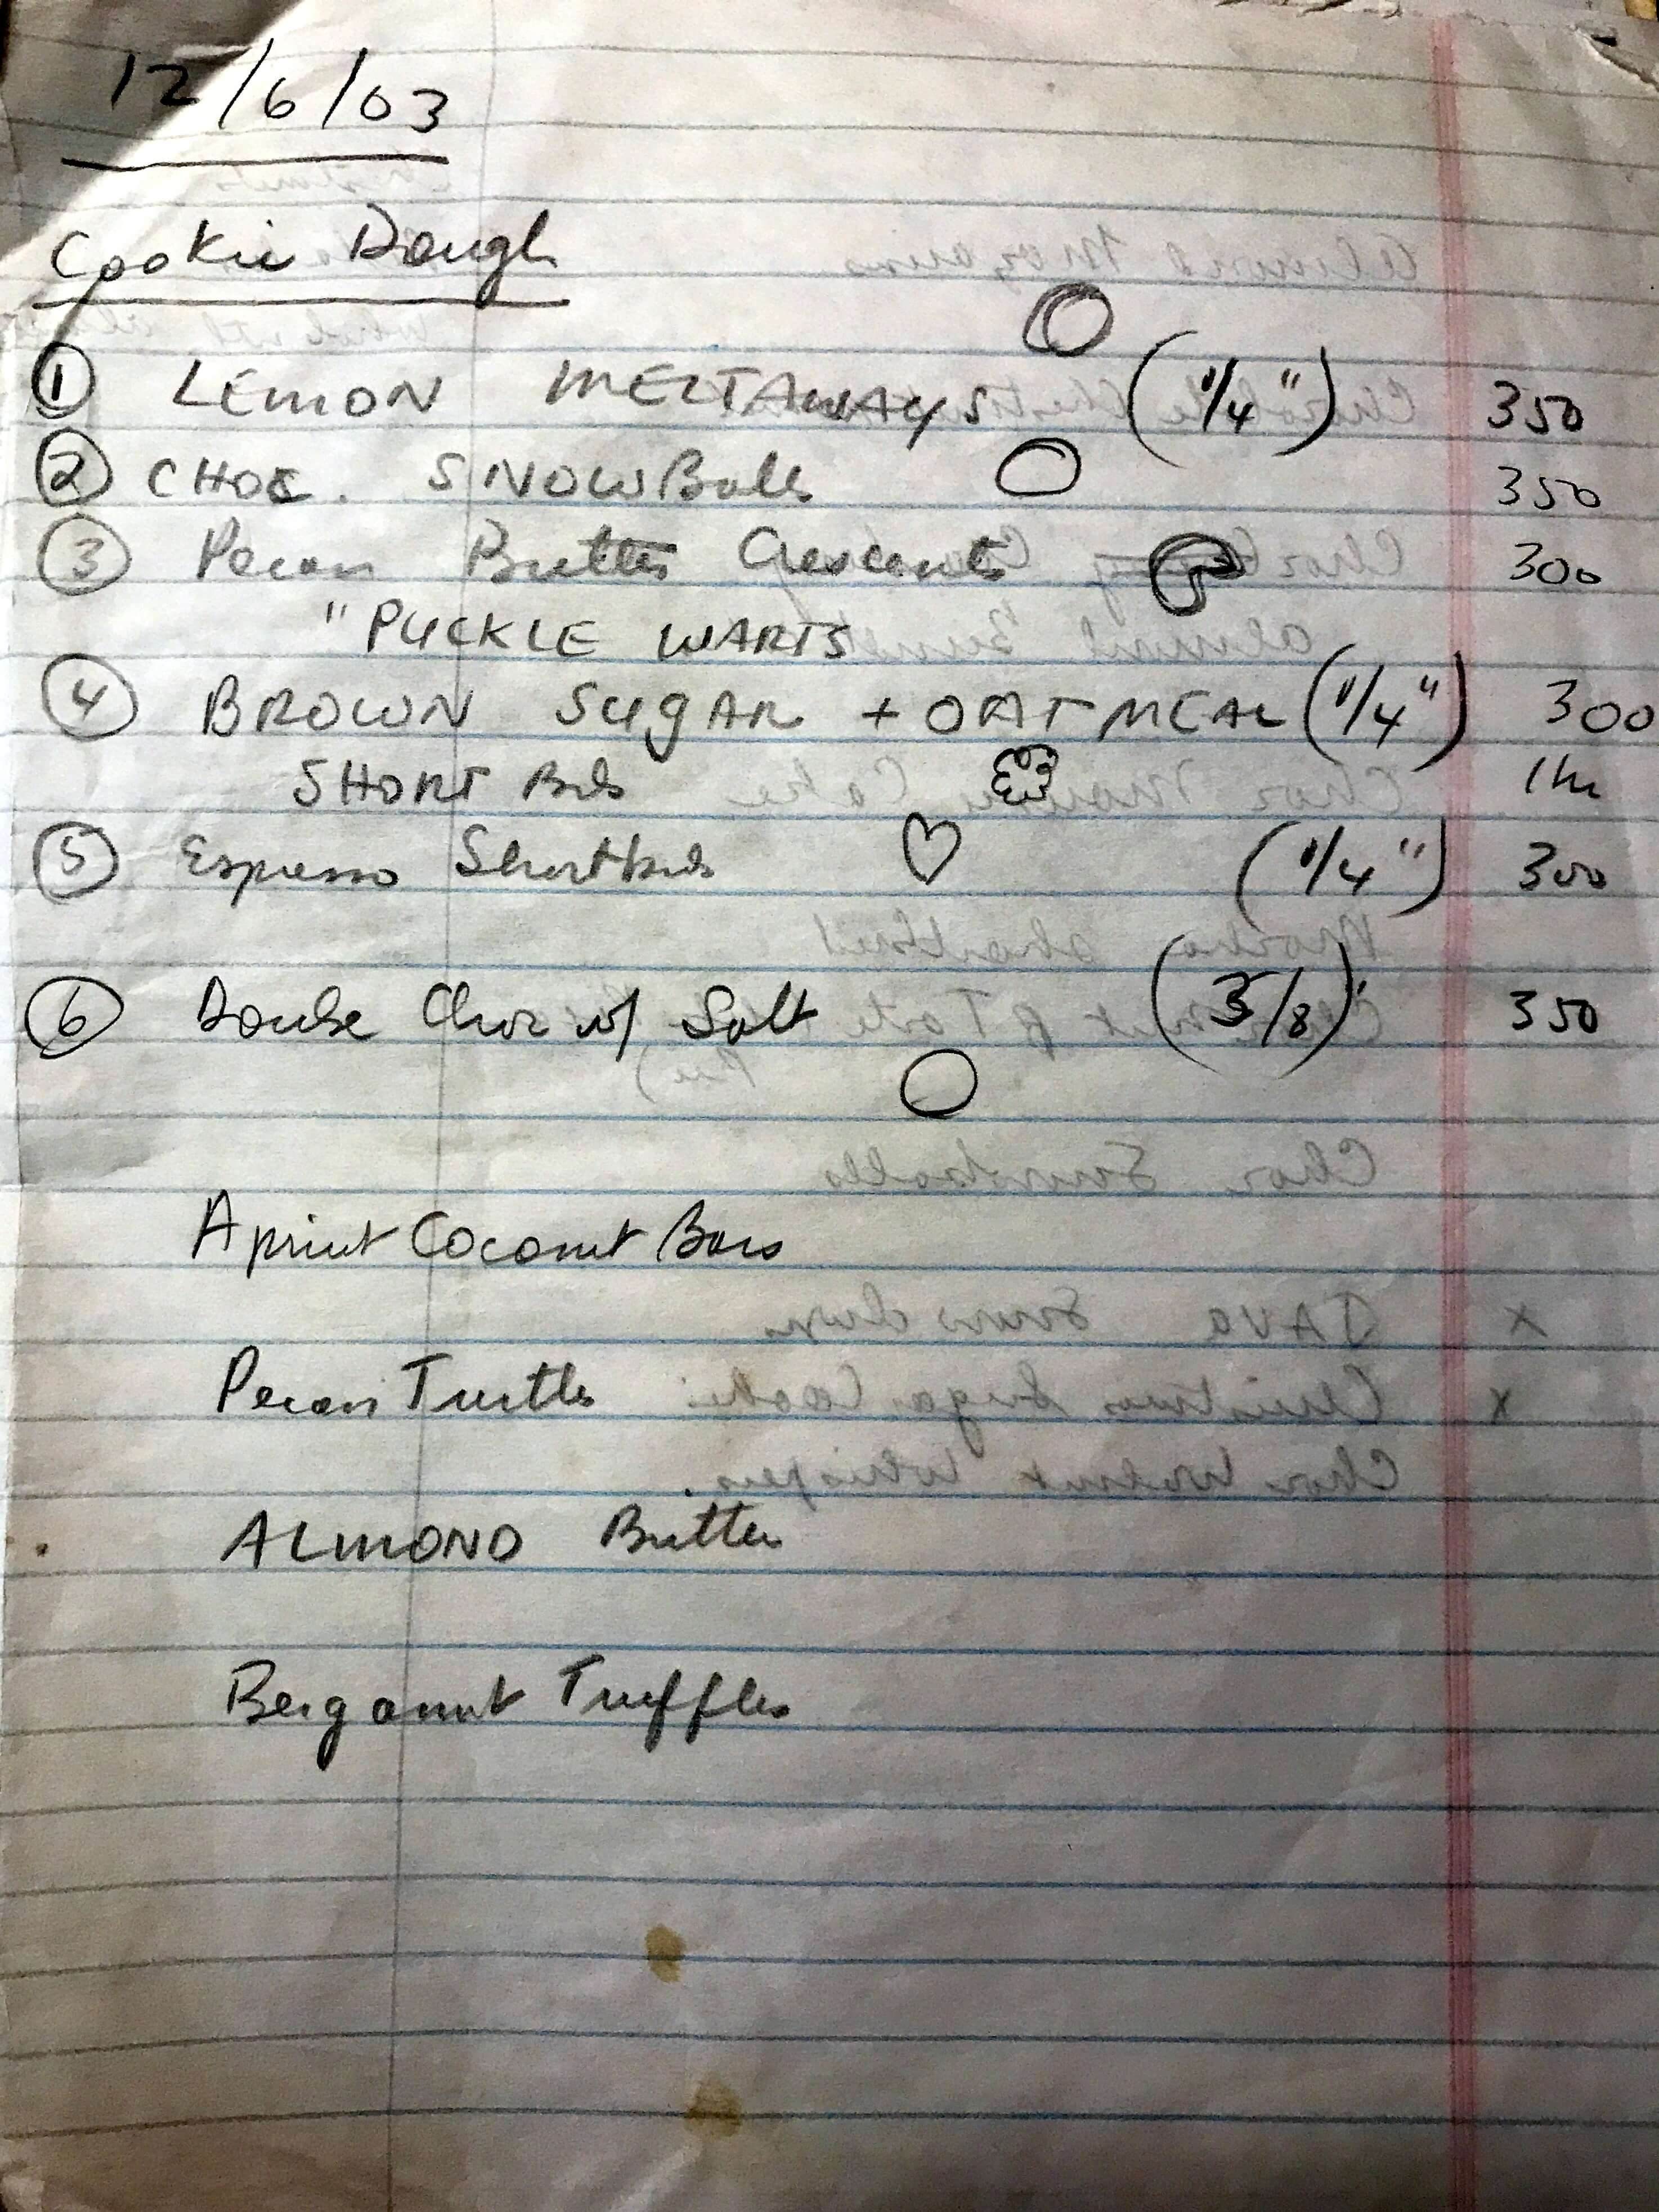
This list from 2003 was tucked in the fat cookie folder. Even making 6 was ambitious.
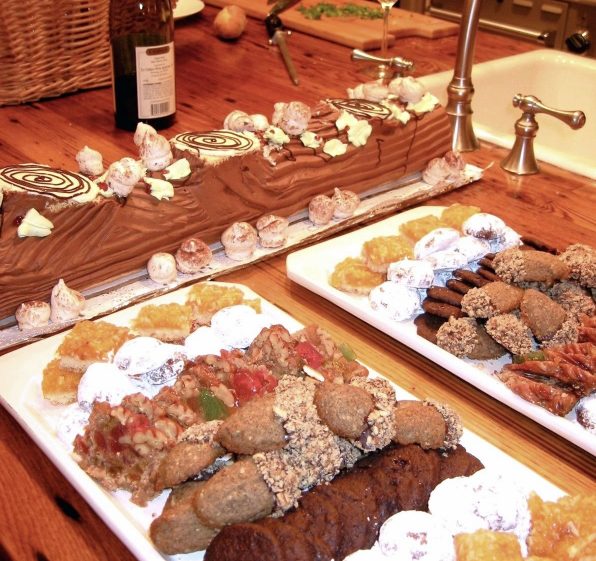
Select cookies that vary textures and flavors.
Crisp = Shortbread, sugar cookies and ginger snaps. Wafer cookies like pizzella or tuiles.
Tender = Fruit and nut bars, buttery snowballs
Brittle = Toffee nut brittle, buttercrunch
Cake-like = Italian anisette cookies, gingerbread
Chewy = Italian Macaroons, Coconut Macaroons
Everyone loves Mexican Wedding Cookies, Russian Tea Cakes or whatever your family calls them. Those powdery white balls saw holidays as much as a cut-out sugar cookie. And they are much easier to make. But leave time for an outlier, like the PuckleWarts listed above.
Break it up – Give yourself two – three sessions to accomplish the holiday baking. Make the dough and fillings one day. Bake cookies the second day. Decorate, wrap and package everything on a third day. These don’t have to be consecutive. Make friends with your freezer; prepare cookie doughs ahead and freeze them until baking day. Generally, a dry butter cookie dough will keep for up to 6 weeks in the freezer. Wrap it well in plastic and foil.
Assembly Line – On mixing day, set out all the flour, sugars, salt and spices in one place. Tools too. And lock the cat and dog out of the kitchen.
Save time by mixing cookie dough from light to dark. No need to wash the bowls in between. Start with sugar cookie or plain butter cookie dough, then gingerbread then something chocolaty. The difference in color of each dough won’t matter. Just watch out for allergens. If you hope to keep nuts out of a batch of dough, for example, you absolutely must wash your tools thoroughly between batches. Because my brother is allergic to nuts I am scrupulous about what and how I bake for him.
Check Your Ambitions – A reminder, resist the urge to make every dough in your recipe box. I got carried away one year. There’s nothing like finding gingerbread cookie dough moldering in the freezer in March.
Plan the Baking Session – Baking several types of cookies in one session really saves time. Set out your tools, the sheet pans, cooling racks, non-stick parchment paper. Line all the sheet pans you have so you’re ready to go. (We have about 10 half-sheet pans. Overkill for some but a Godsend for cookie making.) You can portion and tray up dough for one batch as the first batch bakes. Bake from cool to hot temperatures. This means you bake the dough that requires a lower temperature first. (It’s easier to raise the heat than lower it.)
But never put formed cookie dough on hot trays.
Carryover Cooking – Once they are baked, leave cookies on their trays to cool slightly if you would like them to firm up more.
Tame a Cranky Oven – Sometimes you need a few tricks to get a home oven to do its job. Ours is in a constant state of confusion, too hot, too cold, never just right. We keep a heavy baking slate in the oven at all times. It works like a charm to even out the heat for bread baking and roasting. But it limits the number of shelves. Tips? Read the use and care guide for your oven. Manufacturers usually tell oven owners which shelves to use for different types of baking. Double pan your cookies. (Place you filled sheet tray of cookie dough on top of a second pan.) This always works to prevent bottom browning. Use the crummiest tray for the bottom.
Play with your oven temperature too. Some ovens run hot, others cold. Temperatures in recipes are a guideline.
325°F = Cool oven, good for cookies that need to dry out (meringues) and those that contain chocolate, which can burn easily.
350 – 350°F = Moderate oven, good for most cookies, hot enough for them to set quickly. Watch put for chocolate burning on the bottom at the higher range of temperature.
400 – 425°F=Hot oven = Save the latter for thin crisp wafer cookies.
Store Them Cool and Dry – Have an assortment of containers with tight-fitting lids ready for storing your cookies. Each cookie needs to be stored separately. (See below.) Containers don’t need to be fancy. Superstition and habit drive me. There’s a silver lidded tin my Mom used when I was a kid, lots of Tupperware like containers. And for those of you who know the Cummings and Good long calendars, I use them as cookie storage containers. (My fantasy is to fill one for each year the Goods made those calendars and gift Jan and Peter with them all.)
Store your containers of baked cookies in the freezer if you’re baking a month or more ahead. Or in a cool dry place like your garage. (But not if critters can get in.) A cool pantry, the attic or stairwell works too.
Segregate the Cookies After Baking – Have you ever bought a fancy tin of imported butter cookies? Notice how they are all consistently crispy? It’s a professional secret. Not all cookies get along. You must store them separately by type to preserve their unique textures and flavors. Flavors and moisture migrate from one to the next turning them uniformly bland. From time to time, some terrific bakers I know gift me tins of homemade cookies. They dazzle, different shapes, crumbly bars, chewy drop cookies and nut crusted bars. But they all taste the same. And they are often uniformly soggy.
Decorate in a Day – Although I am not one for iced sugar cookies – those adorable they cut-out Santas taste like sweet sawdust – I do decorate some cookies. Sandwich cookies need their jam fillings. My espresso shortbread hearts need their coating of chocolate. Do the decorating on a separate session. You’ll work cleaner. Have the glaze made. Pull out all the colored sugars, pastry brushes and whatever you need. And get creative.
Pack ‘em Up – Assemble your cookie trays or gift boxes a day or two before they are needed. And keep them cool until then.
My Favorite Cookies for 2018
Here are three of my favorite cookies to make this year:
Linzer Torte Cookies – Delicious combination of bright berry flavors with spices and nut, this is an all-time favorite. If I make just one cookie, it might be this.
Dorie Greenspans’ World Peace Cookies – Dorie Greenspan and Pierre Hermé, credited with the creation of this cookie, broke new ground with an addicting sprinkle of salt on a dark chocolate shortbread. These cookies don’t do much for the appearance of a cookie tray. But aficionados know them when they see them. I made them small, no more than 1 ½ inches across. More goodness to go around.
Tartine Bakery Soft Glazed Gingerbread – I could start a business with these cookies, which I emboss with a mold from House on the Hill. The flavors are complex and intense. And a finish with a sugar coating called thread glaze gives them a rustic sheen.