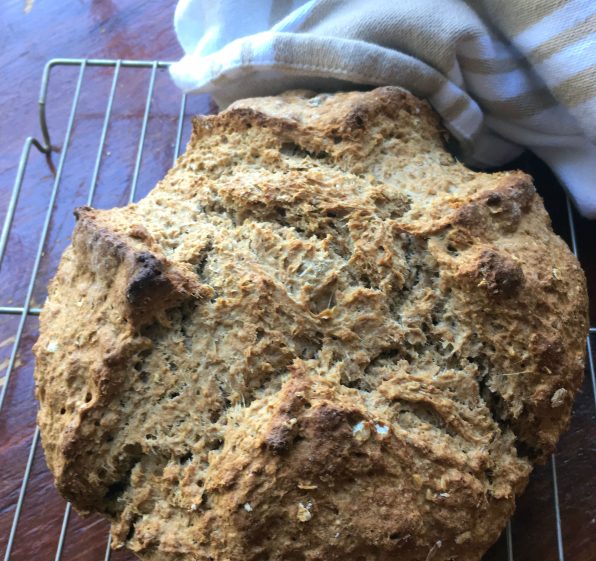
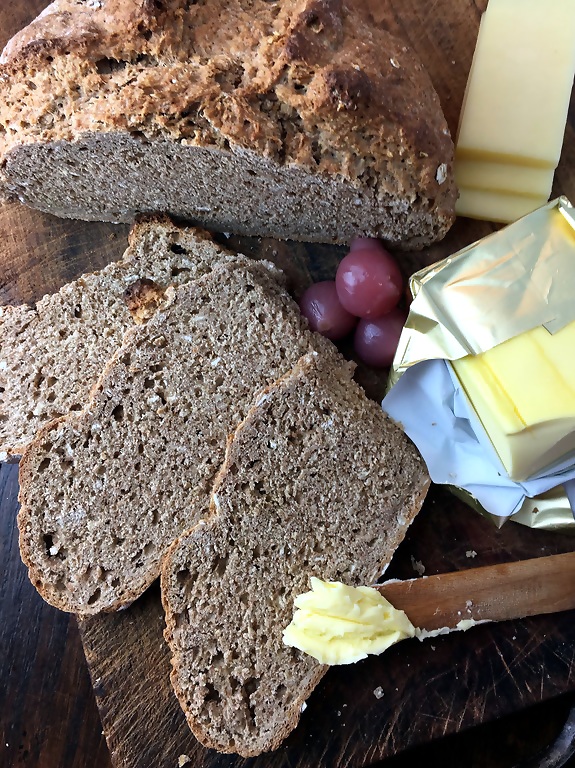
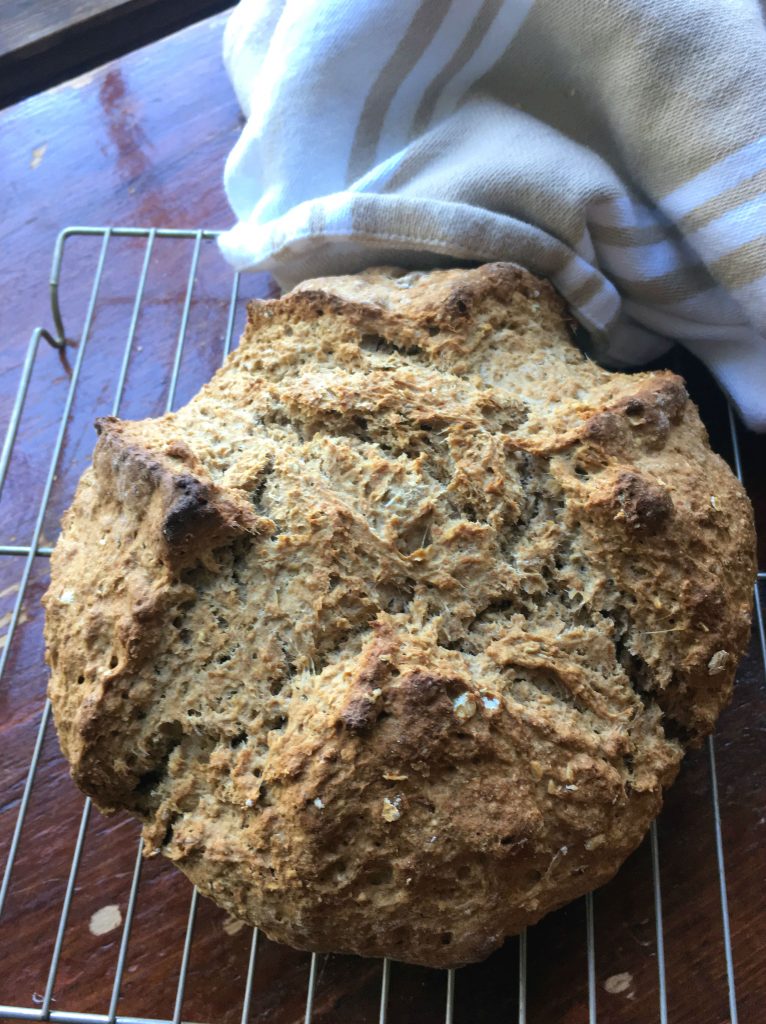
Irish Wheaten Bread is the simplest bread you can make. It is addicting and absolutely delicious, a fact made obvious when I baked the loaf pictured here. (We can’t stop eating it.) The flavor of the whole wheat flour gives it an unexpected sweetness. Although the texture is somewhat crumbly, the loaf slices neatly.
This is Bread Makes the Meal Project Week One so I am going to spend a little time explaining the steps in this basic bread. This project is about getting you to feel comfortable baking bread at home so that you can share it at any meal.
No need to worry about yeast anxiety with this recipe. Irish Wheaten Bread is leavened with baking soda and goes directly into the oven after it is mixed. The entire process should take less than an hour. Once it cools, you can be enjoying a ploughman’s lunch like this.
First you’ll need to get your oven set for bread baking. Make sure that your racks are in the right position. To put steam in the oven, something I recommend to improve the quality of the bread you bake at home, position one rack on the lowest setting. Place a small heavy, ovenproof pan on this shelf. I use a small cast iron skillet; it absorbs heat and has a flat handle that slides in between two closely-spaced shelves. Then position a second oven rack on the middle shelf. Place a baking or pizza stone on the rack. Preheat your oven to 450°F for at least 30 minutes.
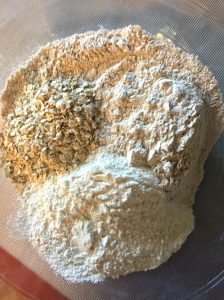
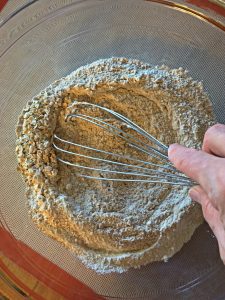
To make the simple dough for Irish Wheaten Bread, measure the whole wheat flour, all-purpose flour and the oats into a wide bowl. (I weigh these ingredients when I bake. It’s more accurate than using a dry measuring cup.) You could do this in a stand mixer but it hardly seems worth the mess. Add the baking soda and salt then stir a few seconds to distribute the ingredients evenly. I use a medium-size whisk but a fork would do.
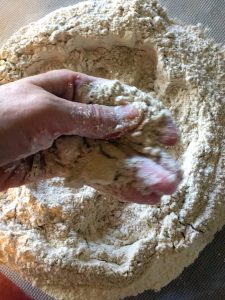
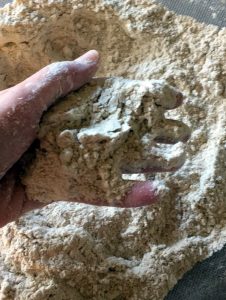
If you haven’t already, cut the butter into several small pieces. Add it to the bowl then rub the flour and butter between the tips of your fingers. This part is fun. The flour feels warm to the touch. Rub until you don’t feel any big lumps of butter. The mixture will feel a little sandy and look quite smooth as shown here on the lower right.
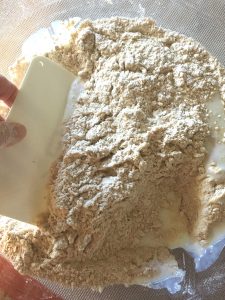
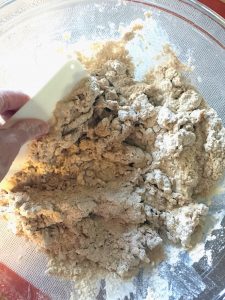
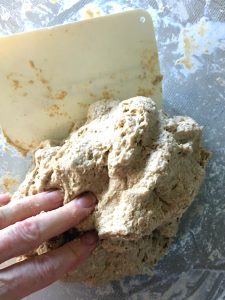
Add the buttermilk. I added all but a few tablespoons of the buttermilk to start. You can stir with your fingers or a rubber spatula but I like to use a plastic dough scraper. If the mixture seems dry, as it does in the photo on the lower right, add more buttermilk. Different types and brands of flour absorb different amounts of liquid. In fact, using King Arthur Organic Whole Wheat Flour, their all-purpose flour and quick-cooking rolled oats, I did need the entire 1 ½ cups of buttermilk as listed in the recipe. But there have been times with other brands of flour when I felt that 1 ¼ cups of buttermilk did the job.
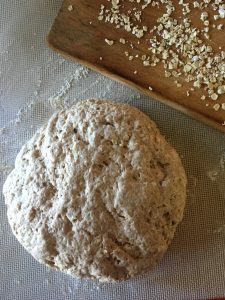
You’re looking for a ball of dough that is somewhat sticky but can be gathered up between the palms of your hands. The dough is clay-like. If you grasp it and squeeze your fingers, it will definitely stick. Working on a well-floured work table, pat the dough into a round shape. It helps to either flour your hands or wet them. Yes, this surprises many students too. Wet hands work just as well to prevent dough from sticking as do floured ones.
Your dough won’t have a smooth surface. No matter.
In our kitchen, we work on a large, rectangular wooden table. Wood is the ideal surface for bakers. It doesn’t react to temperature. I do like to place a silicone baking mat on the table though. Should the dough be a little sticky, I can easily wipe down the silicone mat or rinse it off in the sink.
Sprinkle a bread baker’s peel or the back of a baking sheet with some rolled oats, cornmeal or rice flour. Any of these ingredients will help you slide the shaped dough onto the baking stone in the oven. You could also place the shaped dough onto a piece of baker’s parchment paper.
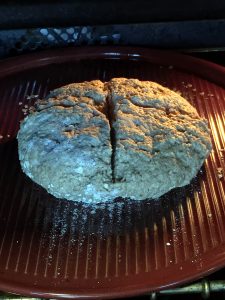
With one hand on each side of the ball of dough, lift it onto the peel, baking sheet or parchment paper. With a serrated knife, make two deep cuts on the top surface of the dough in a neat cross pattern. Then slide the dough onto your baking stone.
To put some steam into the oven, fill a half cup measure with boiling hot water. Carefully toss the water into the pan on the bottom rack of your oven. Stand back as you do this. Pull your head away as soon as the water hits the pan. Close the oven door and wait.
As it bakes, the loaf will swell. The cuts on its surface will open wide. Then, as the moisture in the dough evaporates, the loaf will turn golden brown. You’ll need a solid 35 to 40 minutes for this to happen.
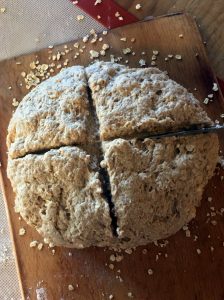
Cool your loaf on a wire rack for at least 30 minutes, longer if you can stand to wait. Use a serrated knife to slice the bread. Holding the knife firmly against the top of the loaf, gently pull back and forth on the knife to make uniform slices approximately 1/2-inch thick.
Ingredient Note
Breads and baked goods leavened with baking soda need an acid for the chemical reaction that lightens the bread to take place. If you like to switch out ingredients, keep this in mind when making this Irish Wheaten Bread. No buttermilk? Combine 1 ¼ cups of milk with ¼ cup of lemon juice or vinegar. Stir and let the mixture sit for 15 minutes before using. You can also use 1 ¼ cups of plain yogurt thinned with 2 tablespoons of water and 2 tablespoons of lemon juice.
Looking for a vegan version? Combine 1 ¼ cups of nut milk with ¼ cup of lemon juice. Stir and let the mixture sit for 15 minutes before using. Use a good quality coconut oil in place of the butter.
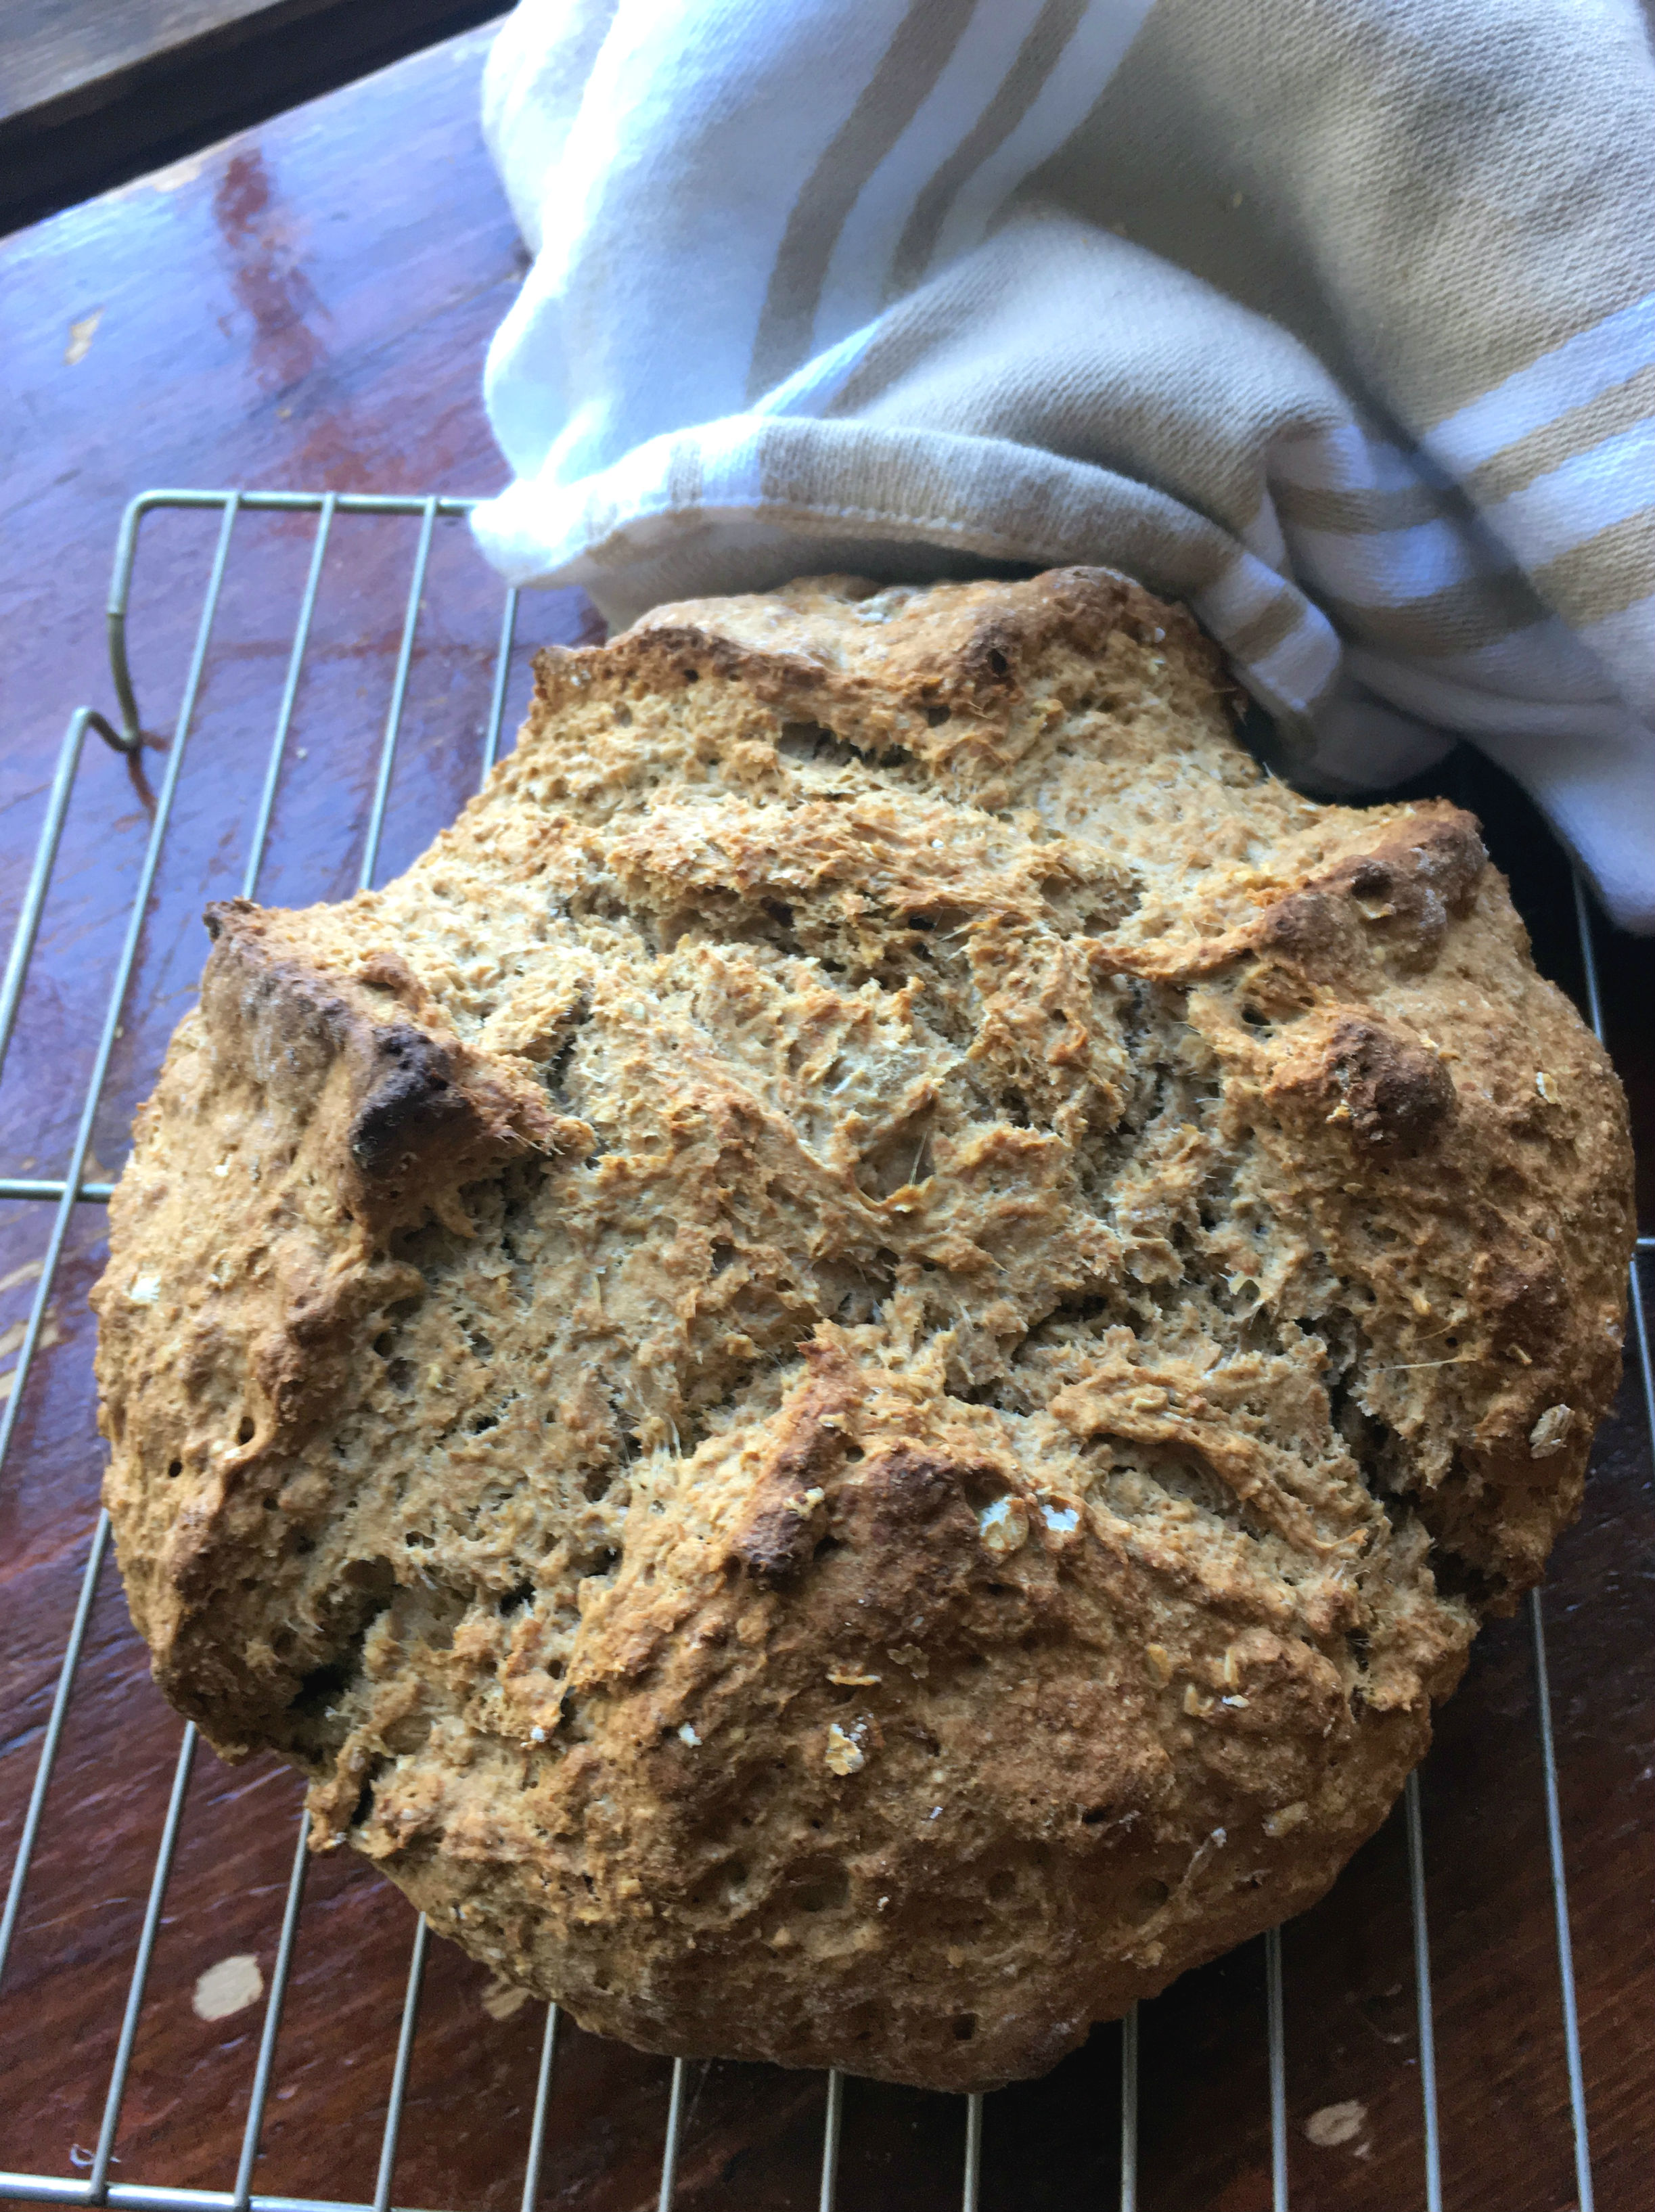
Irish Wheaten Bread is the simplest bread you can make. It is addicting and absolutely delicious, a fact made obvious when I baked the loaf pictured here. (We can't stop eating it.) The flavor of the whole wheat flour gives it an unexpected sweetness. Although the texture is somewhat crumbly, the loaf slices neatly.
No need to worry about yeast anxiety with this recipe. Irish Wheaten Bread is leavened with baking soda and goes directly into the oven after it is mixed. The entire process should take less than an hour.
Bread Makes the Meal!
Ingredients
3 cups (12 ounces) whole wheat flour such as King Arthur Organic Whole Wheat flour
2/3 cup (3 ounces) unbleached all-purpose flour
1/3 cup (1 ounce) quick cooking oats, raw
1 teaspoon fine sea salt
1 teaspoon baking soda
2 ½ Tablespoons (1 ½ ounces) unsalted butter, diced
1 ¼ - 1 ½ cups (10 to 12 fluid ounces) buttermilk
Rolled oats, for the dough
Directions
- Thirty minutes before baking, place a small pan for water on the lowest oven rack. Position a second rack in the middle of your oven. Preheat the oven to 450°F.
- Combine the flours, oats, salt and baking soda in a large bowl. Add the butter and rub it between the tips of your fingers until the mixture resembles corn meal. Gradually stir in the buttermilk adding just enough to make a soft, slightly sticky dough.
- Scrape the dough out onto a work surface and knead lightly a few times to form the dough into a ball. Shape it into a uniform loaf about 7 inches in diameter. Press the dough lightly so that it measures approximately 1 ½ inches thick.
- Sprinkle a baker’s peel or the back of a baking sheet with some rolled oats. Pick up the dough with your two hands and transfer it to the peel or baking sheet. (You could line the peel or baking sheet with parchment paper.) Using a serrated knife, cut the surface of the dough in a cross pattern so that the bread bakes into 4 neat quadrants.
- Slide the bread onto the stone. Pour about 1/2 cup of hot water into the pan on the bottom of the oven. Bake for about 35 to 40 minutes until the loaf is well browned.
- Cool on a wire rack and serve warm.
Notes
Breads and baked goods leavened with baking soda need an acid for the chemical reaction that lightens the bread to take place. If you like to switch out ingredients, keep this in mind. No buttermilk? Combine 1 ¼ cups of milk with ¼ cup of lemon juice or vinegar. Stir and let the mixture sit for 15 minutes before using. You can also use 1 ¼ cups of plain yogurt thinned with 2 Tablespoons of water and 2 Tablespoons of lemon juice.
Looking for a vegan version? Combine 1 ¼ cups of nut milk with ¼ cup of lemon juice. Stir and let the mixture sit for 15 minutes before using. Use a good quality coconut oil in place of the butter.

