

When you want a large crusty loaf of bread for slicing, what do you do? Rush out to the grocery store? Call a local bakery to ask them to hold a loaf for you? Might you consider making your own? This savory Artisan Wheat Blend Slicing Loaf incorporates some whole wheat for flavor. It is easy to make because it requires minimal kneading. Use the amount of yeast as listed to have a loaf ready in 4 hours. Or less yeast and a longer fermentation to make a more flavorful, artisan-style loaf.
You mix this dough by hand (or in a stand mixer if you prefer). The soft dough comes together quickly. As it rises, the dough develops its structure.
This is week three in my celebration of National Flour Month, a period when I want to encourage you to learn to make quality bread at home. My friends at Emile Henry are helping me spread the word with a month of product giveaways on Instagram. (Learn more at the link.)
Learning About Wheat Flour
Since I am writing about yeast bread in honor of National Flour Month, let me share information about wheat that I find helpful. I call this “thinking like a baker.” Certain proteins in flour, when moistened, turn into the elastic and stretchy substance called gluten. Because the strands of gluten trap air and gasses released from dough as it ferments, the dough rises. Gluten gives bread its chew. You need a lower protein flour for making tender cakes and a higher protein flour for making chewy bagels. This is the general idea.
You can see a chart on the protein content and uses for various types of flours here.
| Type of Flour | Protein Range | Uses |
| Cake | 6-8% | Tender cakes |
| Pastry | 7-9.5% | Biscuits, pie crusts, cookies |
| All-purpose | 11.5-12.5% | European-style crusty artisan bread, baguettes, quick breads, muffins, cookies |
| Bread | 13-14% | Yeast breads, load bread, rolls, puff pastry |
| High-Gluten | 13.5-14.5% | Bagels, hard rolls; blended into rye and other breads |
[Adapted from On Baking: A Textbook of Baking and Pastry Fundamentals]
Millers purchase wheat berries to grind into flour. They create specifications, which they share with the farmers who grow the wheat. Specifications indicate requirements for the type of flour being made. Cake flour for example, is made from soft spring wheat, which has a lower protein content that hard winter wheat. Bread flour is usually made from hard red winter wheat, which has a higher protein content.
Each brand and type of flour performs differently. Locally grown and milled wheat from New England might produce very different loaves of bread from those made using a national brand. Different brands of all-purpose flour, for example, may have more(less) protein. Each one with absorb more (less) water. And each type of flour will behave differently too.
Whenever bakers receive a new batch, brand or type of flour, they need to see how it performs in their recipes. (How much water the flour needs. How long it takes to knead. How the loaves rise and brown.) Imagine the waste and disappointed customers if they skipped this step. Dry loaves and a dense crumb or spongy bread.
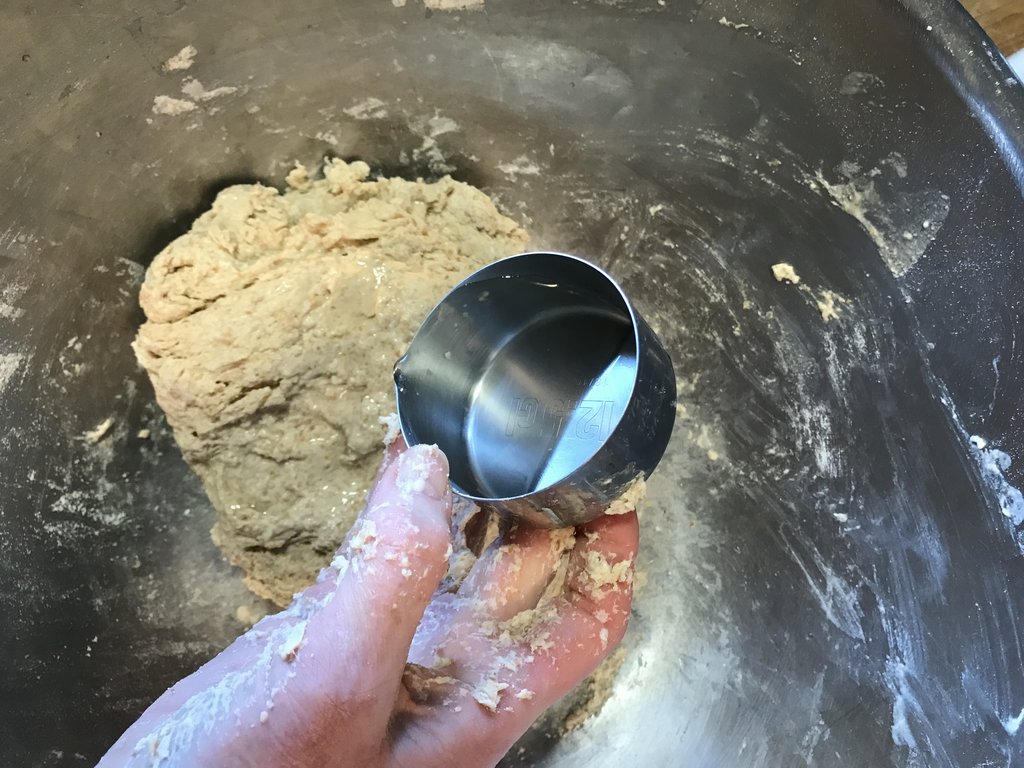
I do the same thing, using this recipe to test the flour. I am especially interested in absorption, which means the amount of water the flour takes in. I hold back some of the water when I first mix the dough. After a few minutes of hand mixing, I feel the dough to check its texture. If the dough feels too dry, I add as much or more of the reserved water as I need to achieve a soft dough. For the loaf pictured here, I combined about one third Farmer’s Ground Whole Wheat Bread Flour with King Arthur All-Purpose Flour. Because I developed the recipe using King Arthur All-Purpose Flour, I had a baseline for what to expect.
Making this Loaf
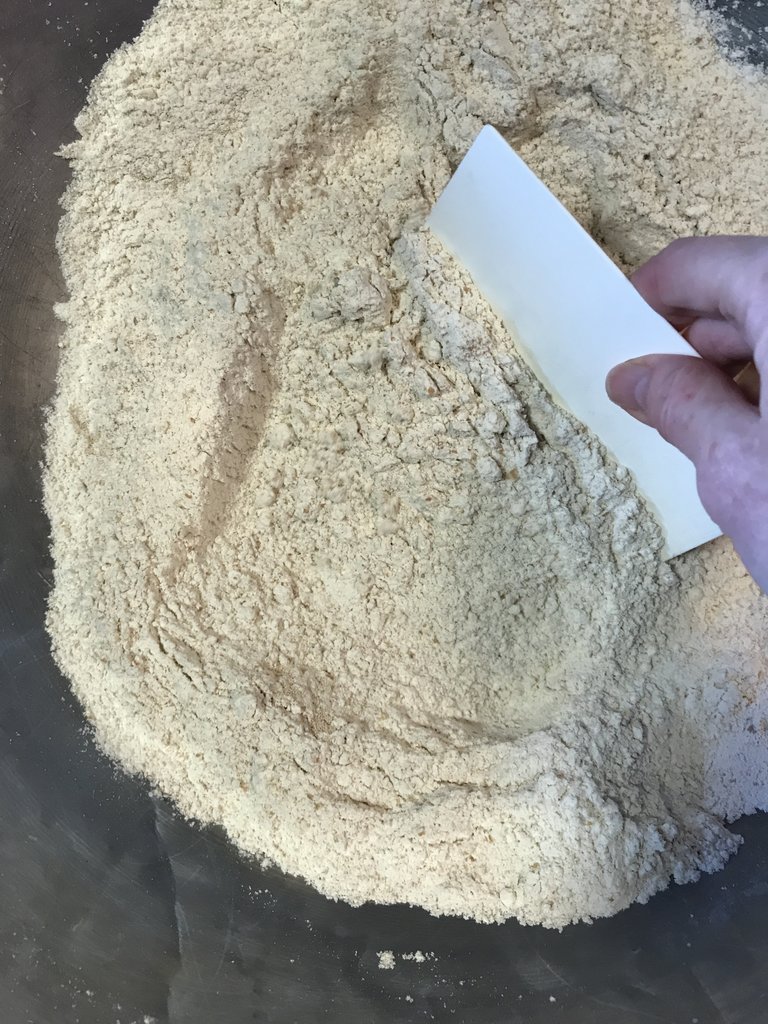
To make this loaf of bread, first combine the dry ingredients in a large mixing bowl. Of course, you can use the bowl of a stand mixer, but I like to work in this wide bowl when testing.
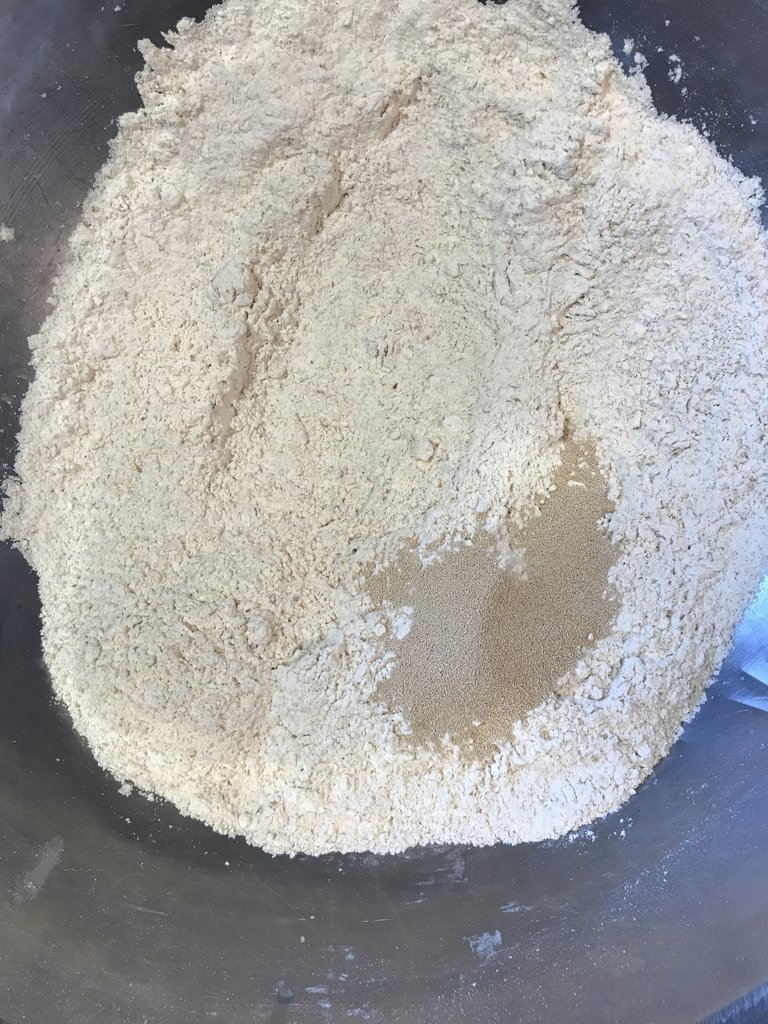
Then stir to distribute the ingredients evenly.
When I add water, I measure out the larger amount listed in the recipe. Then I reserve ½ to ¾ cup of the water to add later if needed.
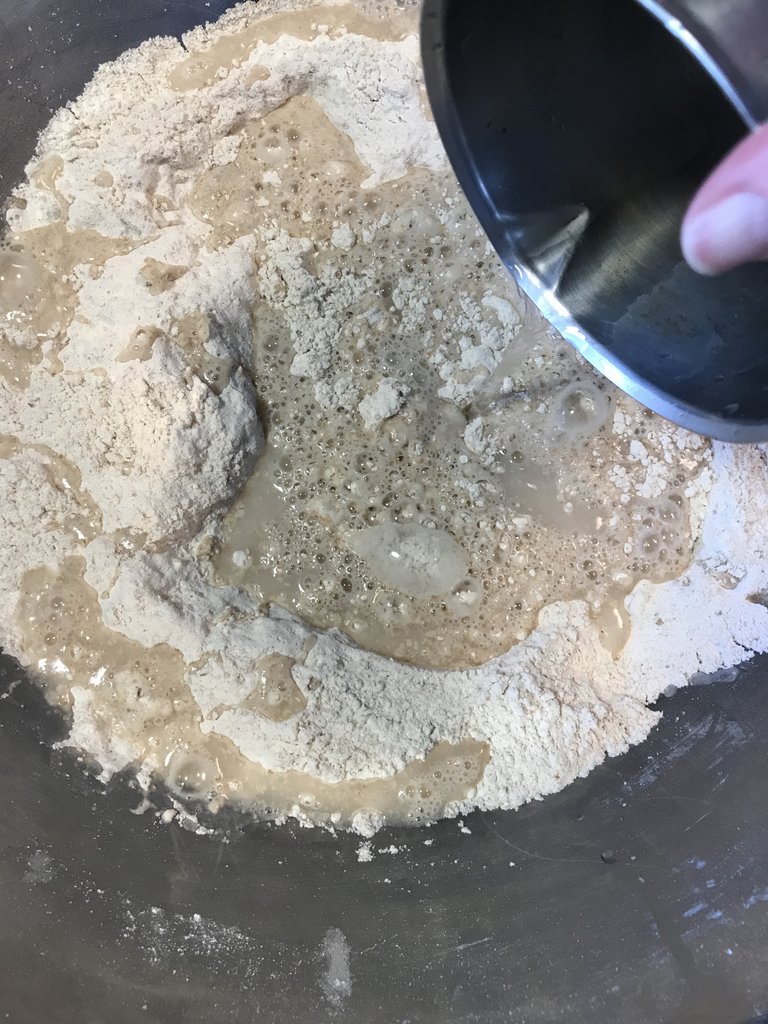
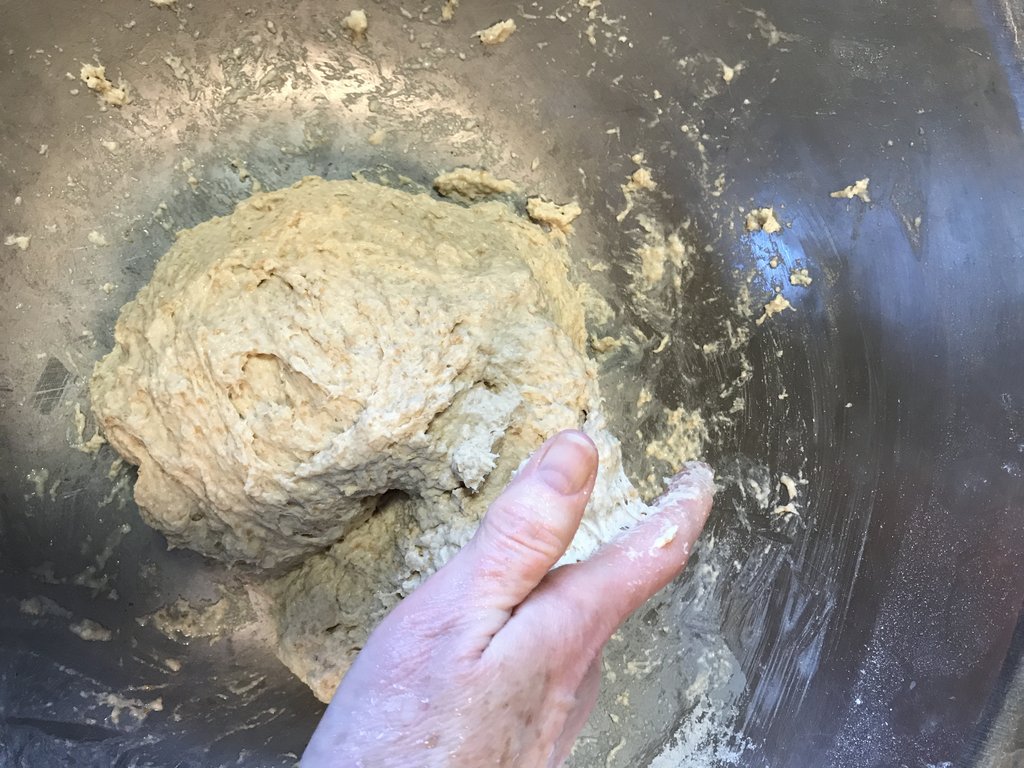
After stirring with a flexible spatula, I gauge how the ingredients hold together.
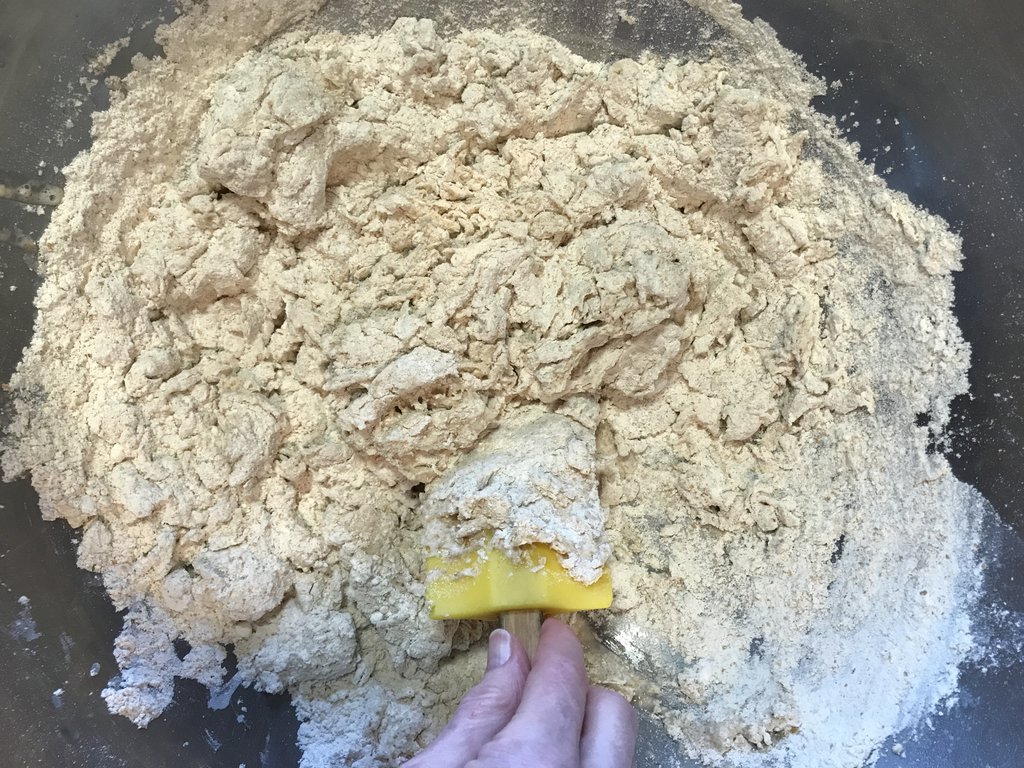
Depending on how much water the flour has absorbed, I will add more water, stirring and testing the dough to see how it feels.

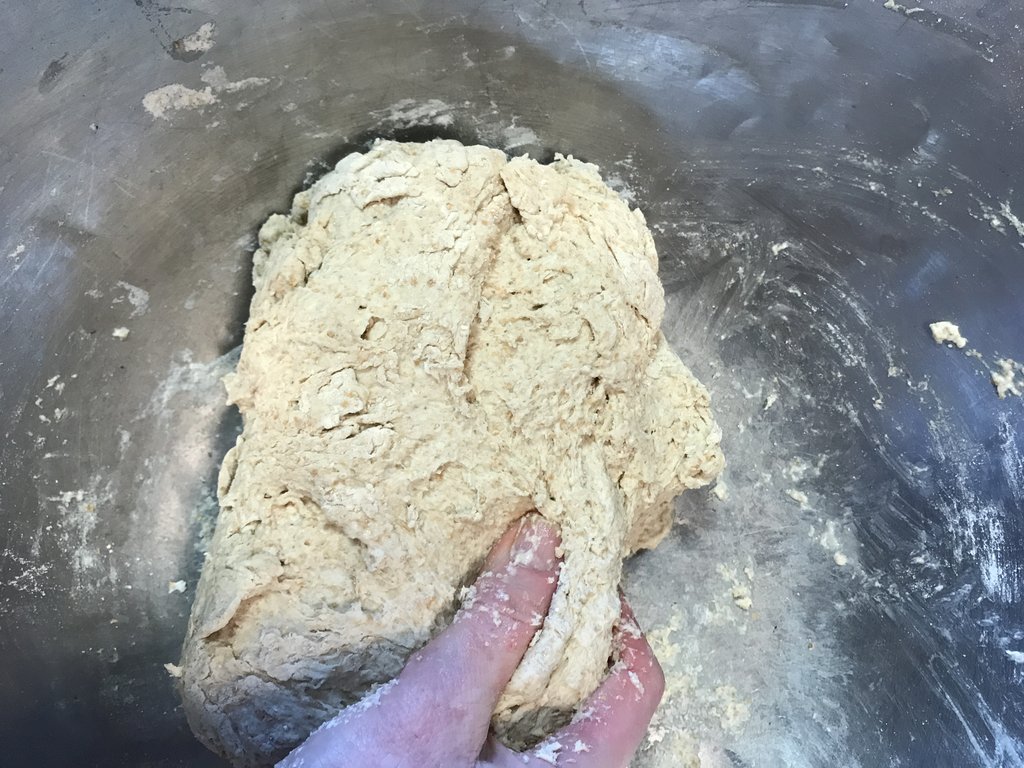
It takes only a few minutes to knead and add as much water as needed to achieve a soft yet not sticky dough.
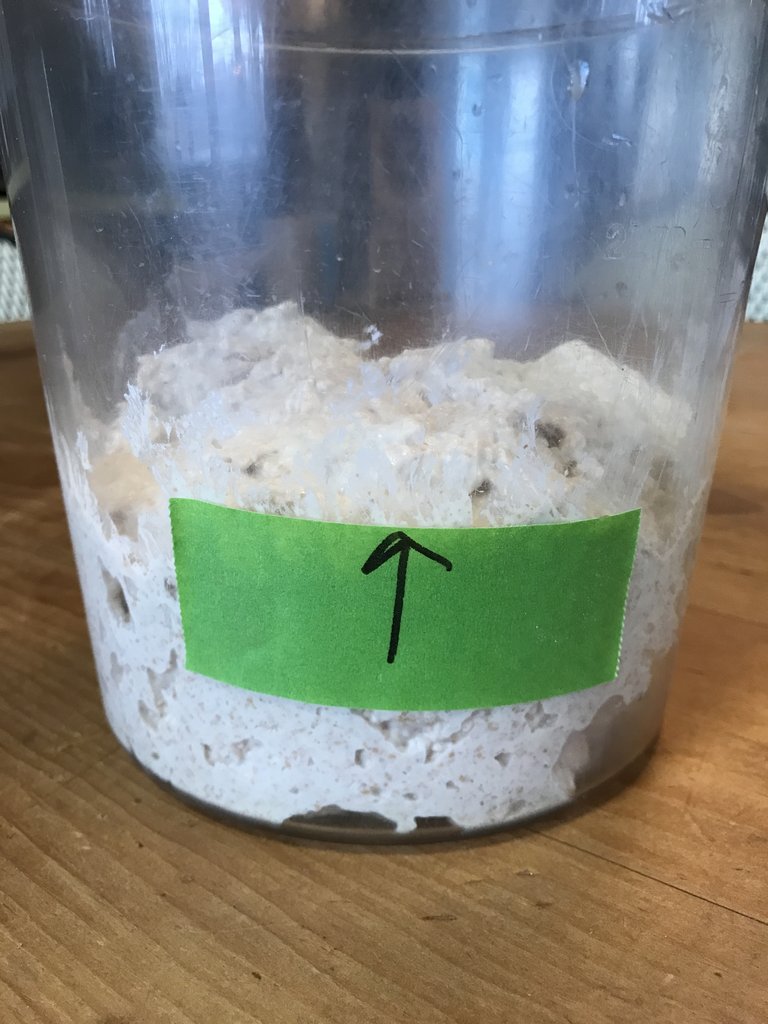
To keep track of the time it takes for the dough to rise, I mark the level of the dough before fermenting with painters’ tape on the outside of the container. This helps especially when you are making bread dough that rises over a long period of time like sourdough bread. Writing the time on the tape helps too.
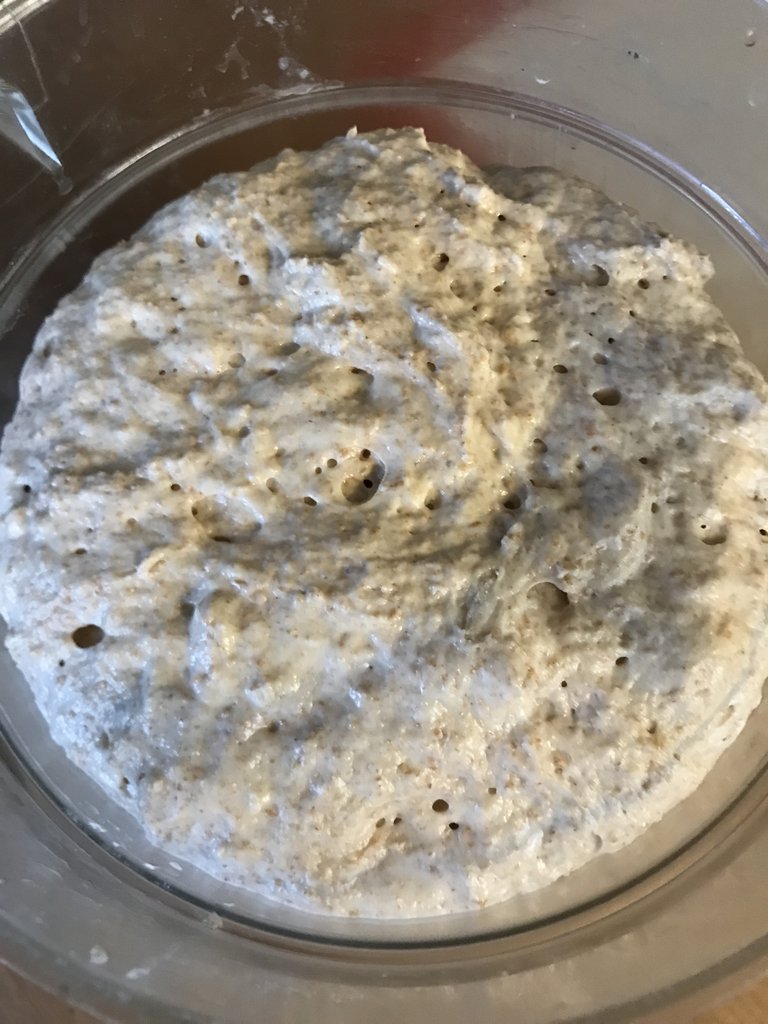
Three hours later and the dough has nearly tripled in volume.
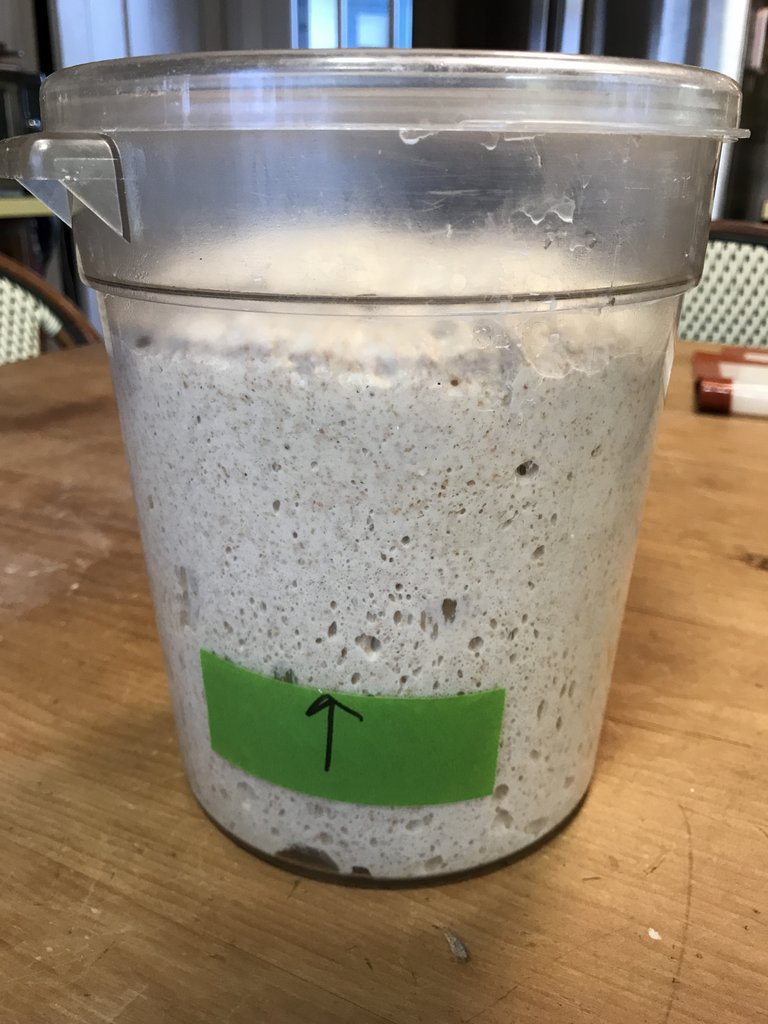
The surface of the dough is dotted with holes and bubbles. Do you notice that the dough crests evenly without sinking? This is the peak of rising and indicates that the dough is ready to form and bake.
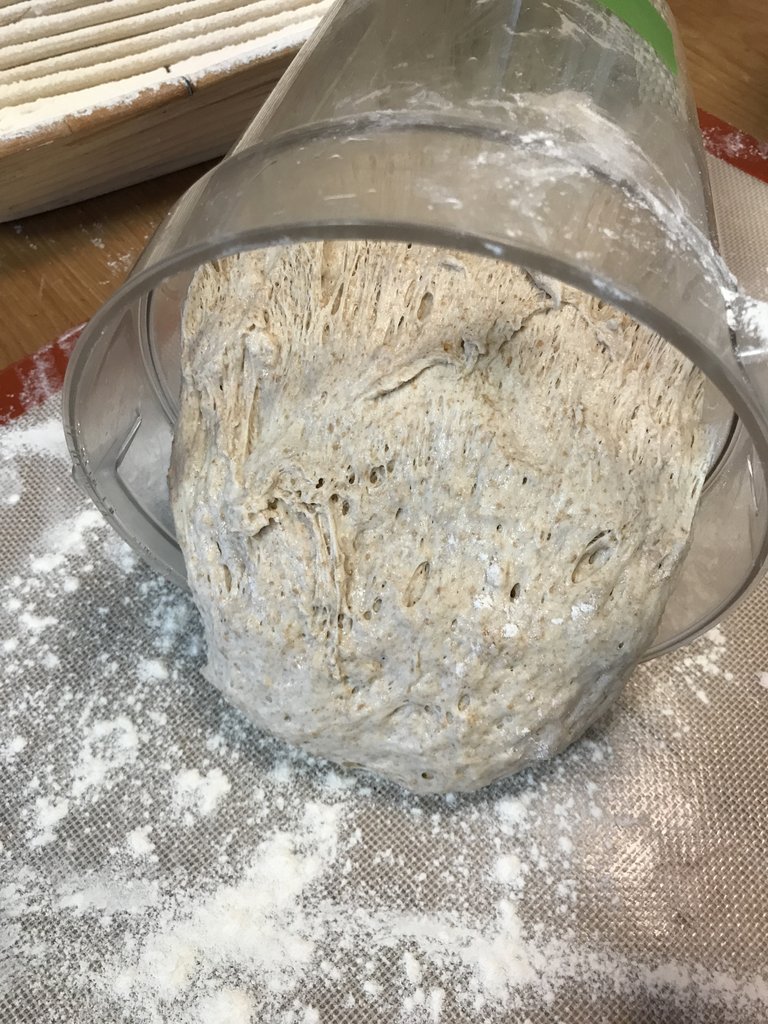
The soft dough flows easily from the dough bucket after rising.
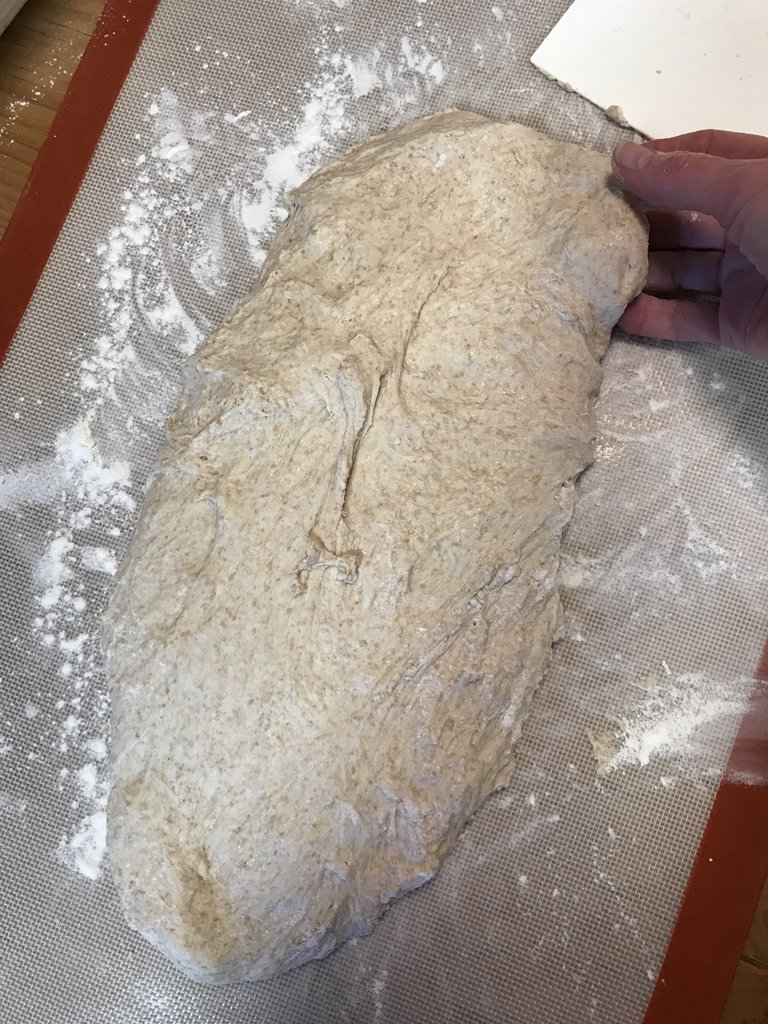
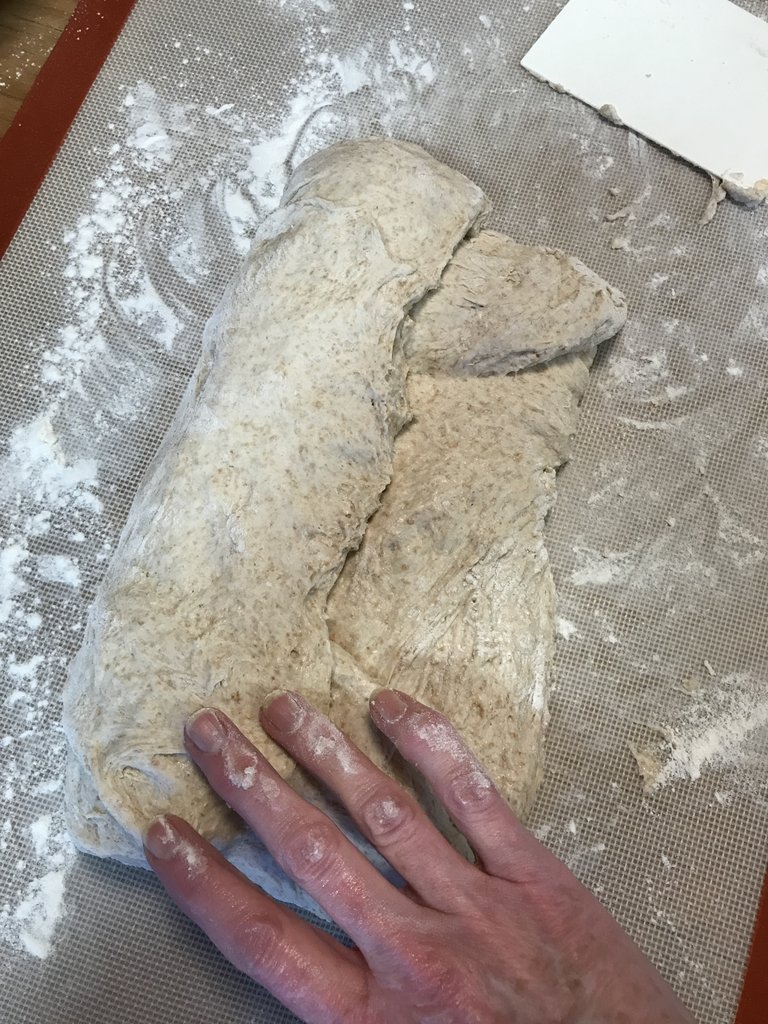
To form the dough, gather it into a ball. Then shape it between floured palms into a flat oblong about the length of your bread loaf baker or pan.
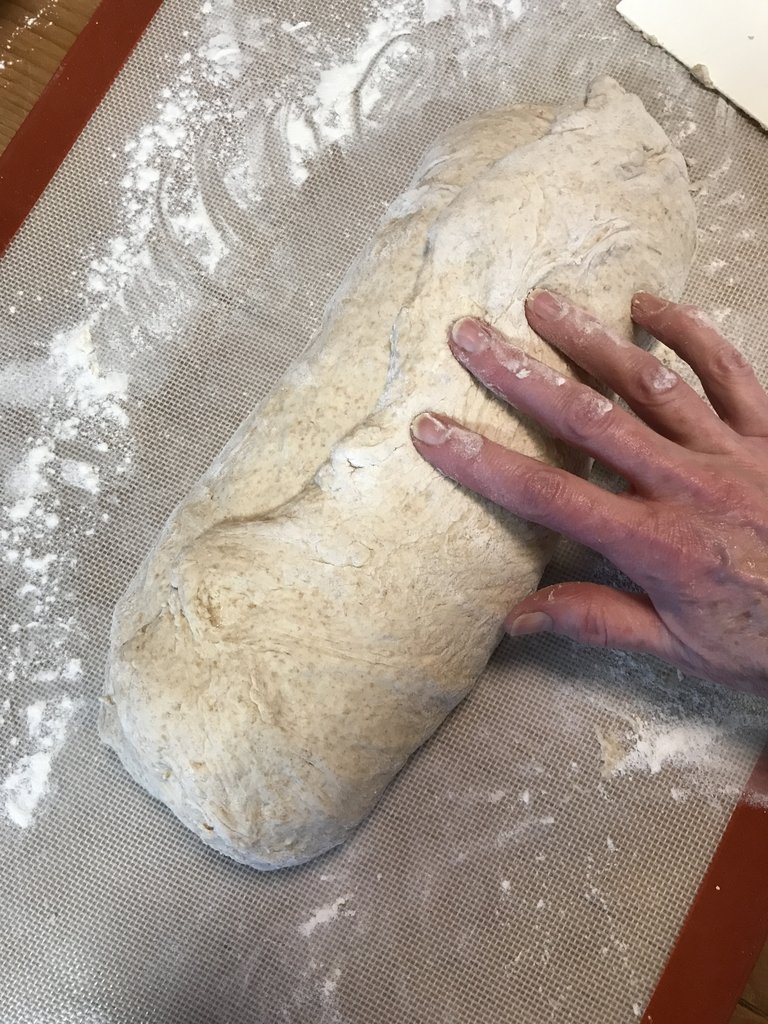
Fold over each short end.
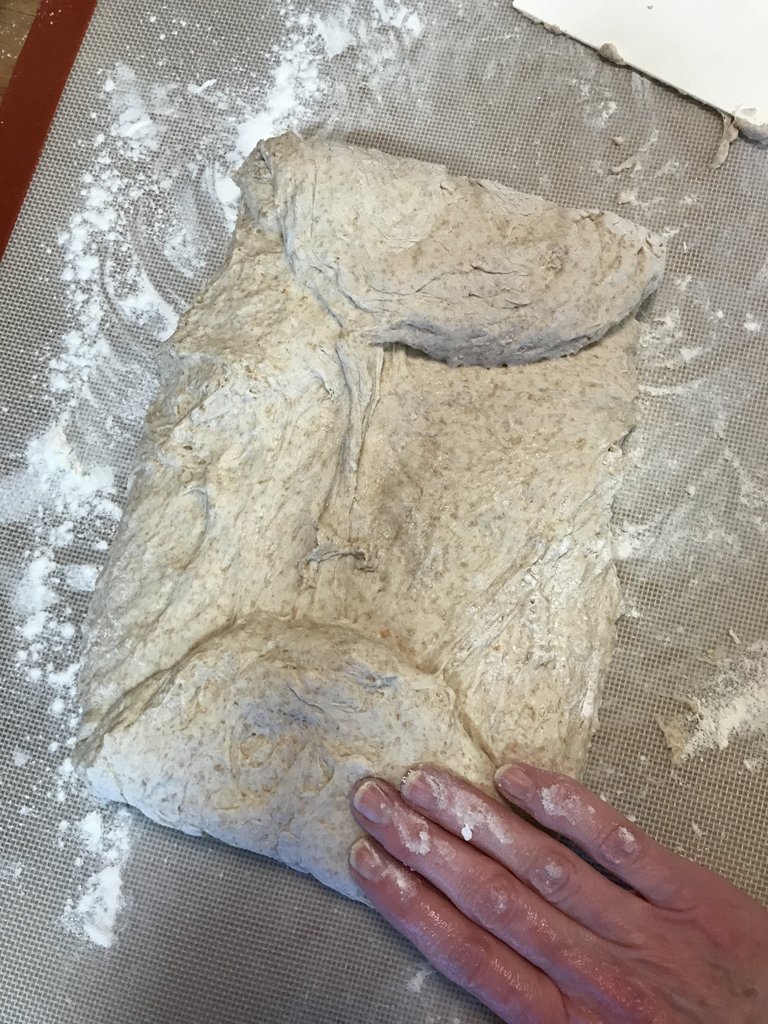
Then fold over each long edge.
Proofing and Baking the Dough
There are several ways to proof this dough before baking. Because this dough is soft, it needs to be proofed in a way that preserves its shape. You can proof and bake it in an Emile Henry Italian Loaf Baker. You can proof and bake it in a large loaf pan. Or you can proof the formed dough in a banneton. This is a willow or plastic basket designed for this purpose.
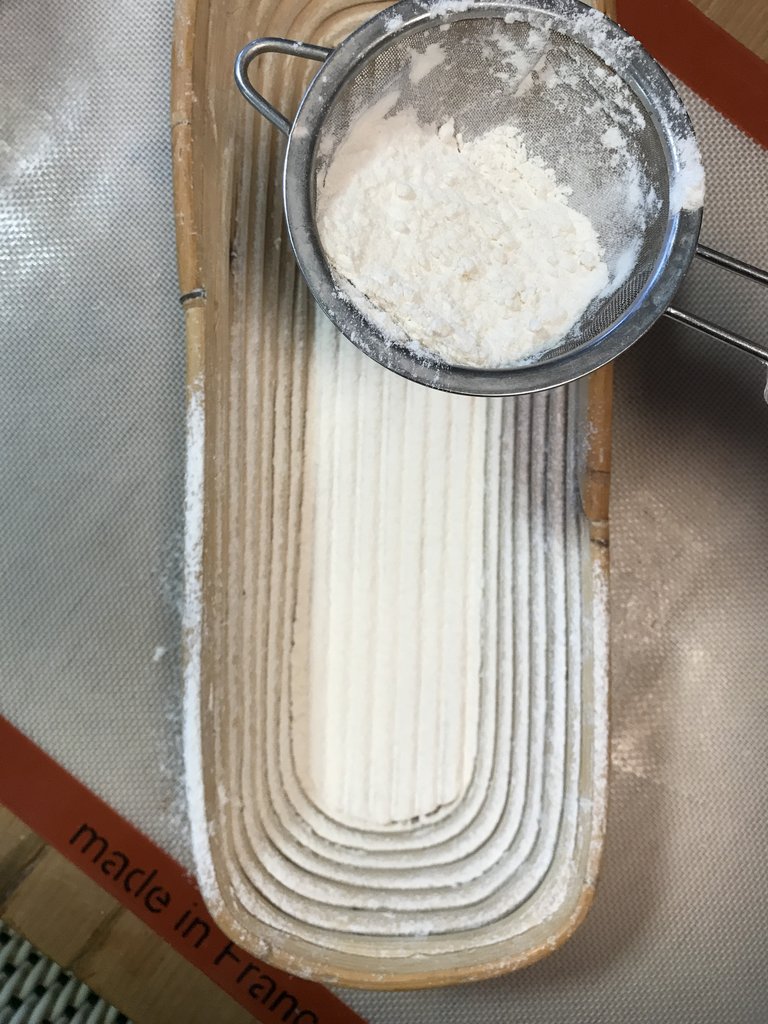
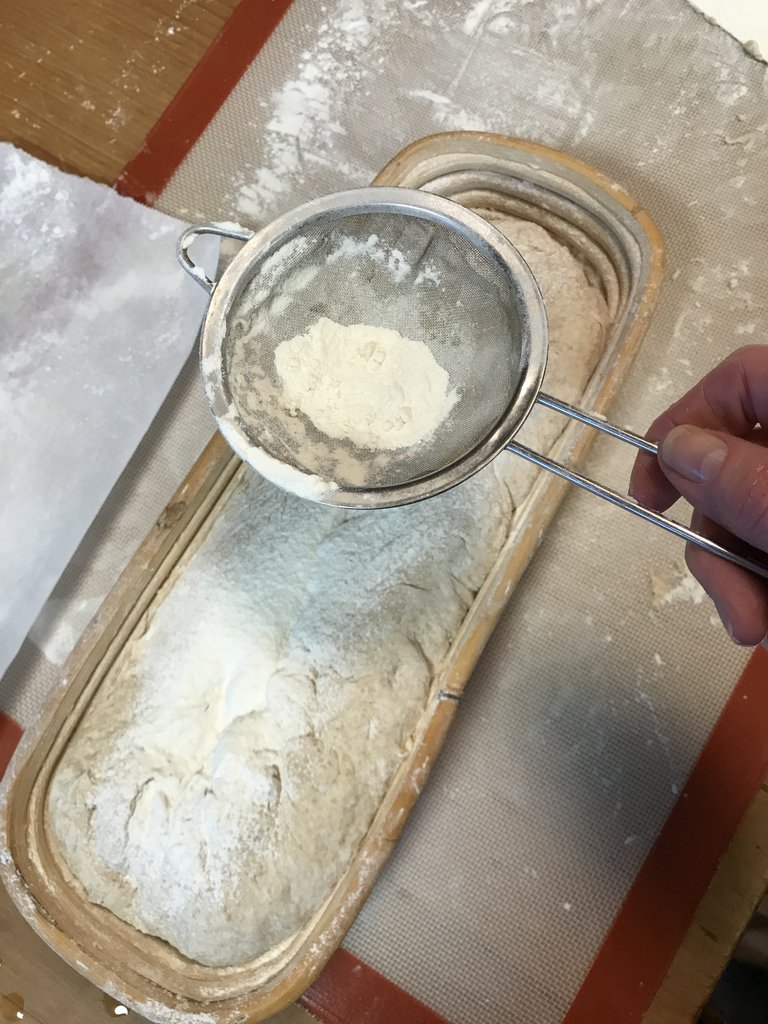
Place the loaf in the banneton and dust it lightly with flour. Cover loosely with plastic and let it proof or rise a second time until nearly doubled in volume.
When the dough has proofed and is ready to bake, invert it onto a wide strip of parchment paper. You will use this as a sling to transfer the dough into the heated bread mold.
People who use Emile Henry covered bakeware, Dutch ovens, covered baking cloches or other covered oven bakeware wonder whether these devices need to be preheated. The answer is no with some reservations. A preheated mold will encourage your dough to rise quickly and burst open on top achieving the grigne or crested score typical of well-crafted artisan bread. It resembles a crack in the earth.
Whichever method you use, you must score the dough or cut a seam into its surface. Here I use a razor blade mounted in a handle designed for scoring bread. Be sure to score the loaf right before baking the bread.
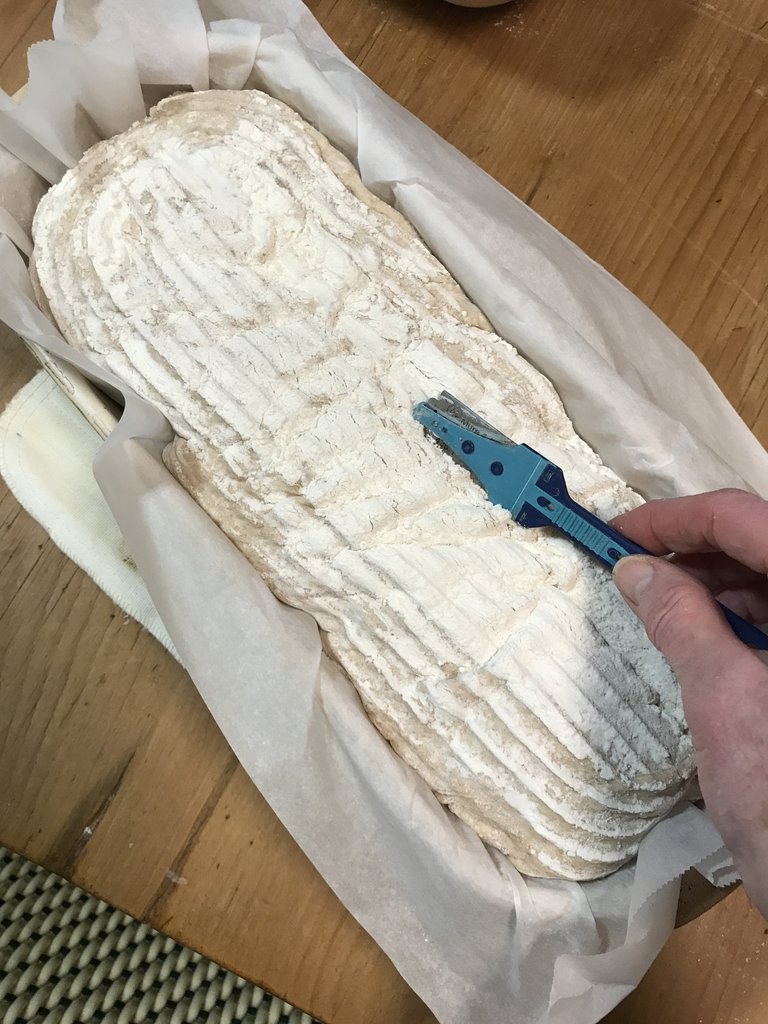
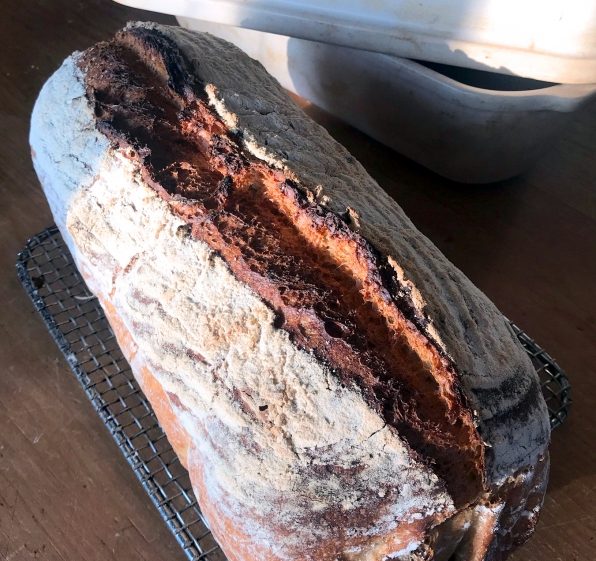
Here is the finished loaf with its craggy surface, a rich burnished color and the attractive crack that opened up during baking.
Kitchen Notebook
There is a movement afoot to restore grain growing in New England and other parts of the country. Why? Farmers and bakers are interested in old strains of wheat and other grains that are not grown commercially. Such old varieties expand the range of flavors in baked goods. Many small-scale farmers plant in a manner that prevents erosion while producing crops using sustainable and organic methods. And some physicians say that old wheat varieties are tolerated by people sensitive to wheat gluten proteins.
Read more about the local grain movement on the web site of the Whole Grains Council.
Foodprint is a great resource about local flours and the environmental issues surrounding the production of the food we eat.


This chewy, crusty, full flavored loaf is perfect for slicing. It rises quickly so you can have hand-crafted bread on the table in less than 5 hours.
To enhance the flavor of this bread, use half the amount of yeast. Let the dough rise for 3 - 4 hours at room temperature. Form the dough into a loaf shape. Put it into a banneton or loaf pan. Cover and refrigerator for a few hours before baking.
This dough may also be shaped into a round loaf to be baked in a pre-heated Dutch oven.
Ingredients
260 grams (approximately 2 1/3 cups) whole wheat flour
520 grams (approximately 4 1/3 cups ) King Arthur All-Purpose Flour
6 grams (2 teaspoons) instant yeast
18 grams (1 Tablespoon) salt
550 grams (approximnately 2 1/2 cups) lukewarm water 100°F, plus 50-110 grams more if needed
Directions
- Combine the flours, yeast and salt in a large bowl. Add the water. Mix into a shaggy ball of dough. Add more water, a small amount at a time, if necessary, until the dough comes together. Fold the dough over, kneading gently for a few minutes.
- Place the dough in a large, covered container or bowl. Cover and place somewhere warm, away from cold drafts. Let the dough rise until the dough has tripled in bulk, for about 2 – 2 ½ hours.
- Turn the dough out onto a well-floured work surface. Fold the dough over on itself a few times and then shape it into an oblong. Fold over each short end then each long end to create a log shape. Roll gently. Cover the dough loosely with a sheet of plastic. Let it rest for 20 to 30 minutes.
- Meanwhile, place your Emile Henry Italian Loaf Baker in the oven and preheat to 450°F.
- Carefully remove the Emile Henry Italian Loaf Baker from the oven. Unmold the proofed dough carefully onto a lightly floured sheet of parchment paper. Remove the hot lid from the baker. Using the parchment paper as a sling, lift the dough carefully into the heated loaf mold. Score the surface of the dough with a baker’s lame or serrated knife. Replace the lid and bake for 45 minutes. Remove the lid and bake for 5 more minutes, if needed, to brown the crust.
- Remove the Emile Henry Italian Loaf Baker from the oven. Unmold and cool the loaf on a wire rack for at least an hour before slicing.
Notes
VARIATIONS Using an Emile Henry Italian Loaf Baker without preheating: In Step 3, transfer the formed dough onto a sheet of parchment paper that has been lightly dusted with flour. Trim the edges leaving 2 inches hanging from each side. Sprinkle the surface of the dough with flour and replace the lid. Let the dough proof at room temperature in the mold. Preheat the oven. Then place the covered mold into the preheated oven and baked as above.
Using a loaf pan: In Step 3, Preheat the oven to 450°F. Place a pan for steam on the bottom rack of the oven. Transfer the formed dough into a well-greased large (4 -inch x 12-inch) loaf pan. Cover loosely with plastic. Let it rest for 20 -30 minutes. Score the dough. Place the pan in the preheated oven. Immediately pour ½ cup boiling water into the pan on the bottom shelf of the oven. Bake for 40 - 50 minutes until well browned.