

Boo! Imagine the bright color and taste of pumpkin in a tender dinner roll. Just in time for Halloween and Thanksgiving, this recipe for Pumpkin Rosemary Dinner Rolls would also make an excellent loaf of bread for slicing.
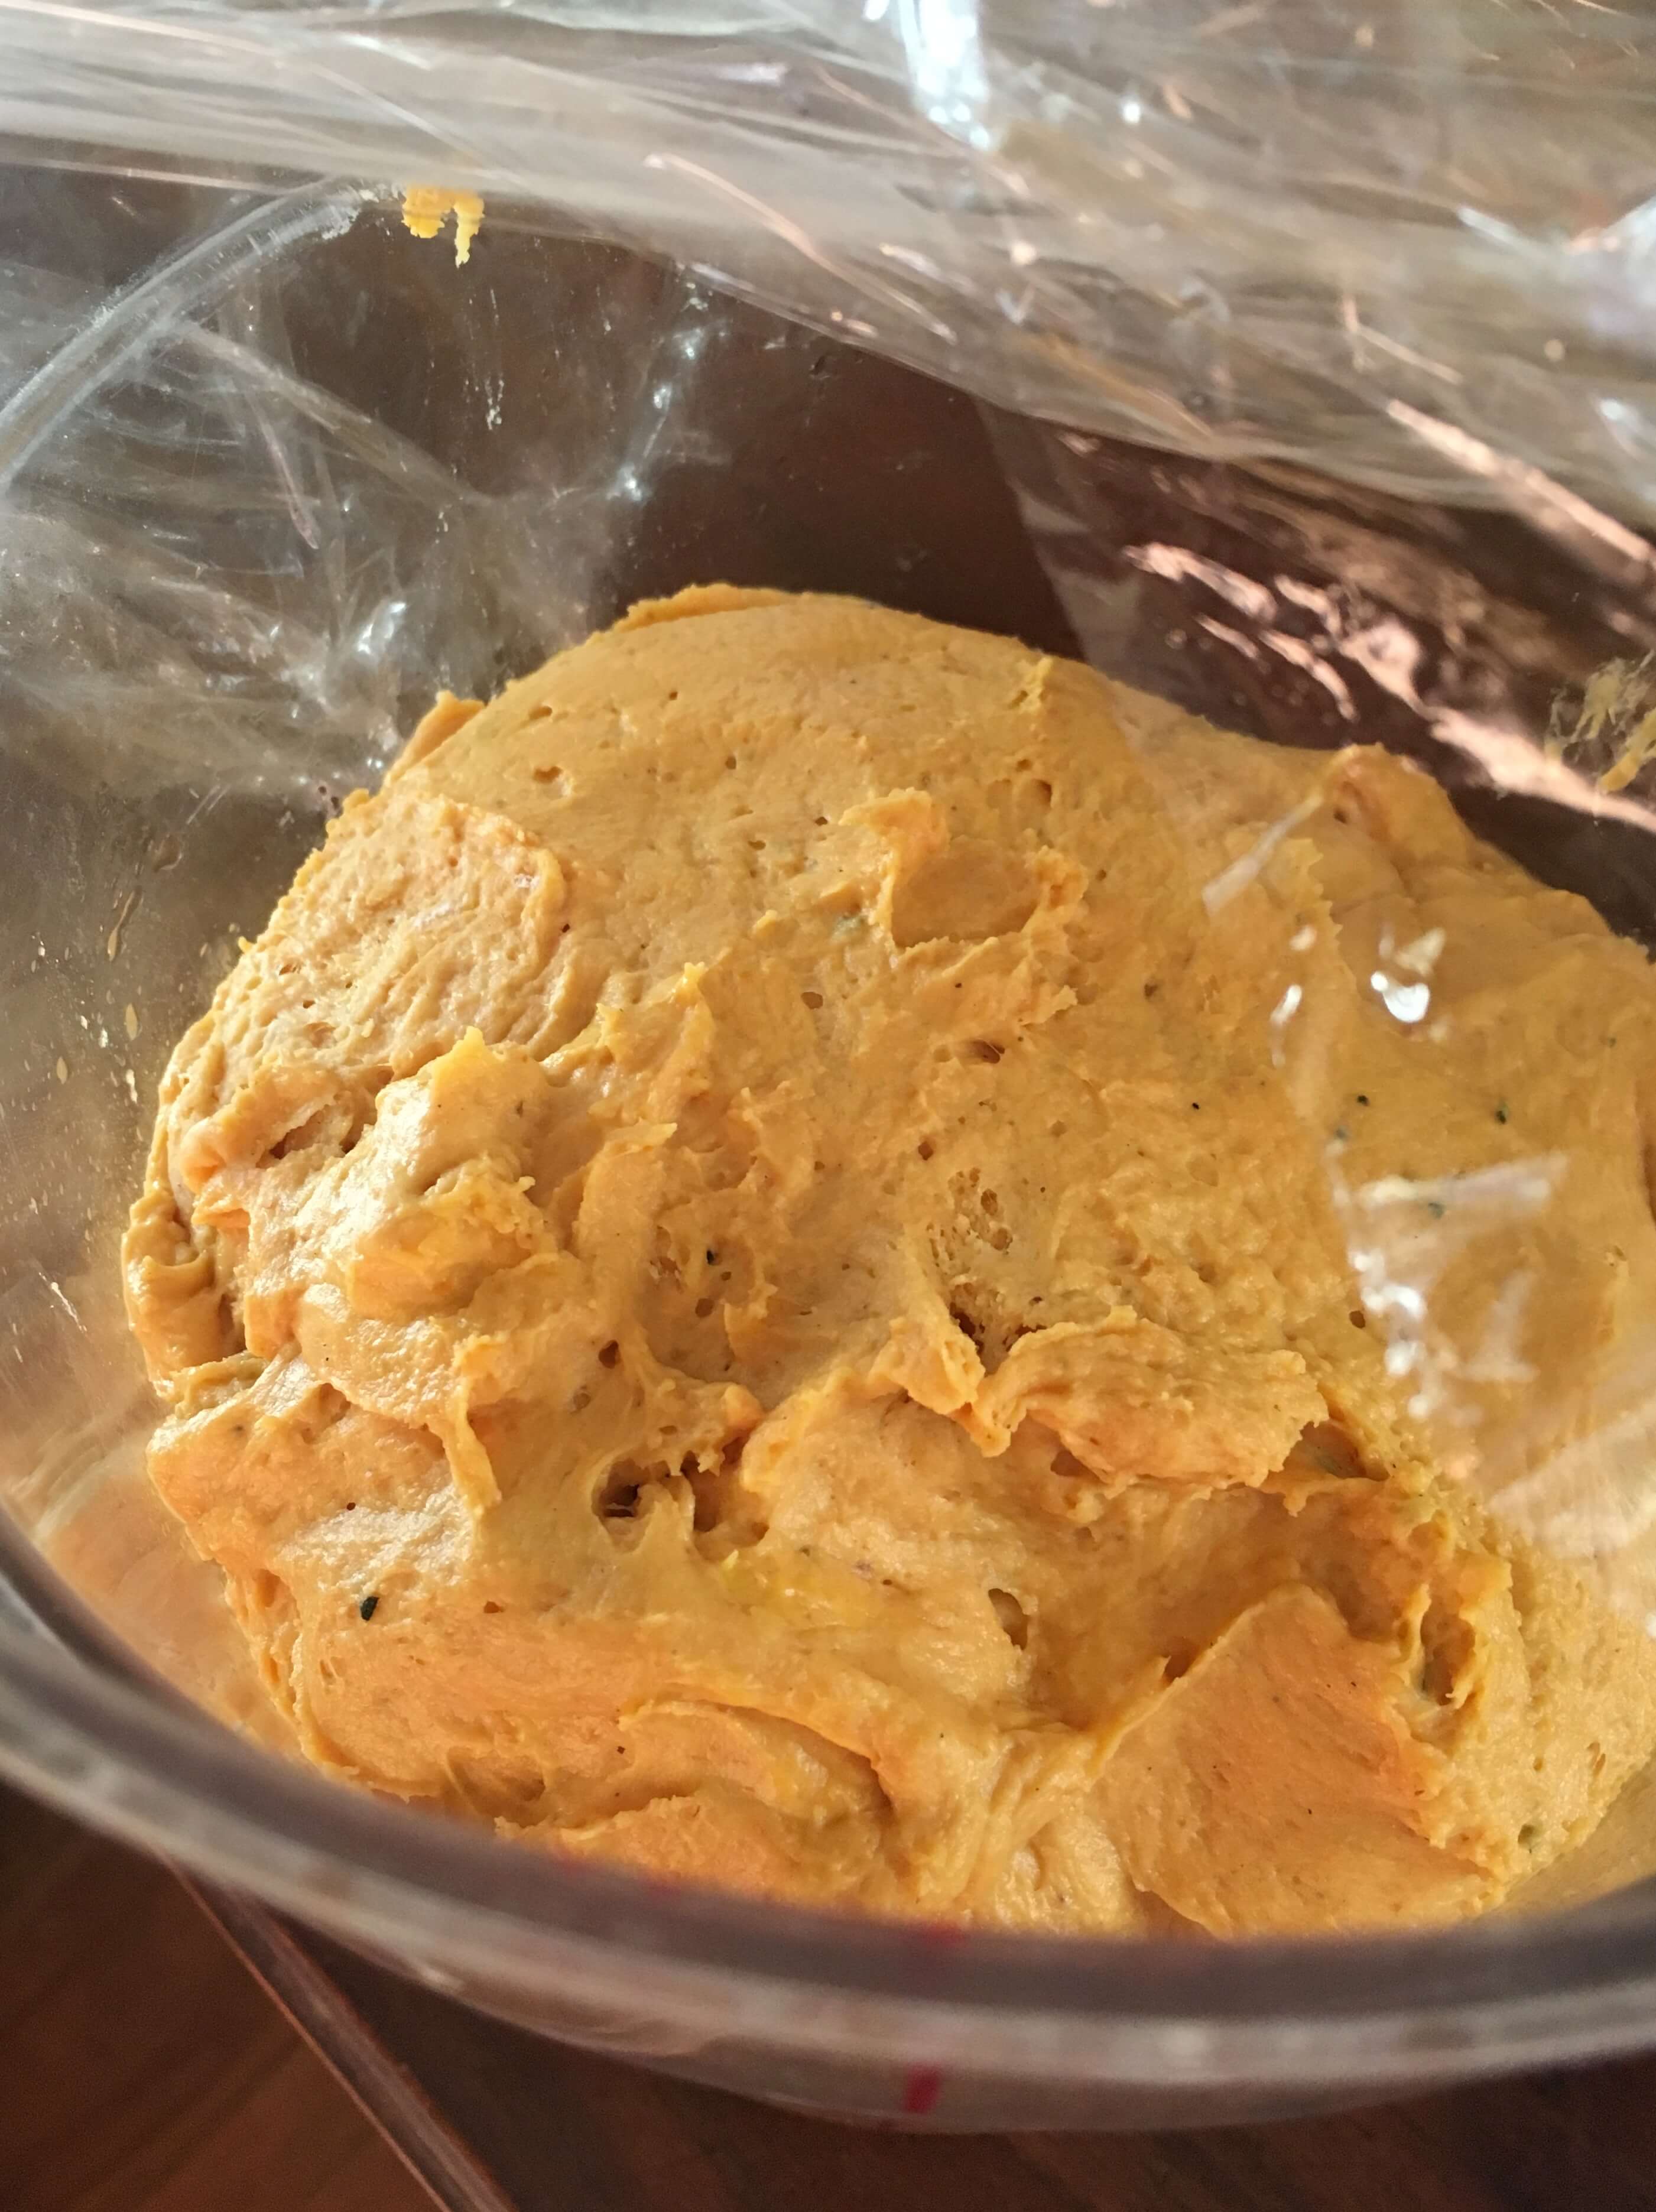
Although there is a fair amount of sugar in the dough, the rolls aren’t too sweet. The sugar feeds the yeast and makes the dough springy and alive. As with any dough that is soft and moist, this one will be sticky even after kneading. Just be generous with the flour and use a gentle touch when handling the dough.
Here is the dough as it starts to rise in its bucket. You can see how moist it is.
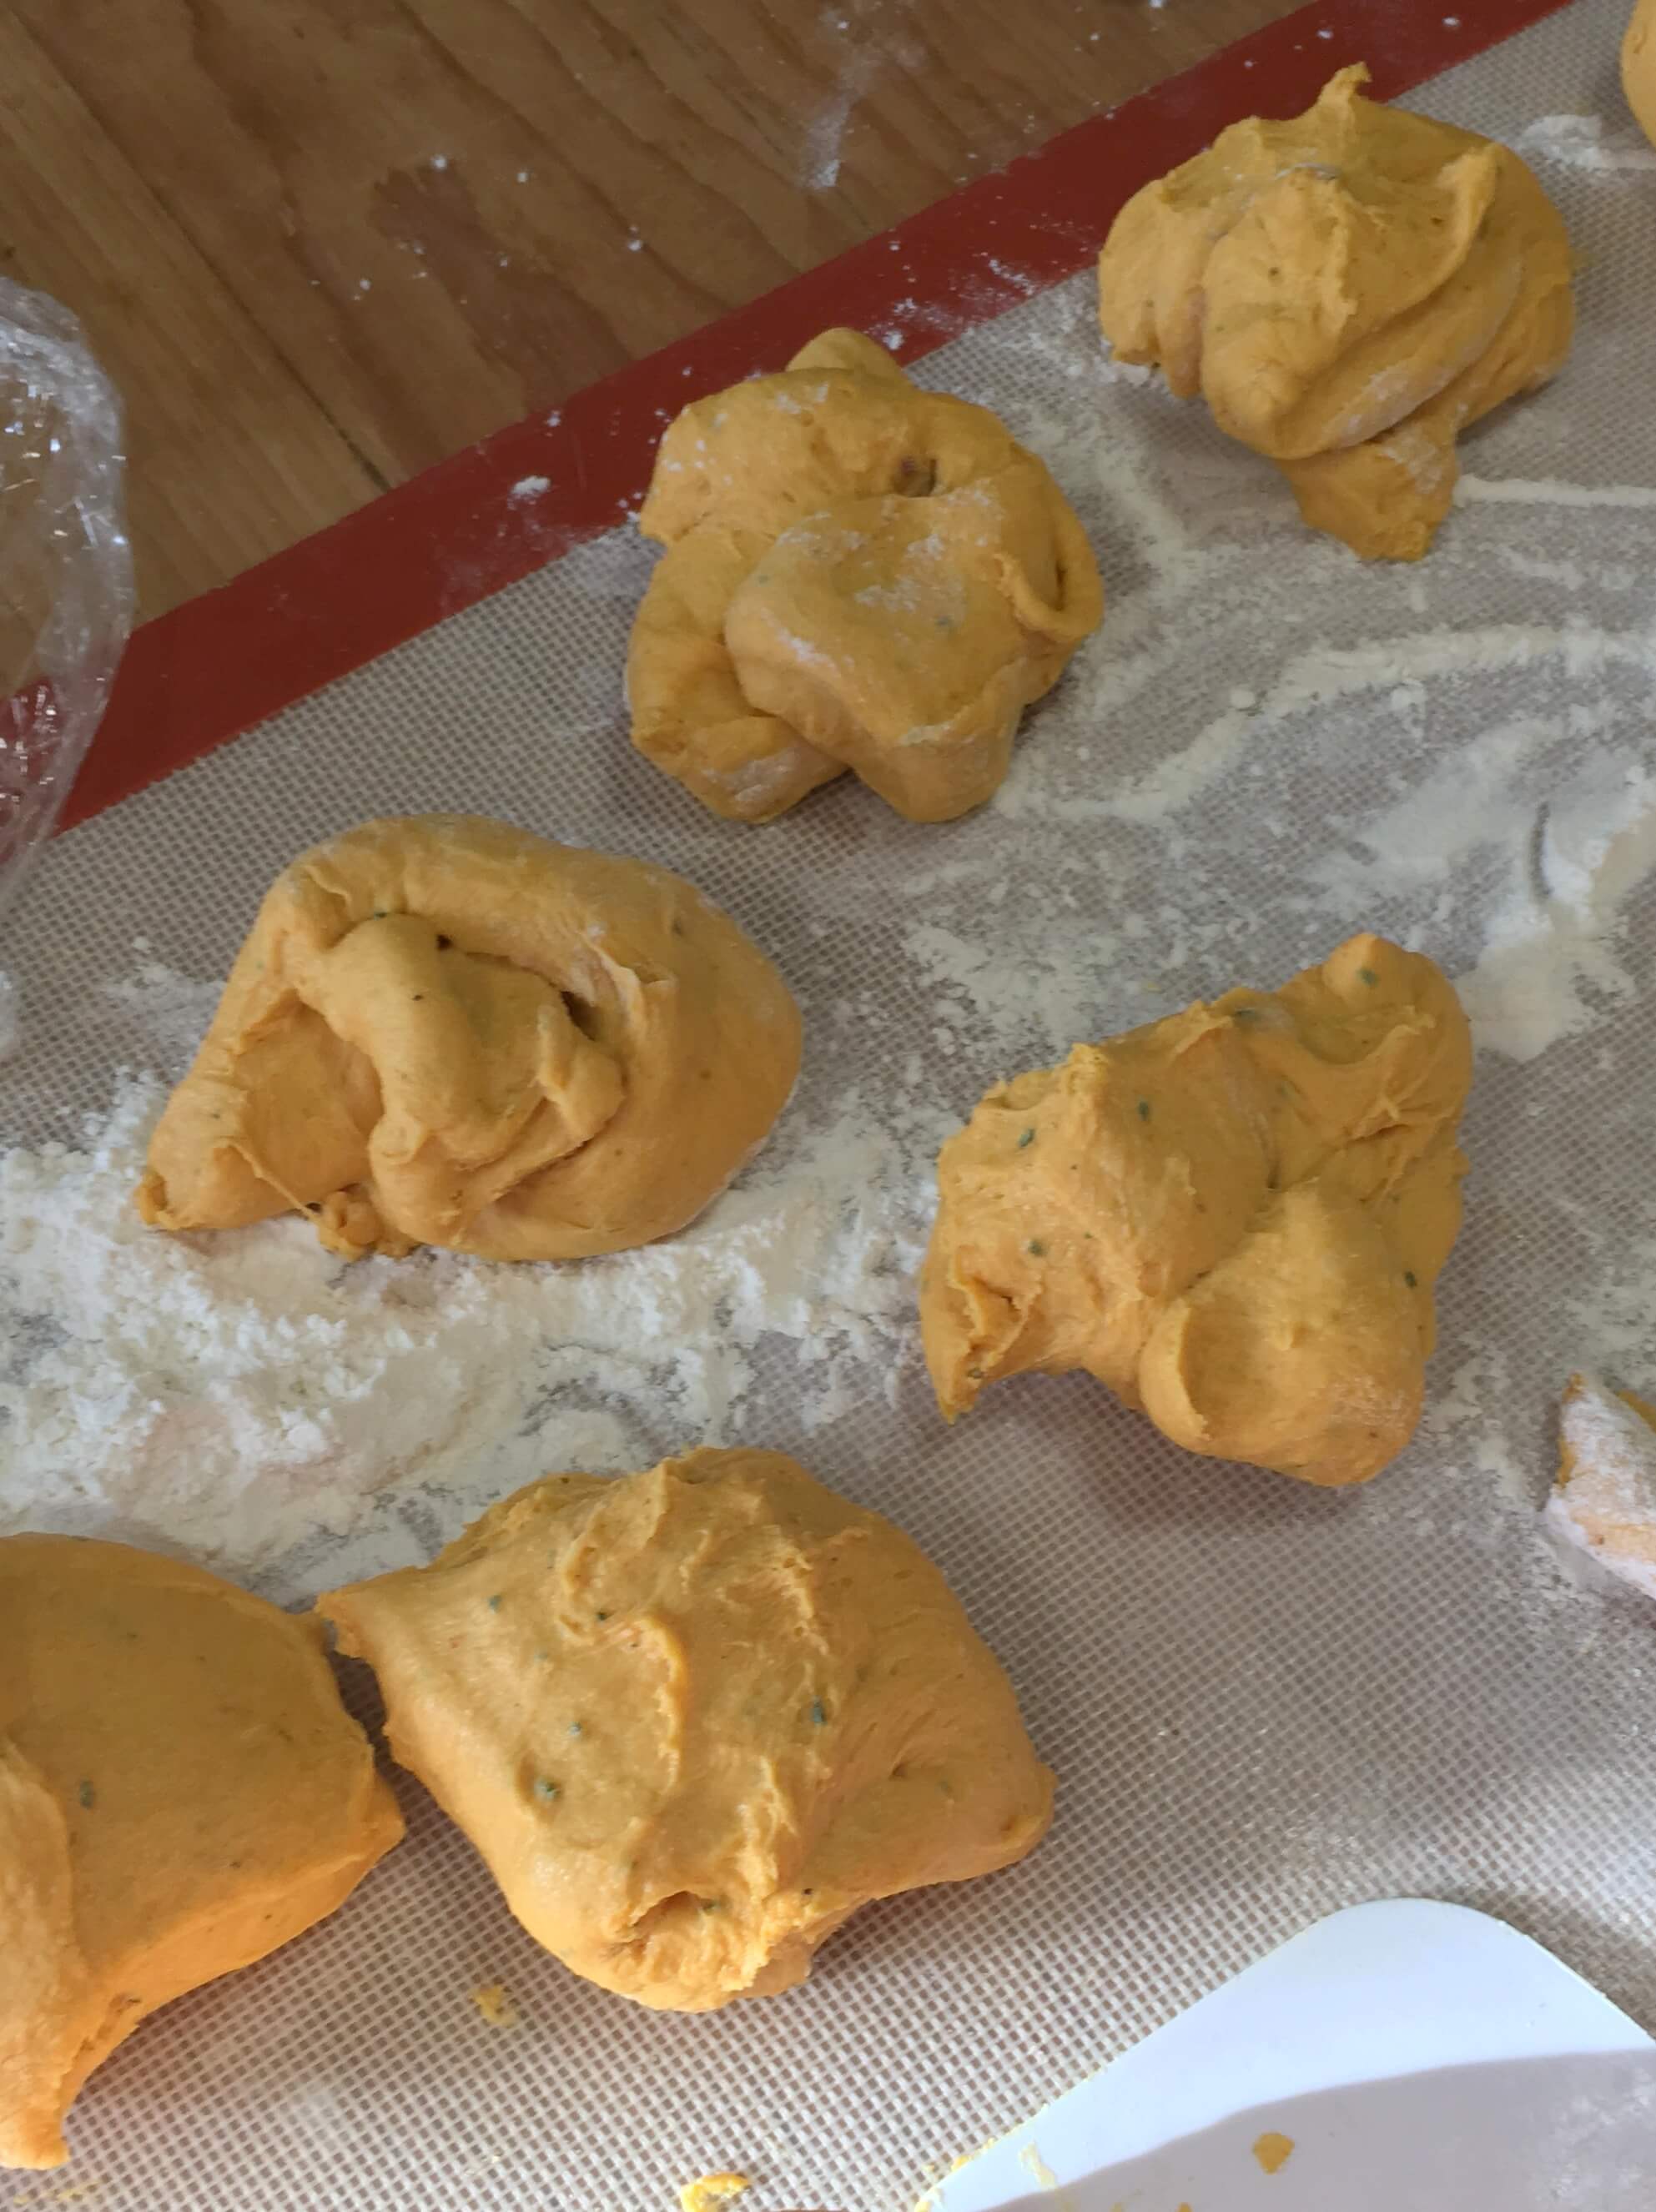
After the dough ferments and rises, scrape it out on a well floured work table. I put a silicone baking mat down on the wooden table where I work. The mat makes it easier to handle the soft dough. Then I use a plastic scraper to cut off pieces of the dough. One tip that I always share with my students, weigh each piece of dough then you will be sure to have rolls of the same size.
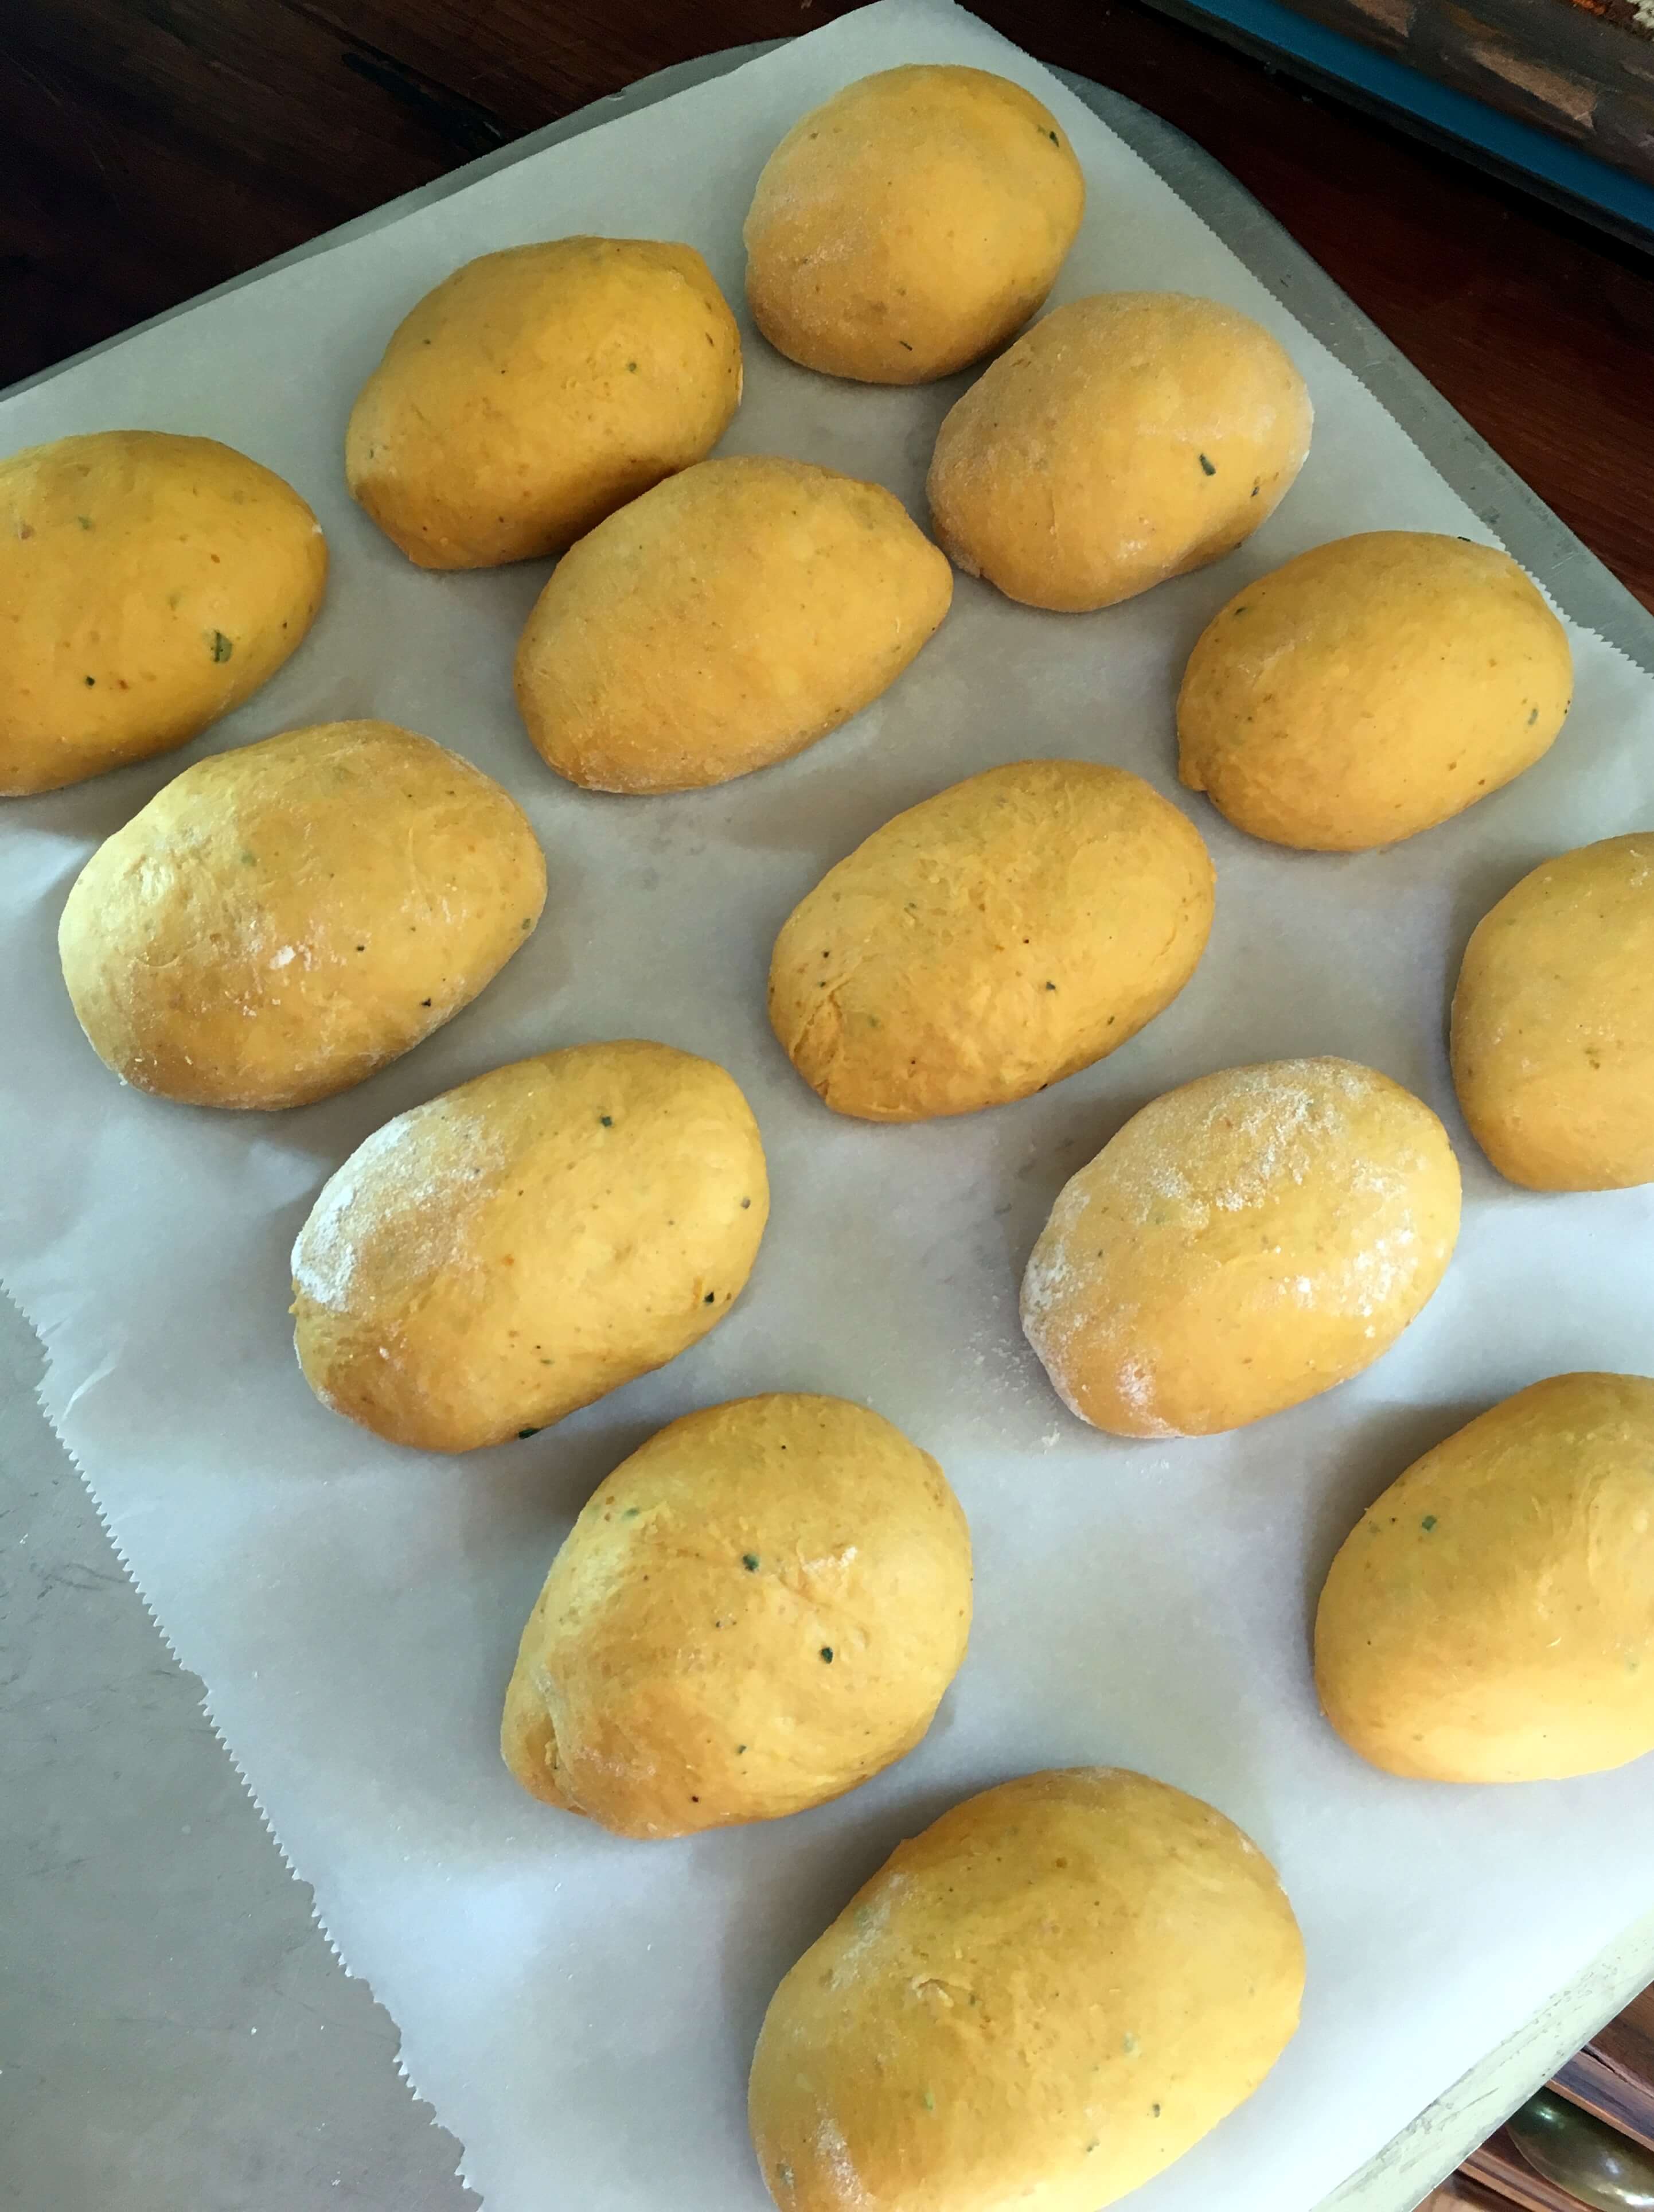
Place the shaped pieces of dough spaced about 1 inch apart on a piece of parchment paper on a sheet tray. As the dough rises the second time, the pieces of dough will almost touch each other.
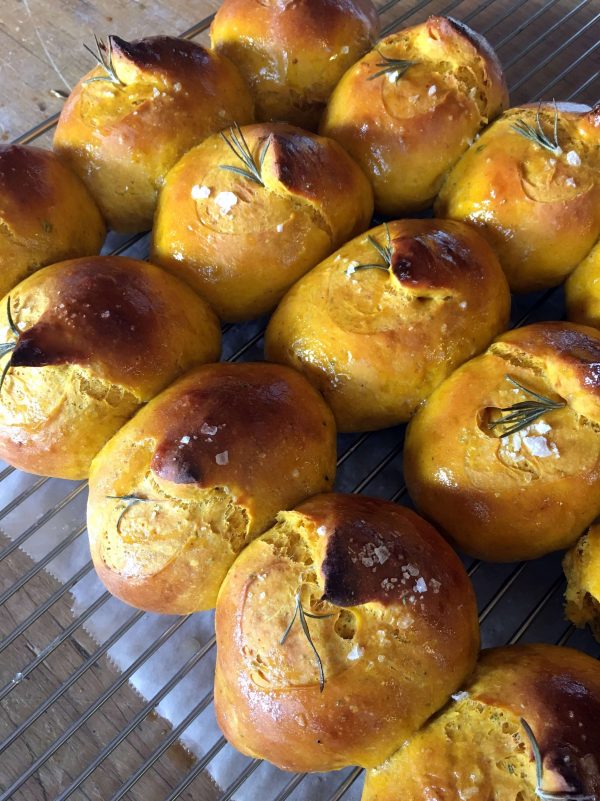
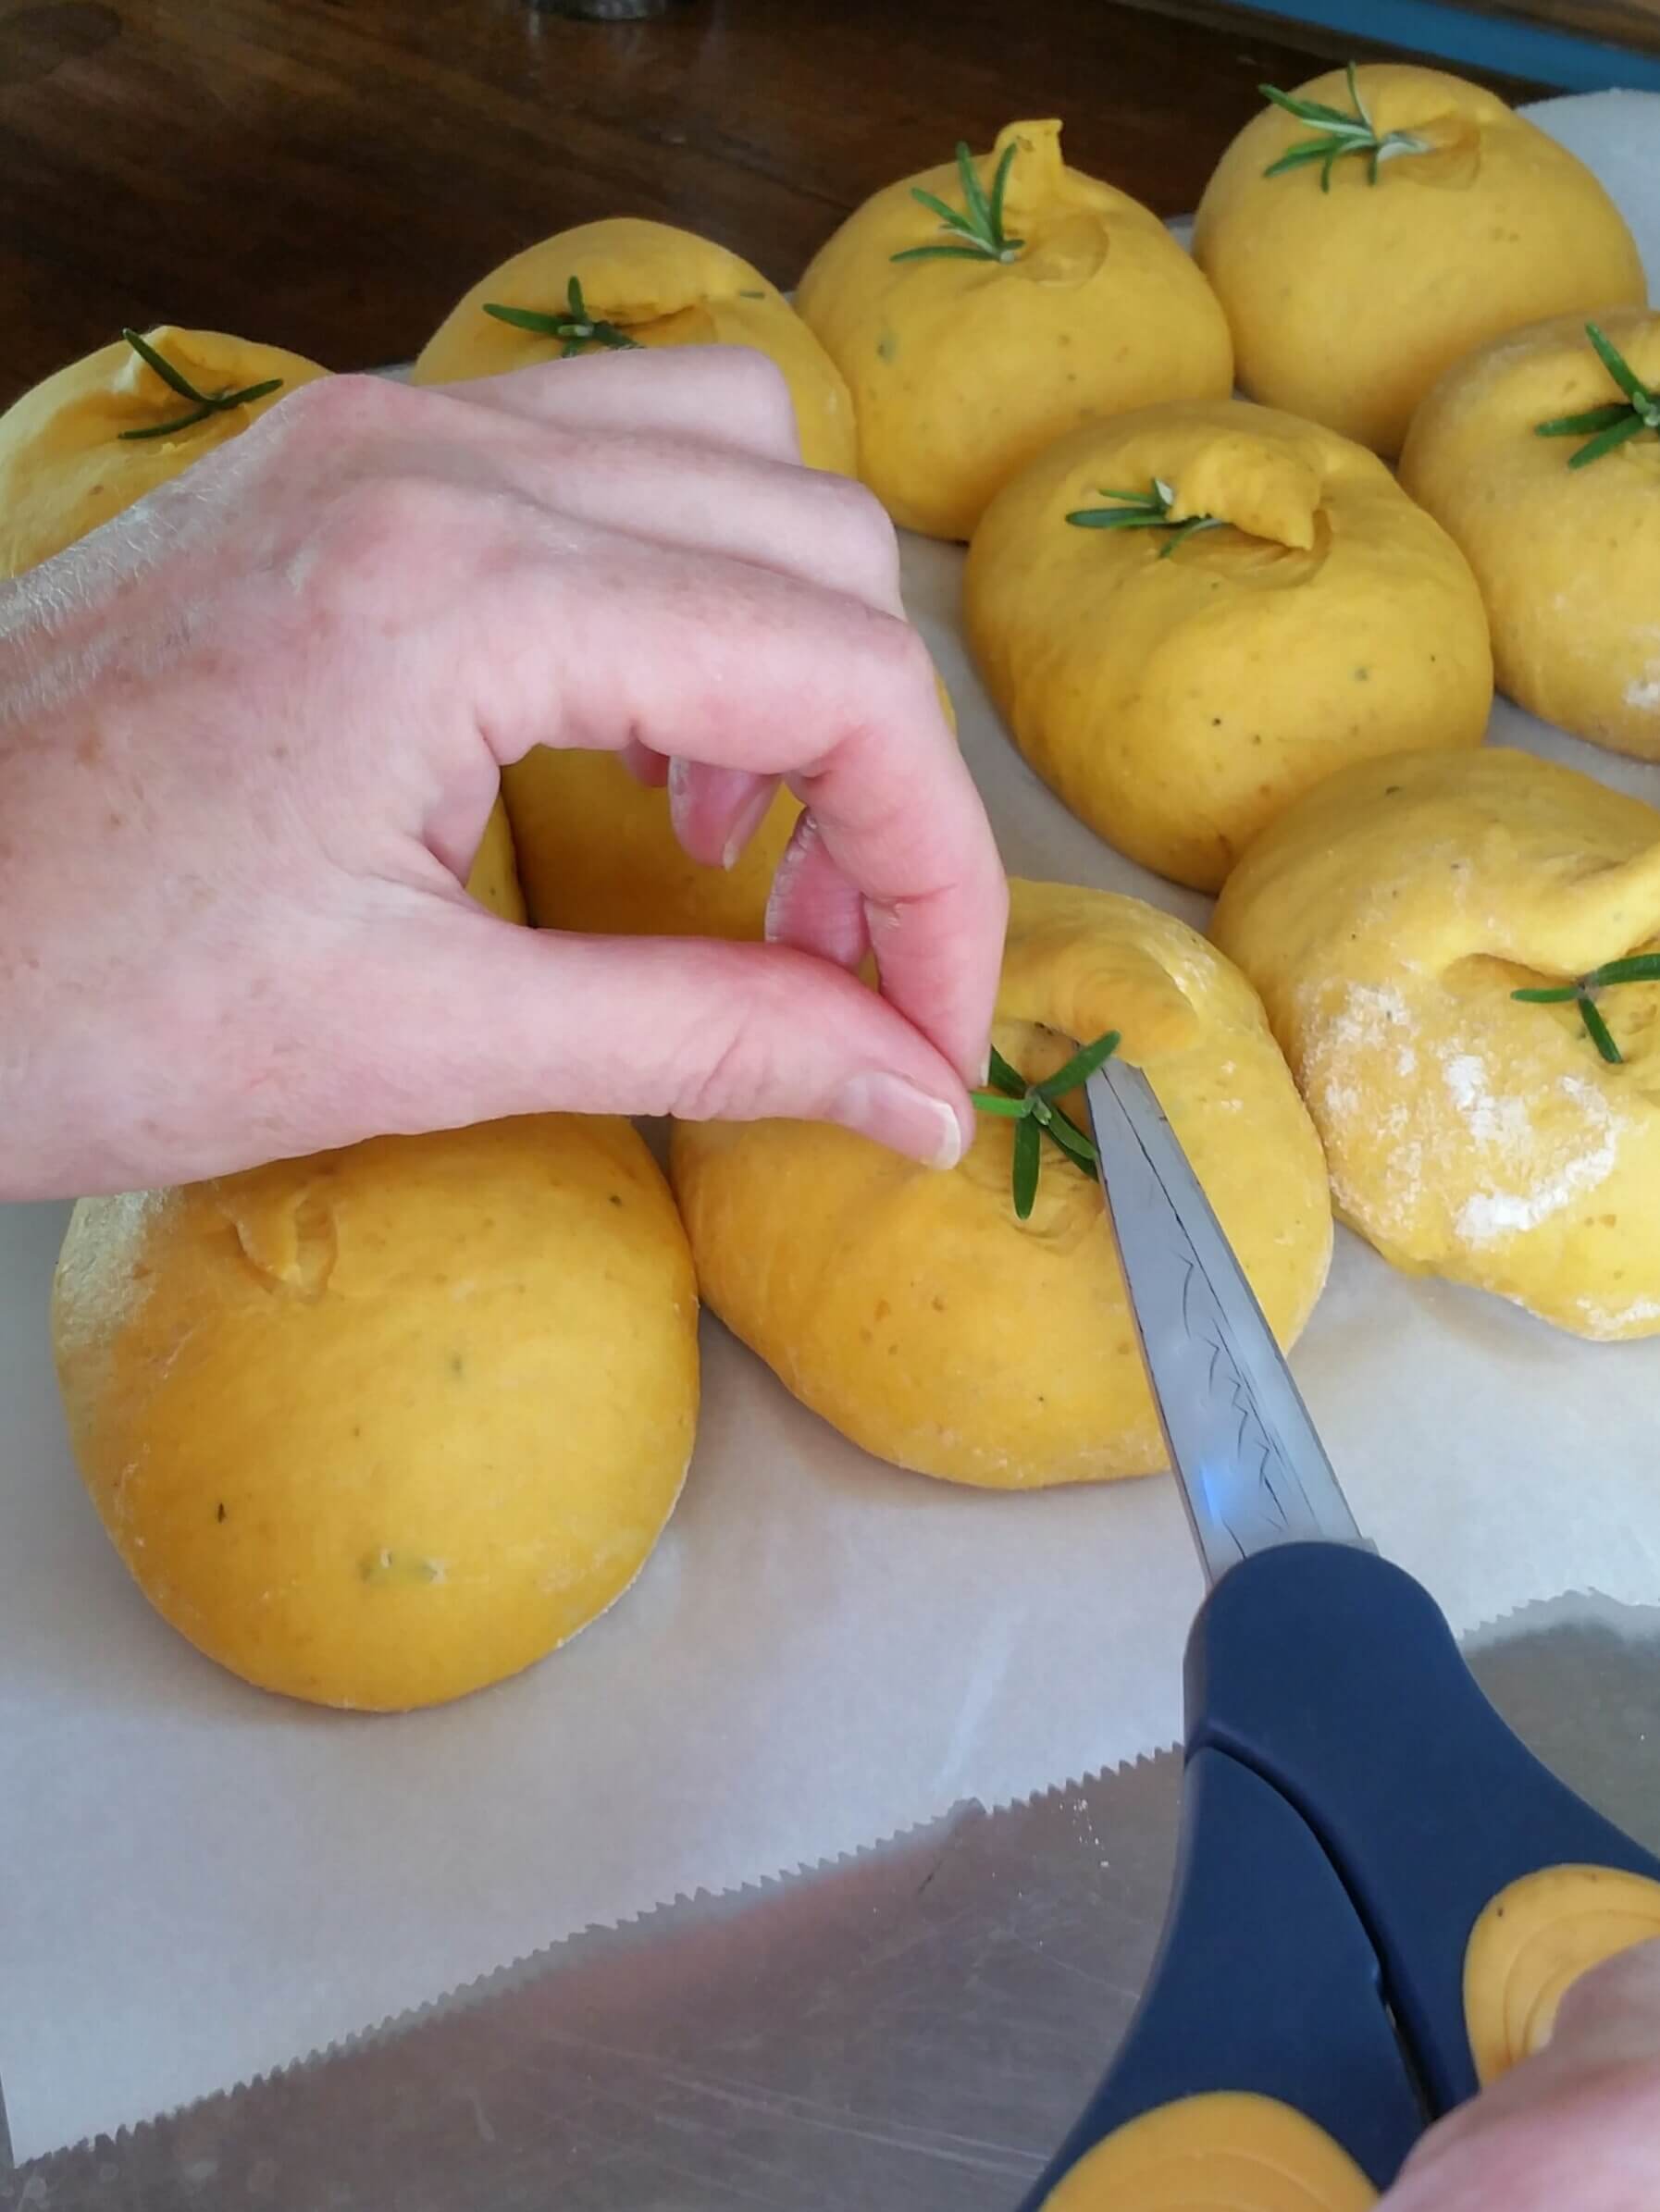
Just before baking, score the rolls. Scoring helps the dough rise evenly when it bakes. Scoring also adds a decorative flourish to the rolls after baking. To score the rolls, use a pair of kitchen scissors. Hold the scissors at a 45° degree angle over the dough. Make a cut about 2 inches long. Tuck a small sprig of rosemary into the cut you’ve made in the dough.
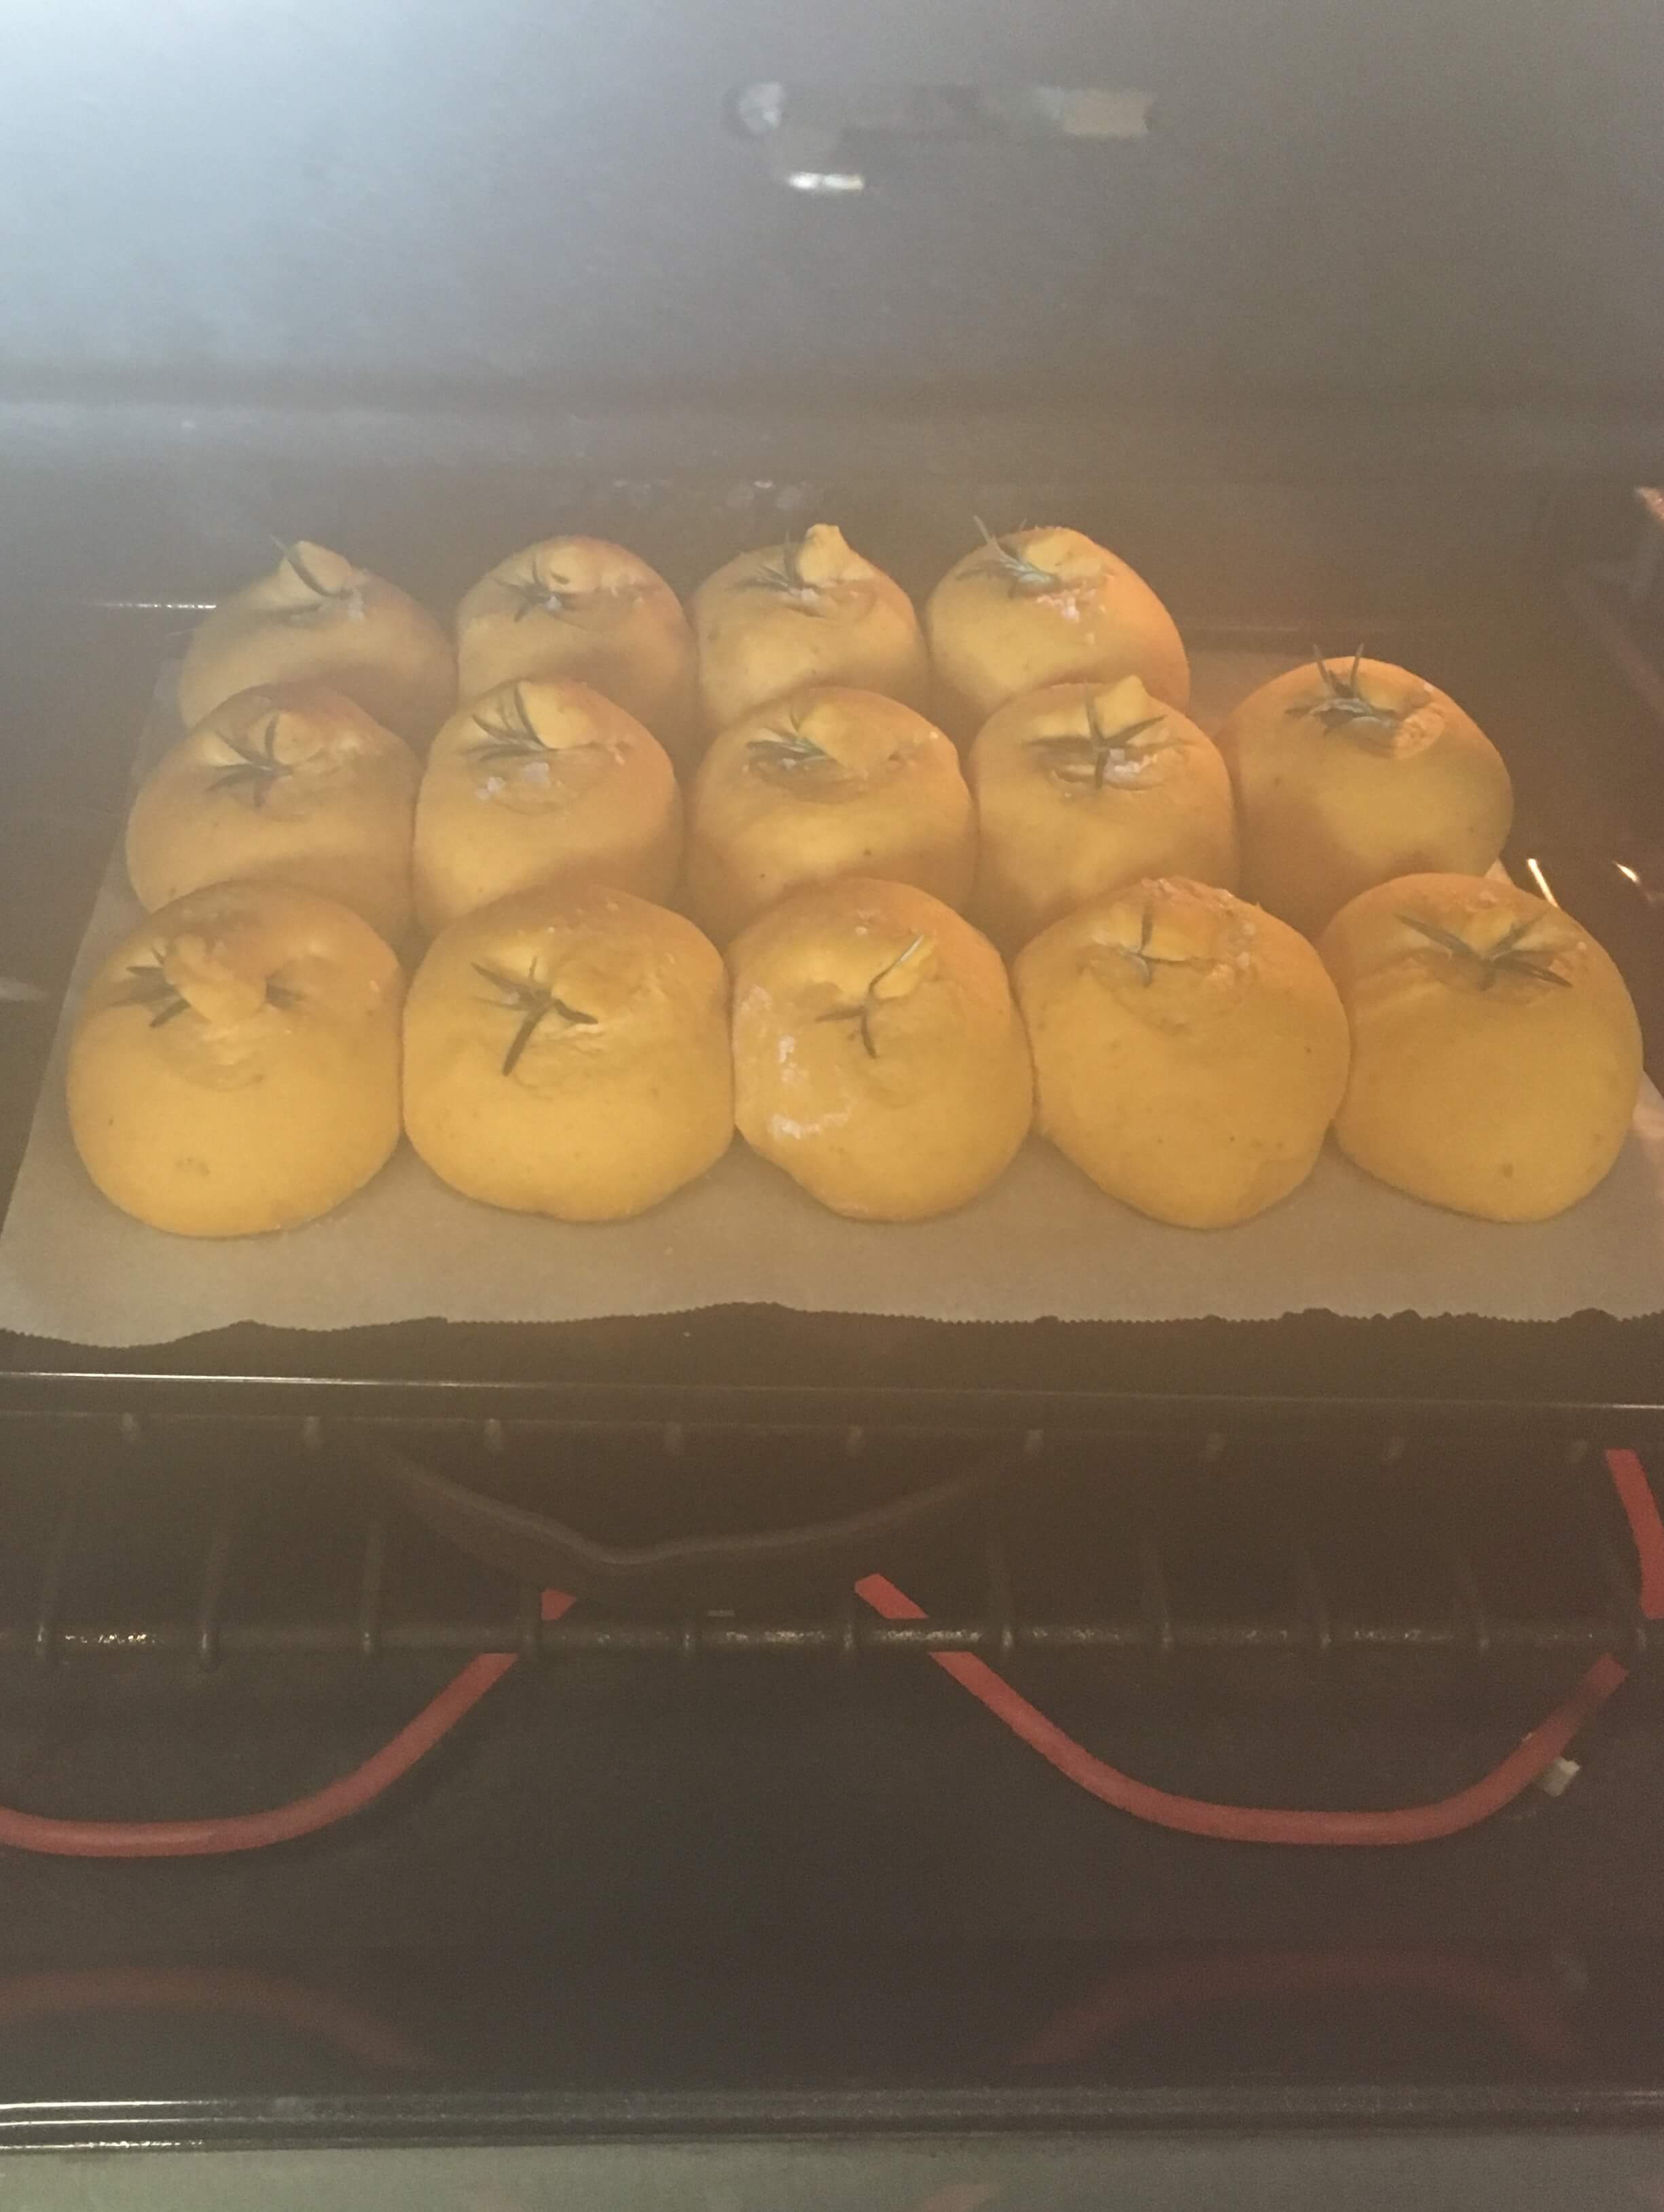
Bake these rolls with steam in the oven because steam enhances the crust. I slide the dough-covered parchment onto a baking stone that I preheat in the oven. Of course you can simple bake the tray of dough on an oven rack but you wont get the same rise from the dough.
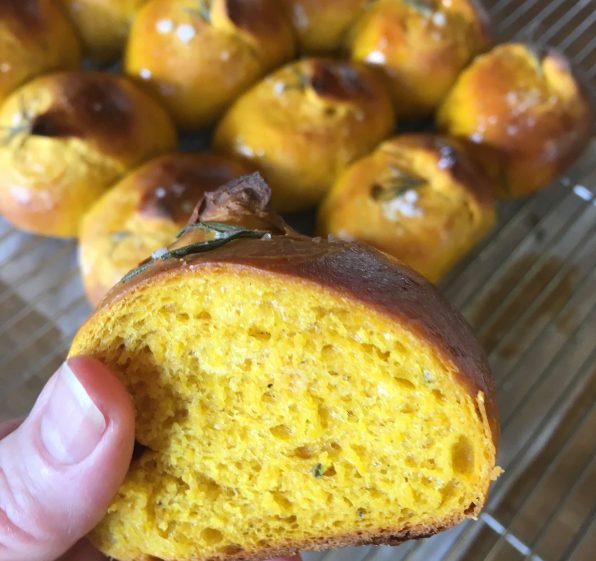
Take a look at the dinner rolls after baking. (I did not egg wash this batch.)
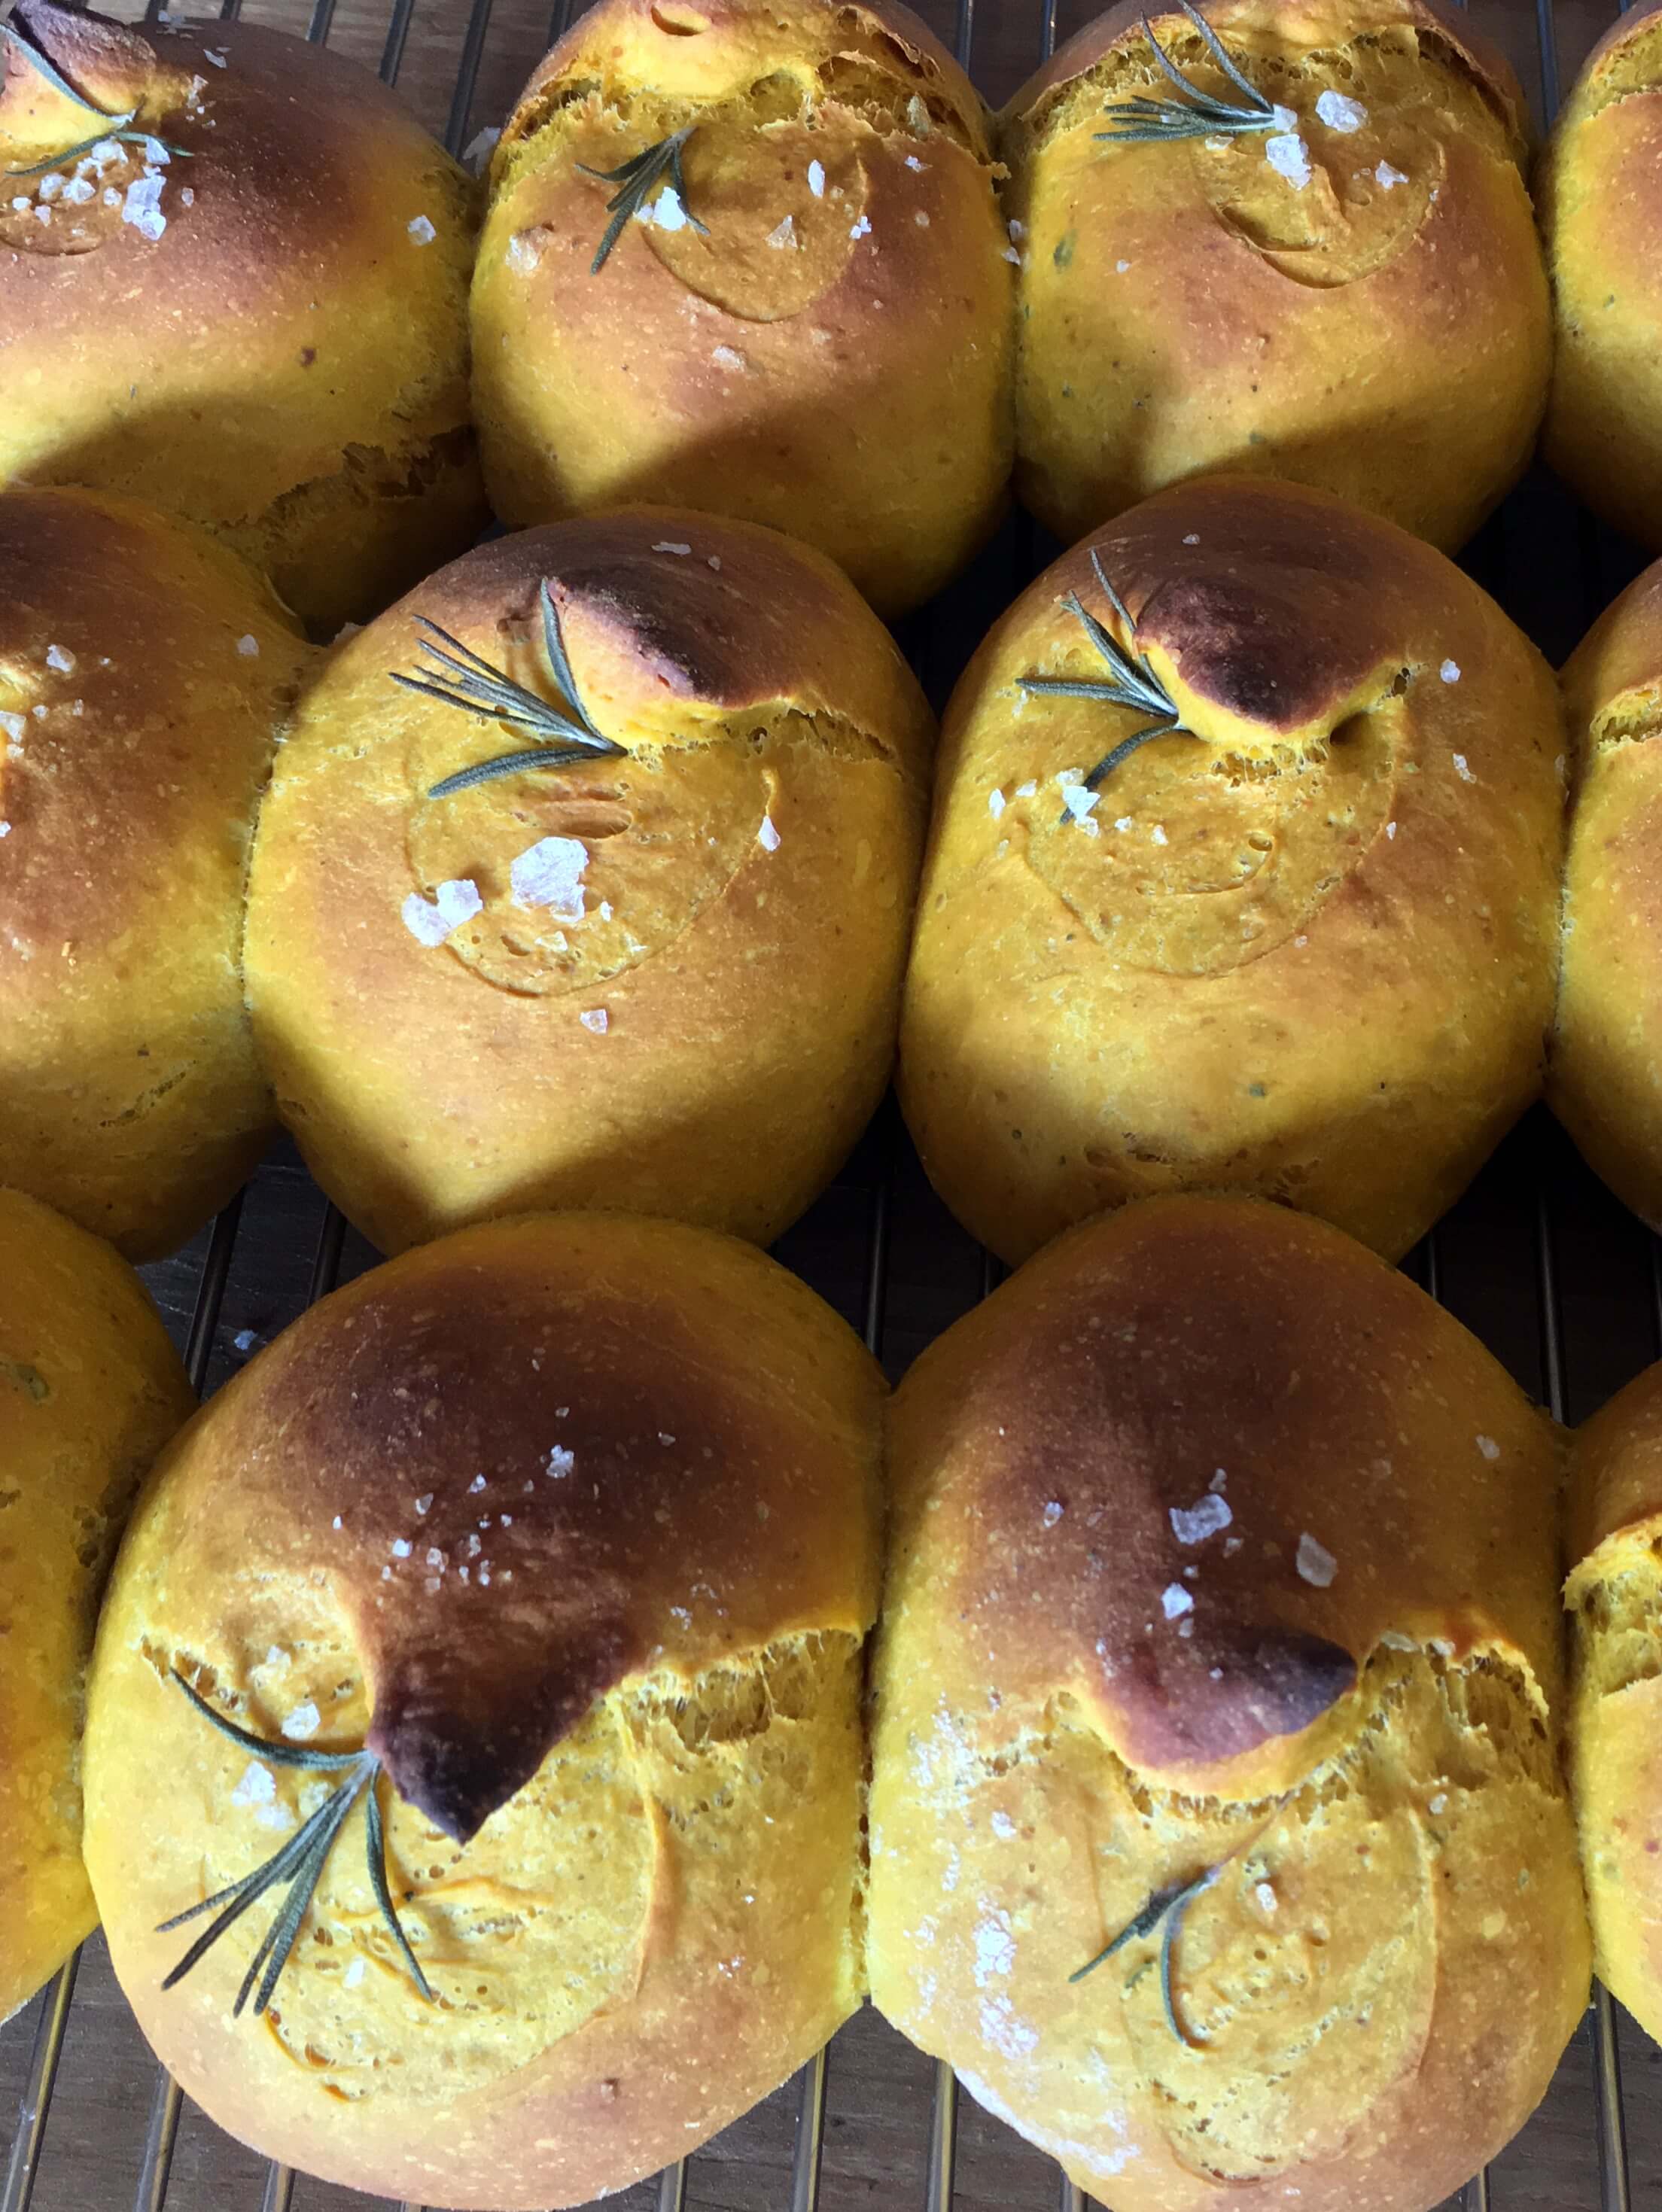
The color of the Pumpkin Rosemary Dinner Rolls is amazing although I think the light in our kitchen intensified the pumpkin color.

Kitchen Notebook:
This recipe is adapted from the blog, Drizzle and Dip, which features a sweet glaze on the rolls. I tried the glaze but found it added more sweetness that I like in a dinner or sandwich roll.
This recipe was part of my Bread Makes the Meal Project and Emile Henry Recipe Contest This project is about encouraging you to bake bread at home so that you can share it at any meal.

The bright color and taste of pumpkin comes through in this tender dinner roll. Just in time for Halloween and Thanksgiving, this recipe for Pumpkin Rosemary Dinner Rolls would also make an excellent loaf of bread for slicing.
Ingredients
½ cup (2 fluid ounces) whole milk
½ cup (2 fluid ounces water
6 Tablespoons (3 ounces) unsalted butter
2 teaspoons instant yeast
1/3 cup (2 ½ ounces) light brown sugar
2 large eggs, lightly beaten
1 cup (8 ounces) pumpkin purée, fresh or canned
(not pumpkin pie filling)
4 ½ to 4 ¾ cups (1 pound 6 ounces) all-purpose flour
1 ½ teaspoons salt
2 teaspoons finely chopped fresh rosemary
1 egg lightly beaten with 1 Tablespoon water
Rosemary sprigs, for garnish
Sea salt flakes, such as Maldon, for garnish
Directions
- Line a half sheet pan with parchment paper. Brush the paper and sides of the pan with vegetable oil. Set aside.
- Heat the milk, water and butter until the butter melts. Cool to 110°F. Pour into the bowl of a stand mixer fitted with the dough hook. Add 1 teaspoon of the sugar and the yeast. Let sit for 5 minutes.
- Add the remaining sugar, eggs and pumpkin purée. Mix on low speed until the mixture is well combined. Add the flour, salt and rosemary.
- Knead the dough on low speed for a few minutes, just until the flour is moistened.
- Stop the machine and scrape down the sides of the bowl with a dough scraper or rubber spatula. The dough will be quite sticky. With the machine on low to medium speed, knead the dough until it pulls away from the sides of the bowl, for approximately 5 to 7 more minutes. It will stick to the bottom of the bowl.
- Generously flour your work surface. Scrape the dough out onto the floured work surface. Sprinkle it lightly with flour. Imagine that your hands are cat’s paws. Coat them generously with flour then pat the dough into a round shape.
- With floured hands, gently gather the dough up and place it into a lightly greased bowl. Cover the dough with plastic wrap. Allow it to ferment and rise until doubled in size, for approximately 1 to 1 ½ hours.
- Punch down the dough. Scrape it onto a lightly floured work table. Divide the dough into 3 to 3 ¾-ounce portions. With well-floured hands, gently roll each piece of dough into a tight roll shape.
- Place each shaped piece of dough on the prepared sheet pan so that they are just barely touching. Three across and five pieces down should fit into one pan.
- Cover the pan loosely with a sheet of plastic. Proof the dough until doubled in size.
- Preheat the oven to 375°F with a small pan on the bottom shelf for steam. Position the other oven rack in the center of the oven.
- Carefully brush each proofed roll lightly with the beaten egg.
- To score each proofed roll, use a pair of kitchen scissors. Hold the scissors at a 45°degree angle over the dough. Make a cut about 2 inches long. Tuck a small sprig of rosemary into the cut you've made in the dough.
- Place the rolls in the oven. Pour about ½ cup boiling water into the pan in the oven. Bake until golden brown and baked through, for approximately 25 to 30 minutes.
Notes
This recipe is adapted from the blog, Drizzle and Dip, which features a sweet glaze on the rolls.