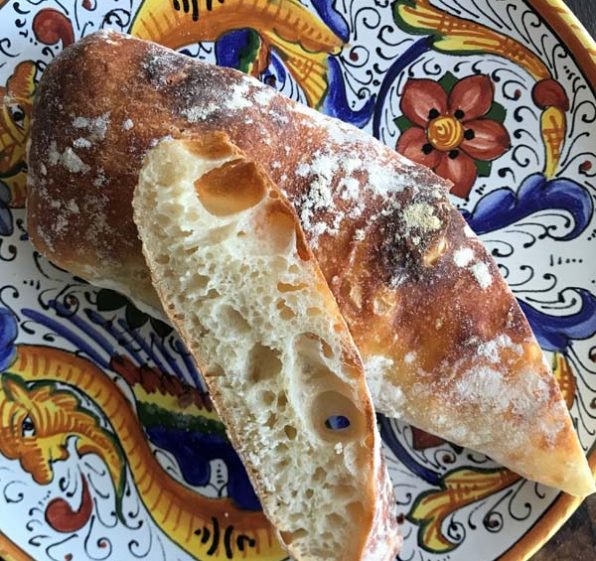


A pillowy loaf of rustic ciabatta makes the perfect accompaniment to antipasto, a bowl of minestrone or a salad. There is nothing better to go with a plate of Italian cold cuts or prosciutto either. This Italian loaf takes its name from its shape, which resembles a dusty, old slipper. Properly made, a loaf of ciabatta has a thin and dimpled crust. The pronounced holes in the crumb demonstrate its long fermentation.
This is week two in my celebration of National Flour Month, a period when I want to encourage you to learn to make quality bread at home. My friends at Emile Henry are helping me spread the word with a month of product giveaways on Instagram. (Learn more at the link.)
Before you start making this bread, here are a few pointers. Ciabatta dough is wet, liquid, and alive. You make the dough with what we call “strong” flour. That is flour with a relatively high protein content such as bread flour or an all-purpose flour with a higher protein content such as King Arthur All-Purpose. A “weak” flour such as bleached all-purpose flour or cake flour, contains less of the kind of protein that gives bread its buoyancy and chew.
This recipe uses a fraction of the yeast one normally expects. During the long fermentation, yeast organisms multiply, and the bread dough rises. (By contrast, when you want to make a bread dough rise quickly, you can use more yeast. I am not recommending this here, but simply illustrating a general principle. The crumb or interior structure of you bread will be more uniform in appearance if you use more yeast.)
Making Rustic Ciabatta Bread
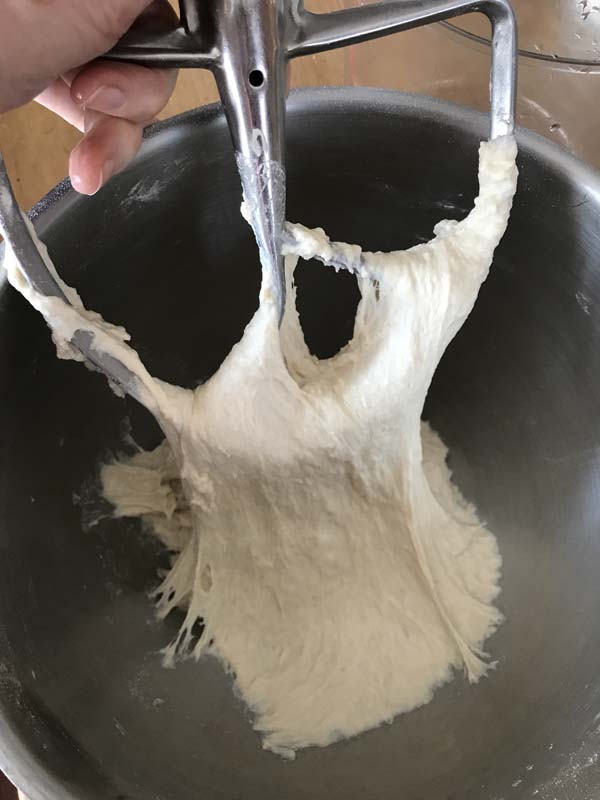
There are a few ways to mix the dough, by hand or in a stand mixer. Simply combine the ingredients in a bowl for a few minutes. During the long fermentation or rising, the dough develops. (This is the principle behind no-knead bread, which many have written about.) Here is the mixture after a minute of mixing in the bowl of a mixer fitted with the beater blade.
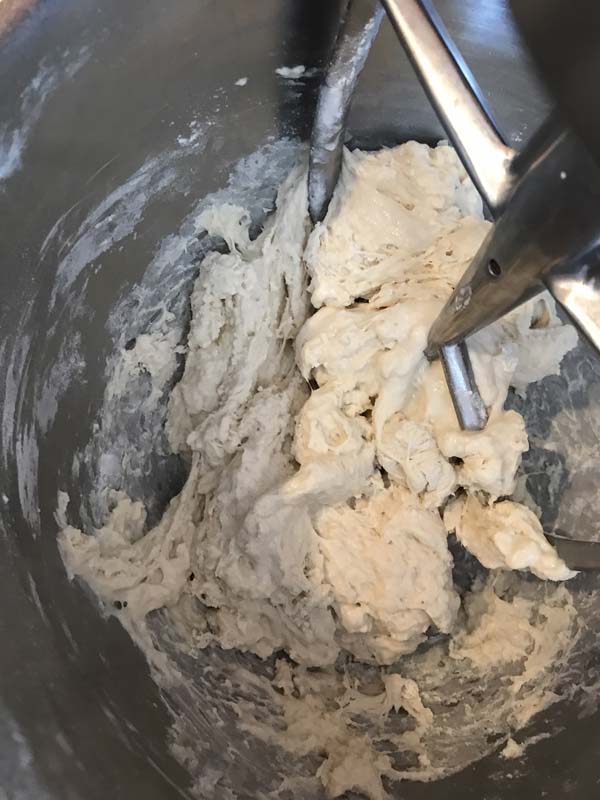
You can see how sticky the dough is. Once you have mixed this sticky wet dough, don’t be tempted to add more flour to make the dough easier to handle.
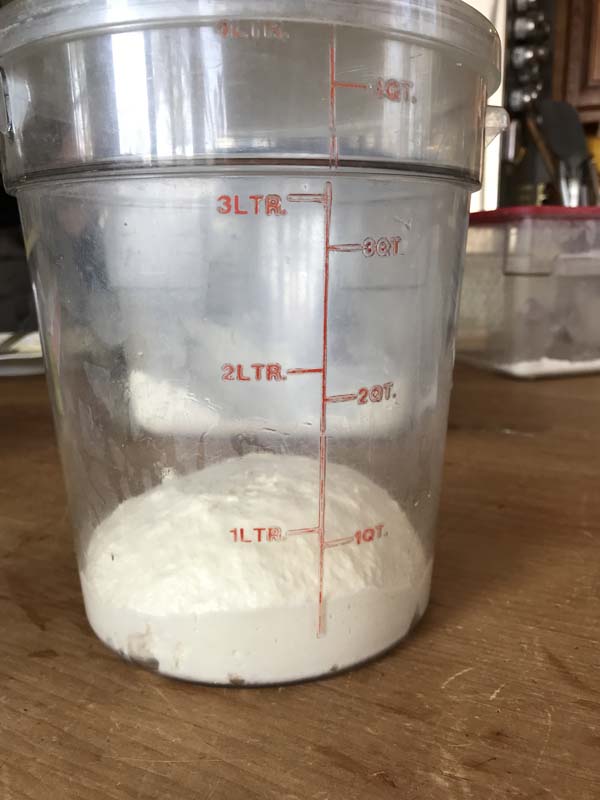
Simply scrape it into a rising bucket and let the magic of fermentation transform the sticky mass into a silky dough.
Here is the dough before fermenting.
Here is the mass after a long slow fermentation overnight at room temperature. The dough has more than doubled in volume.
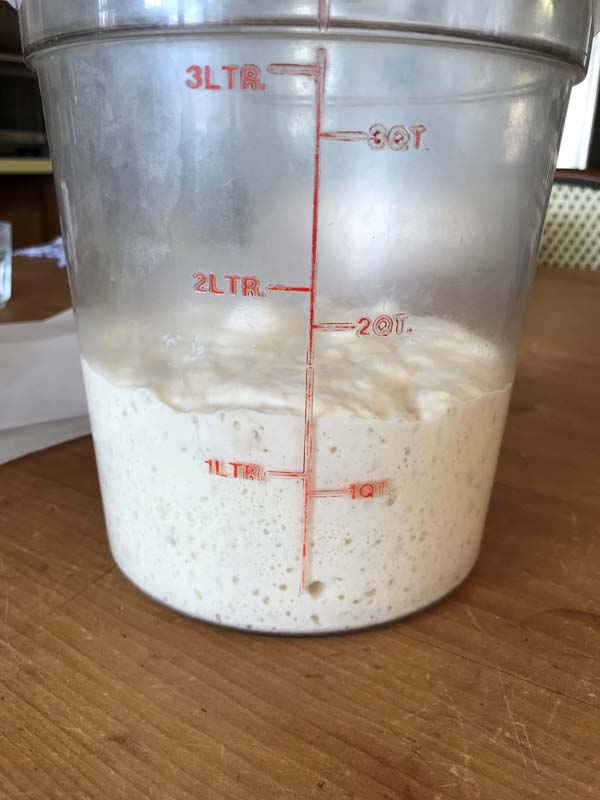
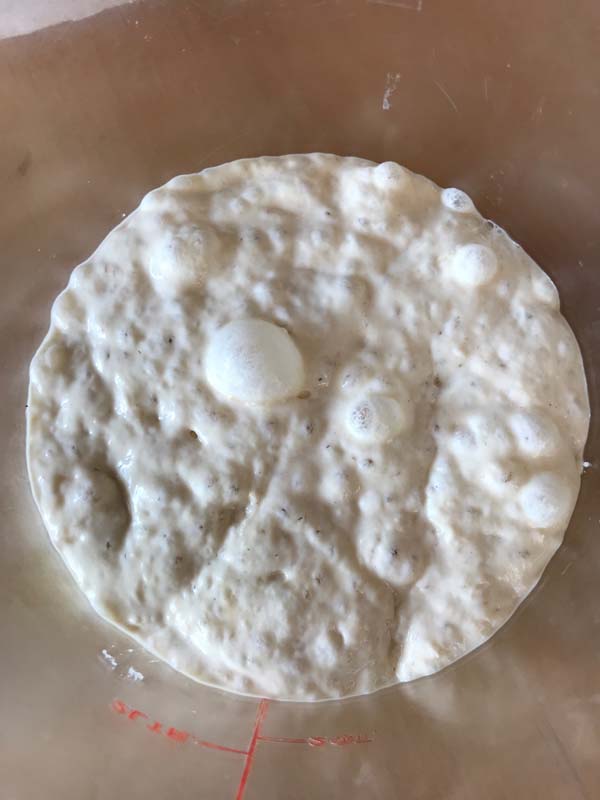
And you can see the bubbles on the surface, which show the active fermentation.
Now comes the fun part. The secret to great ciabatta is not handling the dough too much. You scrape it out onto a well-floured work surface. As you can see here, I put a large silicone mat on my worktable and douse it with flour.
I made a couple of short video clips of the dough so you can see how to handle it gently.
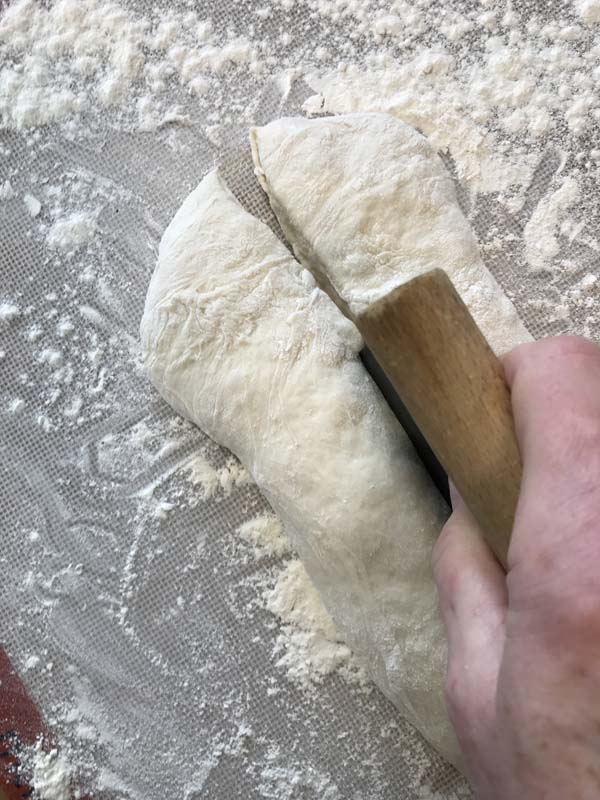
From now going forward you handle the dough gently. Flour your hands. Pat the blob of dough into an oblong shape about 12 or 13 inches long and 8 inches wide.
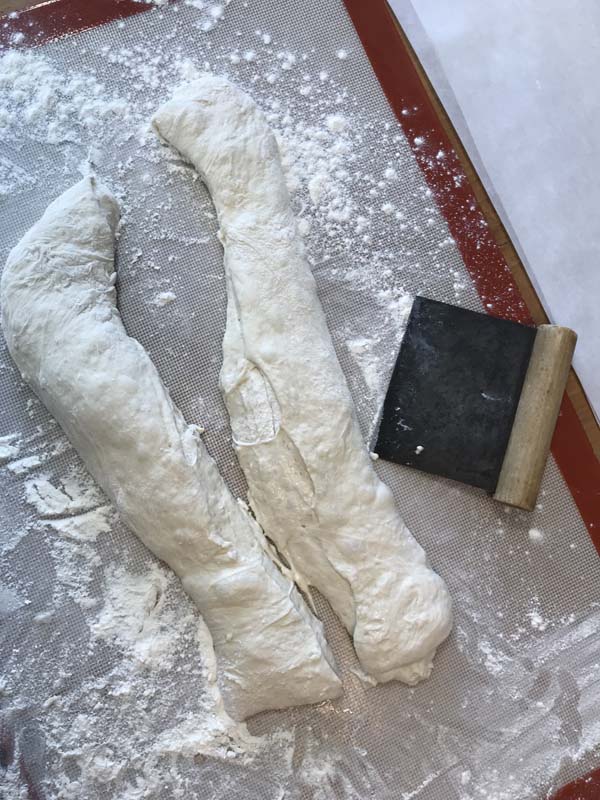
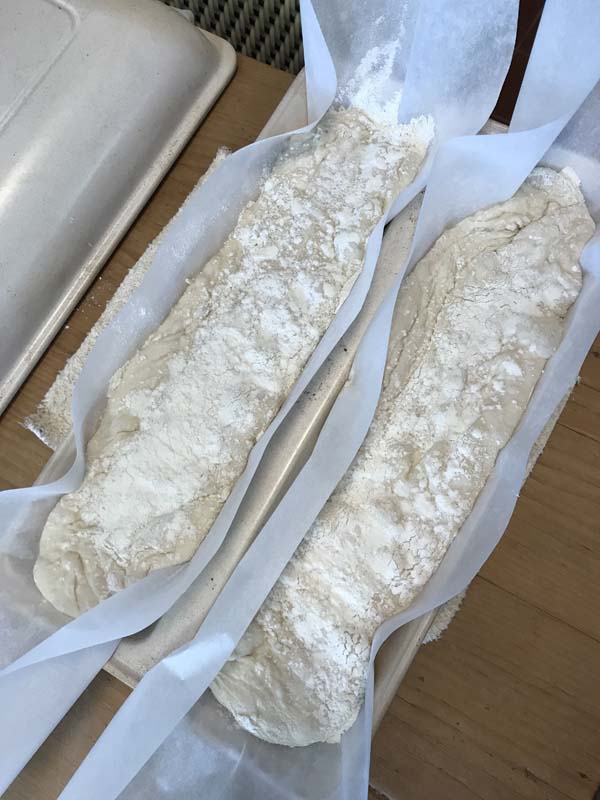
Then using a dough cutter or knife, divide the dough lengthwise in two.
For ease of handling, I transfer the loaves to strips of parchment paper. The parchment paper acts as a sling to help you transfer the dough into an Emile Henry Ciabatta Mold or onto a peel so you can place the dough in the oven on a preheated baking stone.
Sprinkle the surface of the dough with some flour. Then cover it to keep air from drying out the dough.
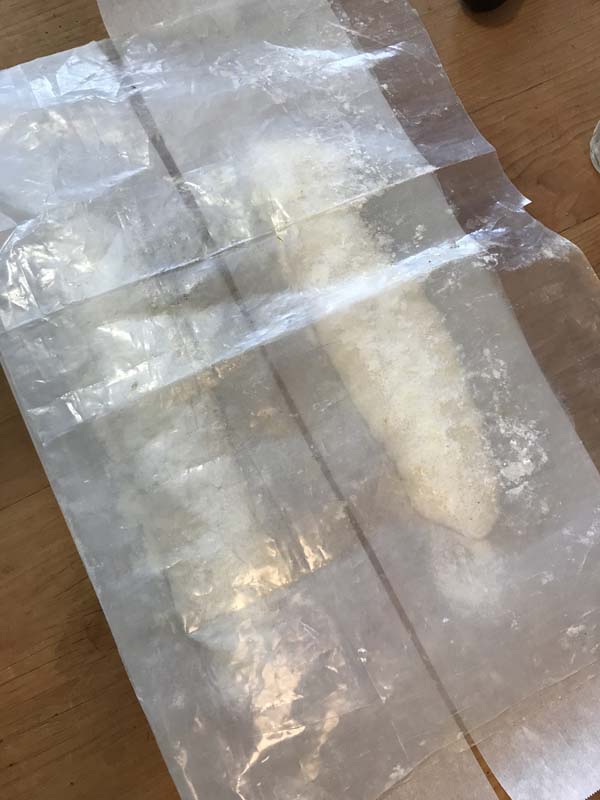
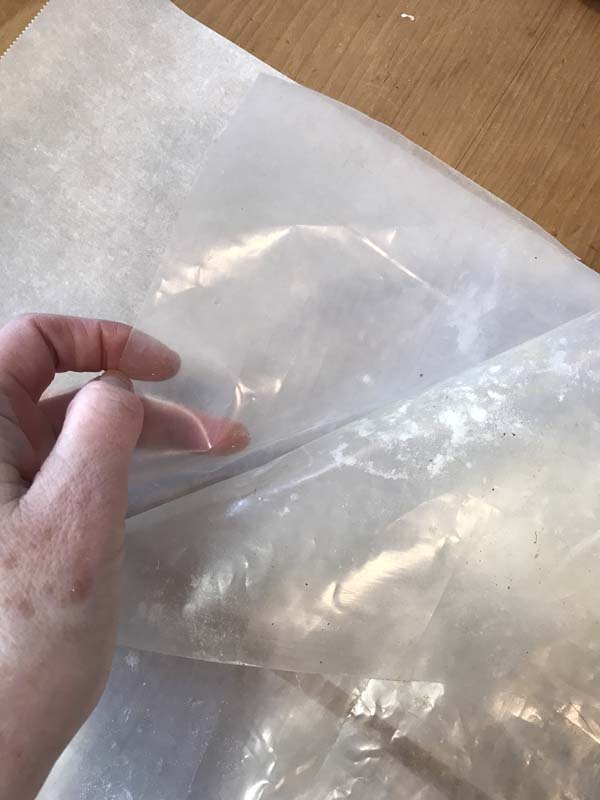
We buy large sheets of thick plastic from the hardware store. They are reusable and drape nicely over the dough without sticking to its surface.
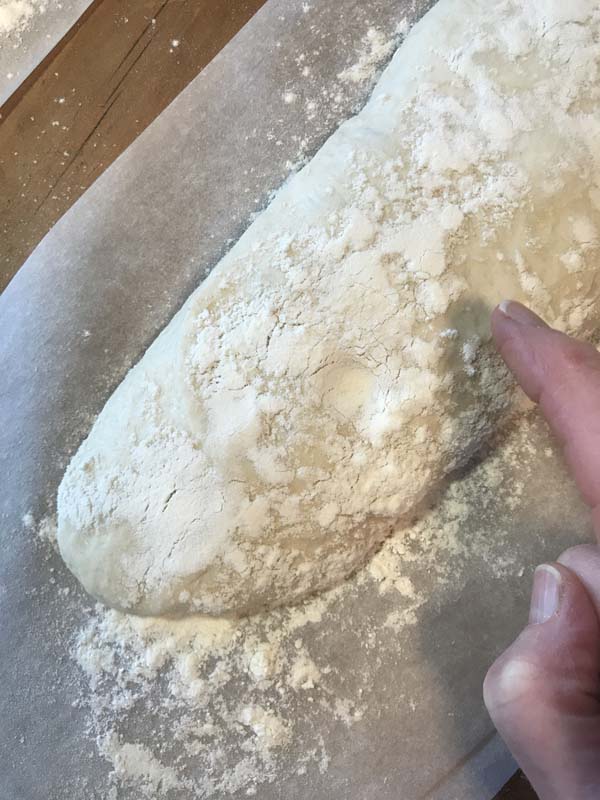
The formed dough needs to proof or rise a second time. During this stage, the dough expands in volume. You are looking for the dough to look puffed and soft. Depending on the temperature in your kitchen this can take from 30 minutes to 2 hours. To test for when the dough is ready to bake, press your finger gently into the dough. If the indent remains, the dough is ready to bake.

If I am using an Emile Henry Ciabatta Mold, I preheat it for at least 30 minutes in the oven. If I am baking the ciabatta on a baking stone, I preheat the baking stone for at least 30 minutes before baking.
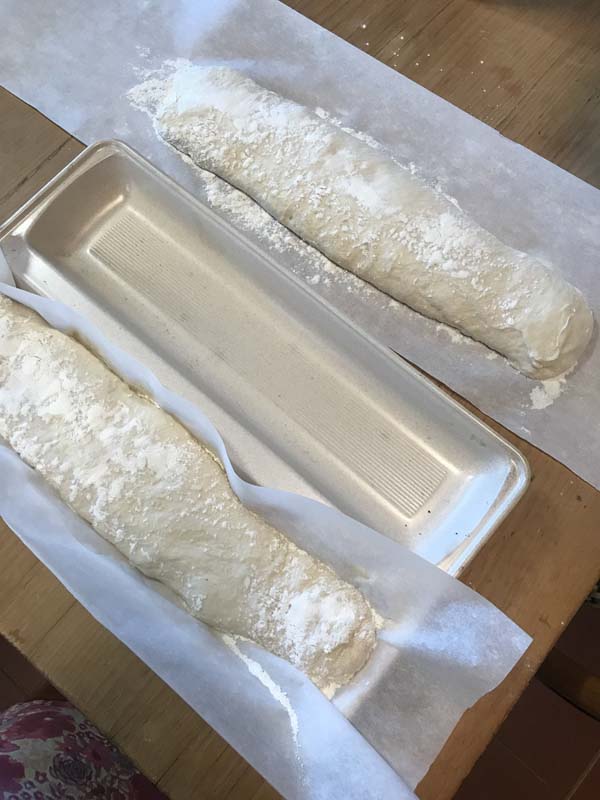
Here is the dough in the preheated ciabatta mold. You’ll want to trim any excess parchment paper from the ends before replacing the lid.

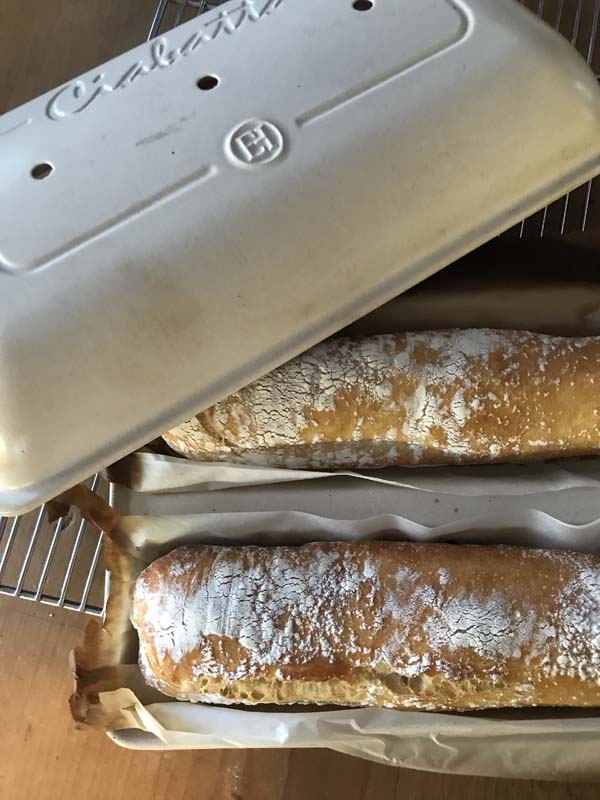
After about 30 minutes, the loaves are ready.
Ciabatta will stay fresh for a few days stored in a paper bag at room temperature. For longer storage, wrap the breads in plastic and freeze.


Ingredients
3 1/4 cups (425 grams) bread flour
1 ½ teaspoons (8 grams) fine sea salt
½ teaspoon (2 grams) instant yeast
1 ½ cups (340 grams) room temperature water
Directions
- Place the flour, salt, yeast and water in a mixing bowl. Combine the ingredients until the flour is thoroughly moistened using either a flexible spatula or the beater attachment in a stand mixer.
- Moisten a rubber spatula with water and use it to scrape the dough into a large ungreased bowl or covered container, scraping off bits of dough that cling to the beater and sides of the bowl. Cover with plastic wrap or a lid.
- Allow the dough to sit at room temperature to ferment and rise for from 10 to 15 hours. The dough will more than double in volume and have a surface dotted with large gas bubbles.
- Scrape the dough out onto a heavily floured work surface using moistened fingers and a wet dough scraper or flexible spatula to remove all the dough that clings to the bowl.
- Carefully shape the dough into a rectangle; use the edges of your cupped hands to push the dough into a rectangle measuring about 8-inches x 13 inches.
- With a dough scraper or kitchen knife, divide the dough into two equal pieces. Stretch each piece of dough, pulling gently on each end to lengthen it about the length of the Emile Henry mold if using.
- Once shaped, gently transfer each piece of dough to a flour-dusted strip of parchment paper, 24” long and at least 8” wide. Dust the surface of the dough with flour. Loosely cover the loaves with a thick sheet of plastic. Let rise until puffy, for one to two hours.
- Thirty minutes before the dough is ready, place the base of the Ciabatta Baker in the oven. Preheat the oven to 500°F. Make sure the base of your bread baker is in the oven for at least 30 minutes.
- Carefully remove the base from the oven. Using the parchment paper as a sling, lift each piece of dough up and into the Ciabatta Baker. Replace the lid and place the baker in the oven. Reduce the heat to 475°F
- Bake the loaves for 25 to 35 minutes or until golden brown, and the bottom sounds hollow when tapped. Remove the loaves from the baker and immediately place them on a wire rack to cool.
Notes
Variations
Baking Ciabatta on Baking Stone:
One hour before baking, put the oven rack on the second or third shelf from the bottom of the oven and place the baking stone on the rack. Place a small pan for water on the bottom of the oven. Preheat the oven to 500°F.
In step 9, transfer the shaped dough onto a peel or the back of a baking sheet using the parchment paper as a sling. Pour about 1/2 cup warm water in the pan on the bottom of the oven. Immediately slide the bread from the peel onto the stone and turn the heat down to 450°F. Bake for 25 to 30 minutes until the crust is golden brown Or, using an instant-read thermometer, the loaves will be finished when they reach an internal temperature of 205 to 210°F
Using an Emile Henry Ciabatta Mold without preheating
In Step 7, transfer the dough into an unheated Emile Henry Ciabatta Mold. Sprinkle with flour and replace the lid. Let the dough proof at room temperature in the mold. Preheat the oven. Then place the covered mold into the preheated oven and baked as above.